Quick start
To quickly get FolderSync configured to sync files from your device to your cloud or server this guide could be helpful.
In this quick-start example we will explain how to add a two-way sync between a folder on you Android device or PC and a folder on Google Drive, but the process is very similar for other cloud providers.
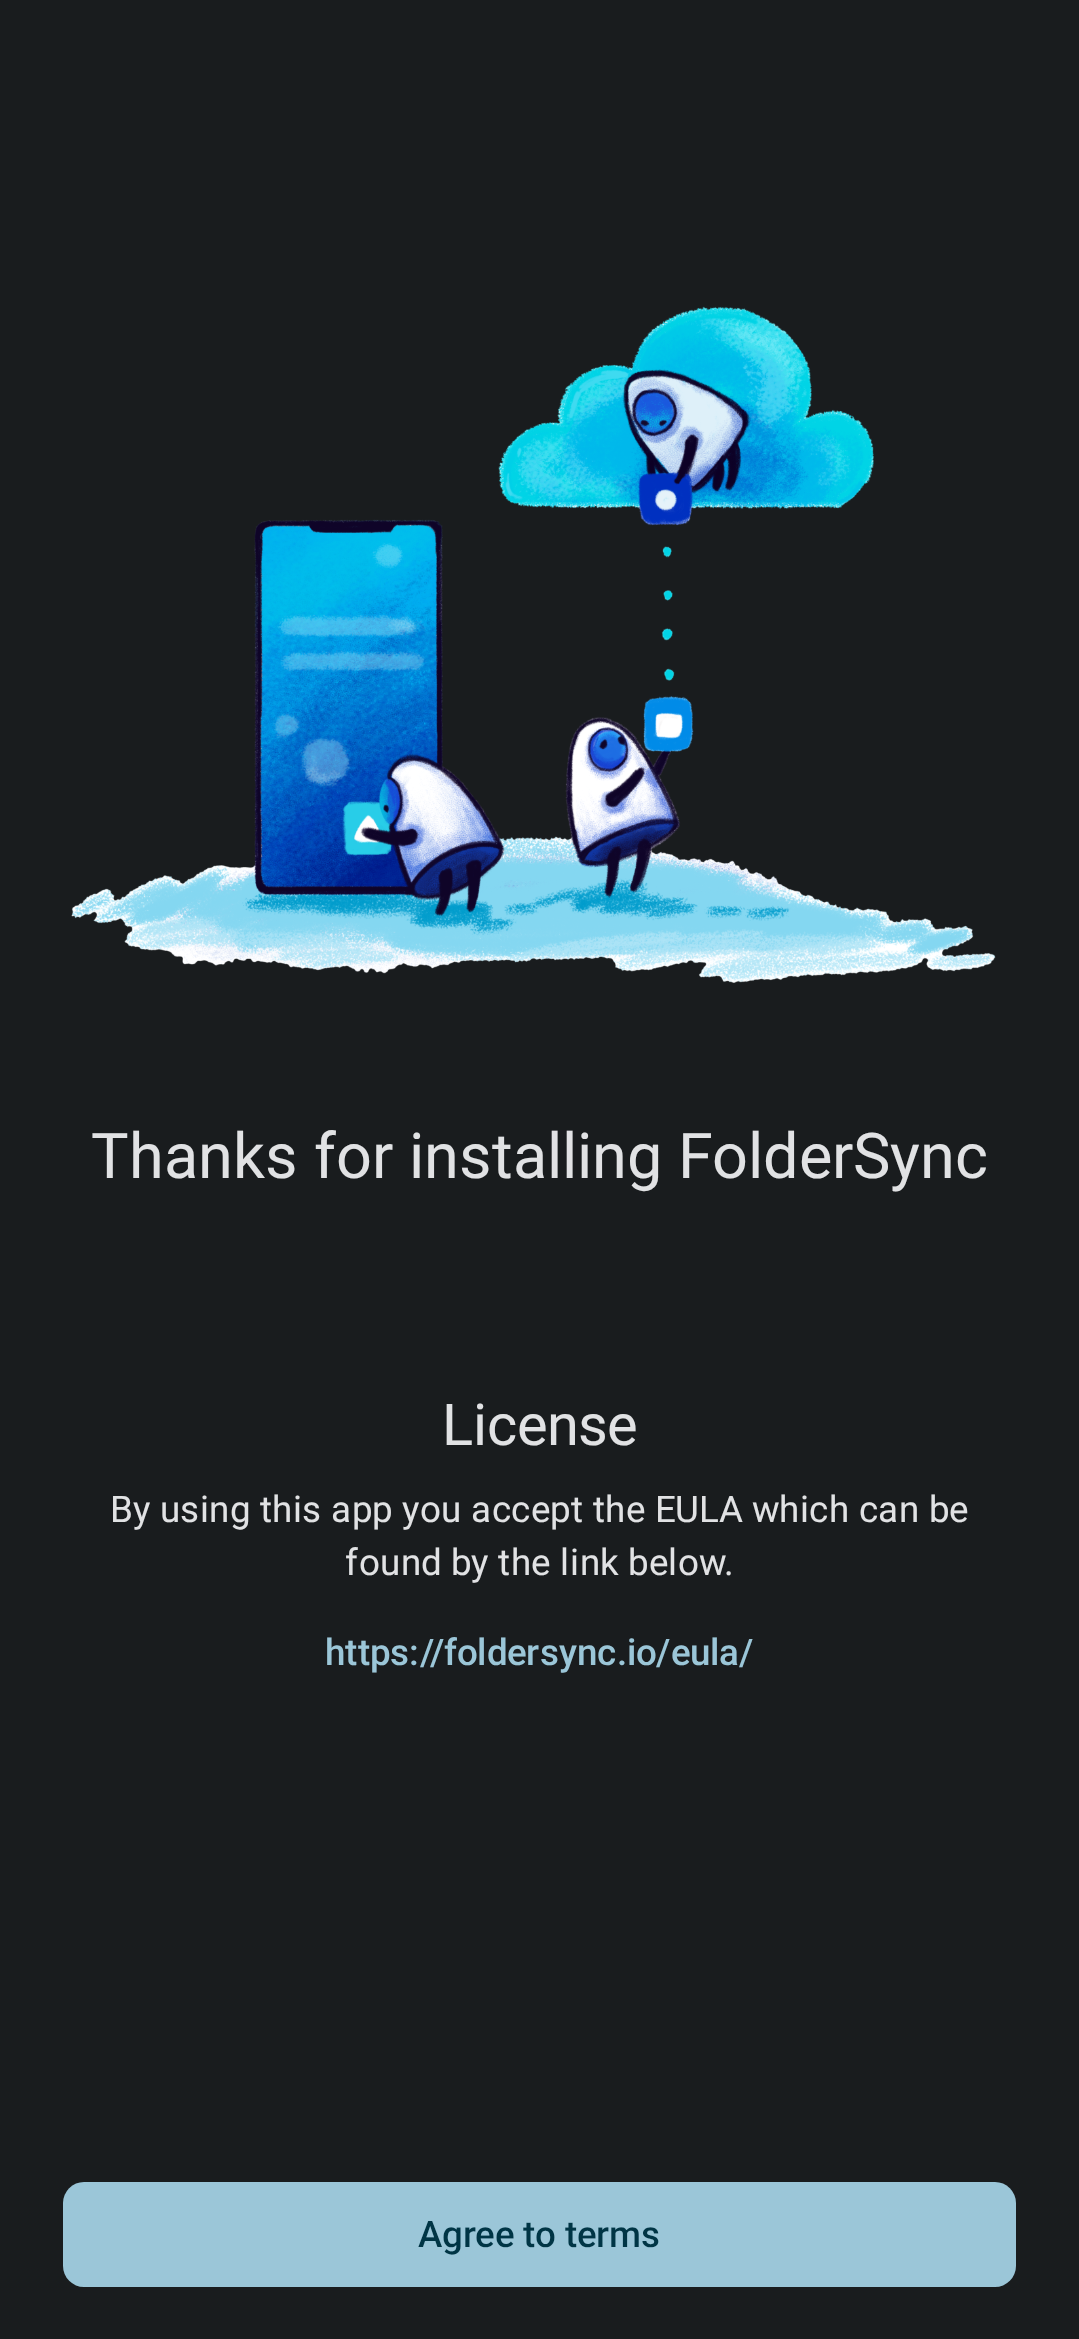
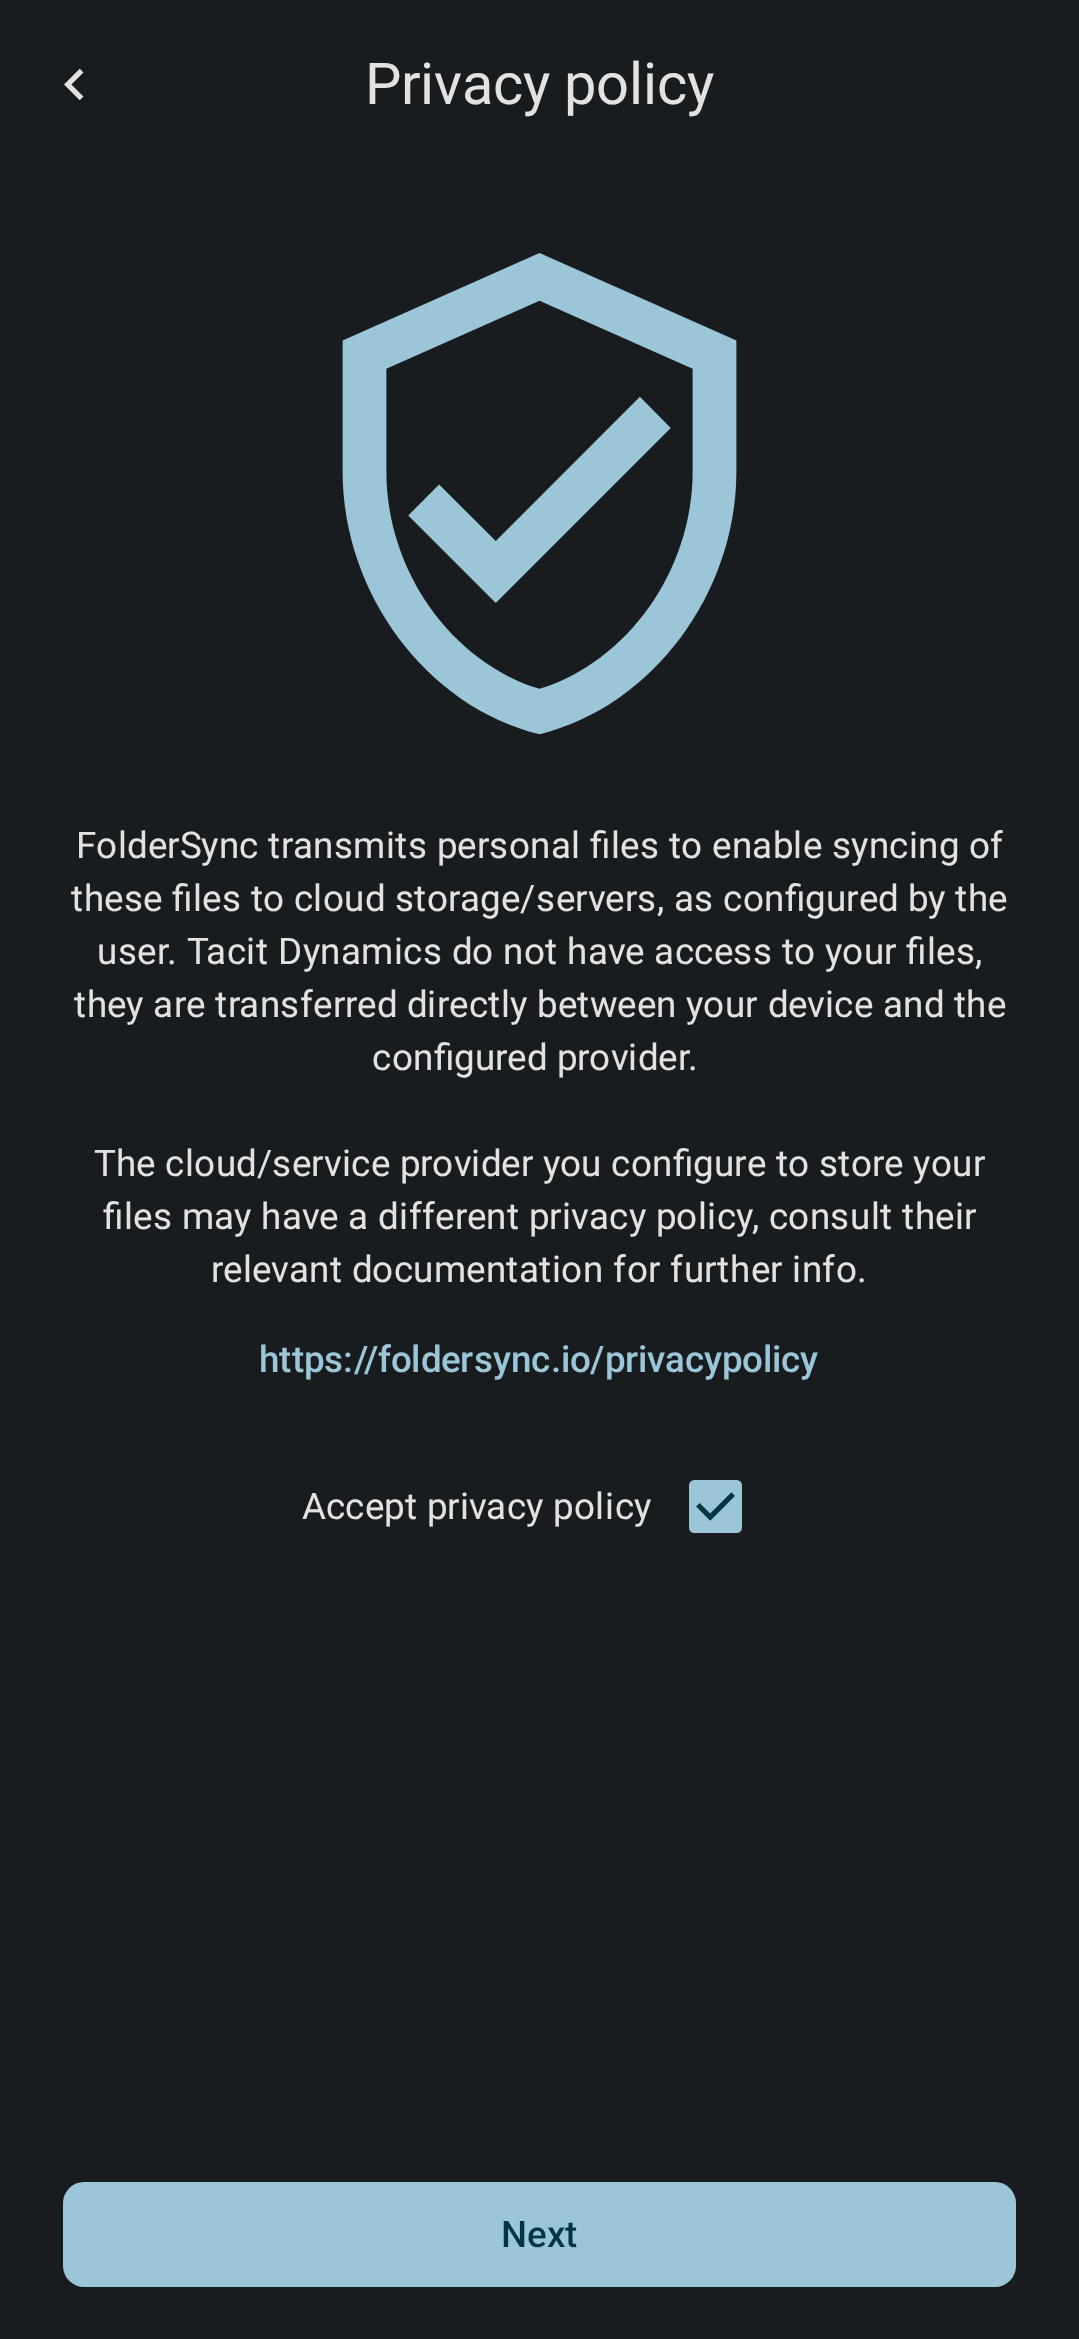
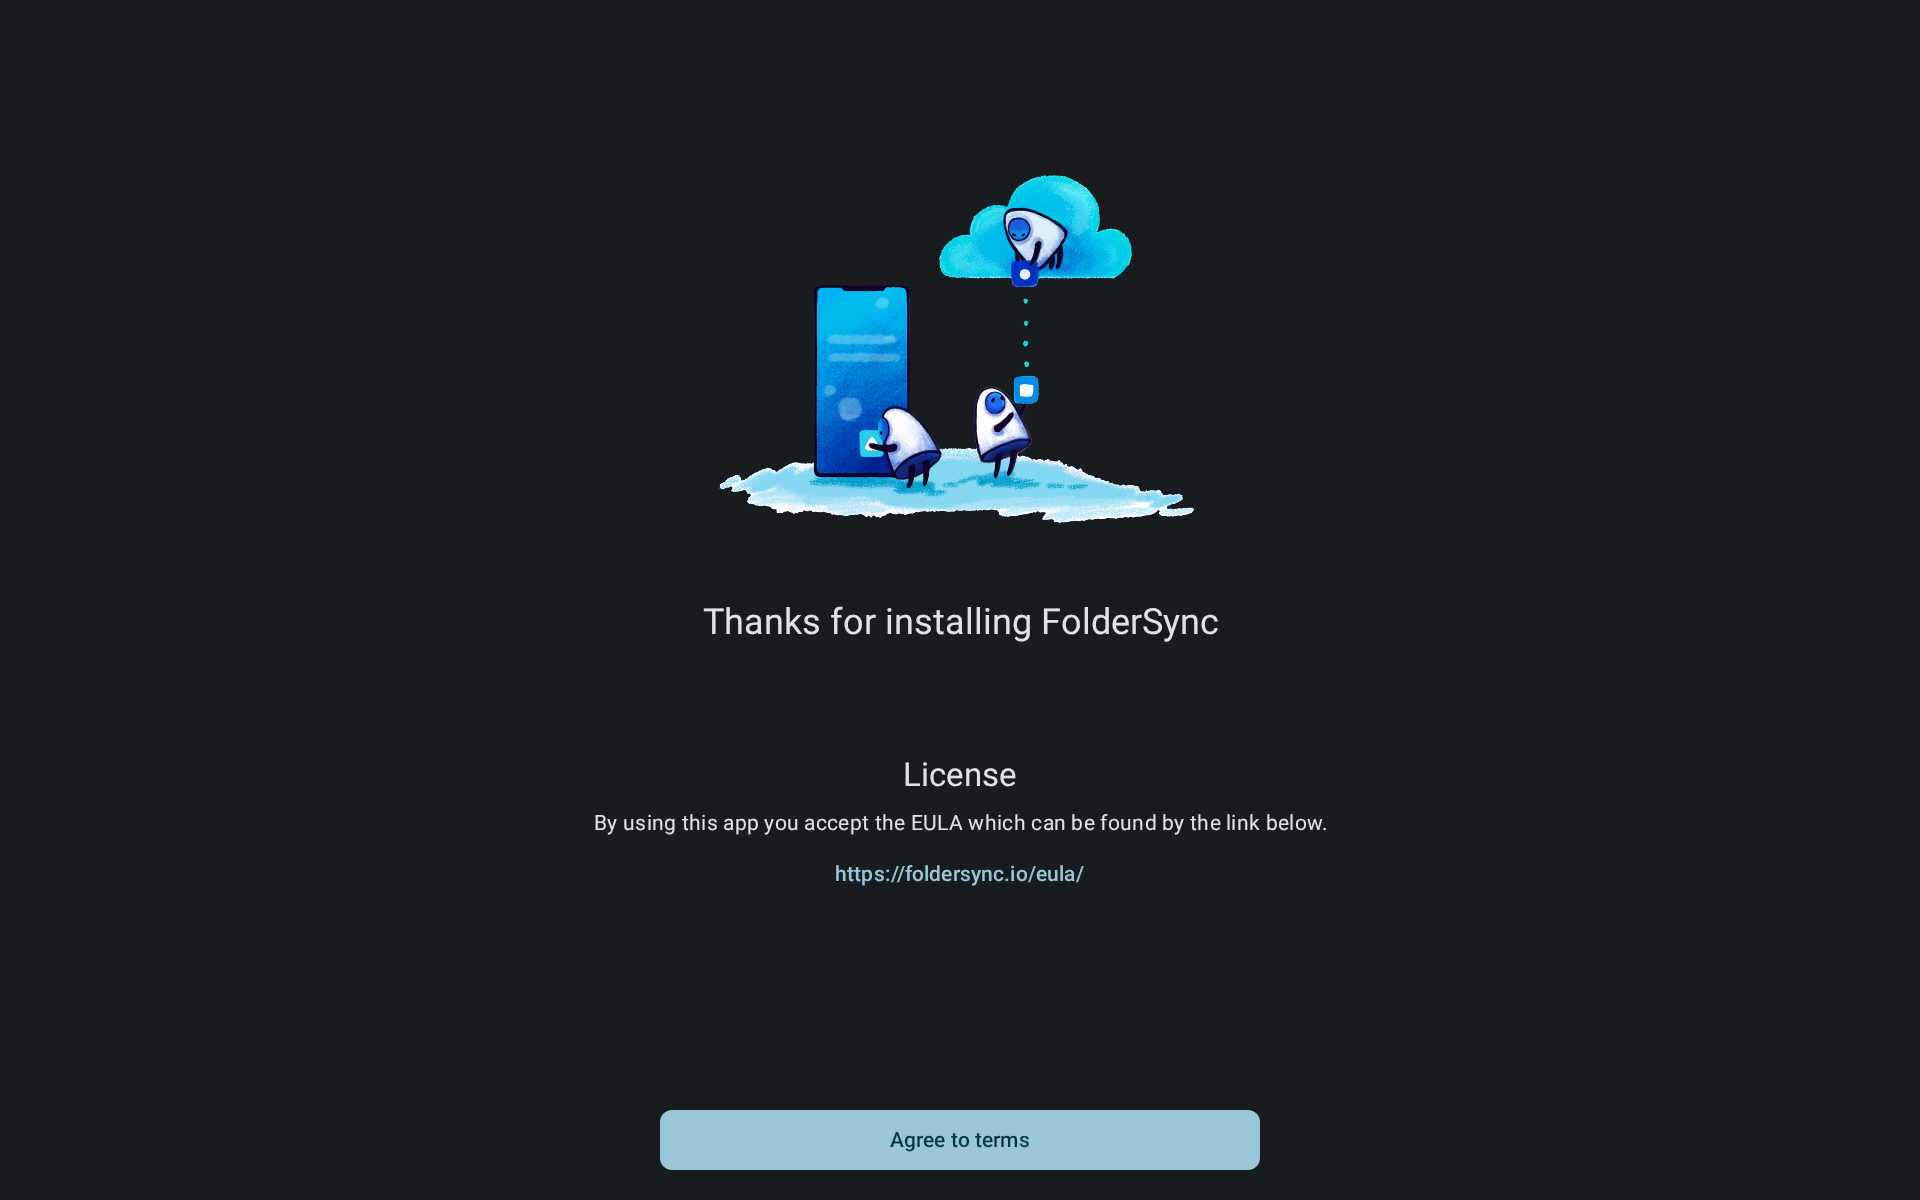
Accept EULA and privacy policy
After a fresh install you will see the Welcome and Privacy policy screens. Tap [Agree to terms] if you agree to the EULA to continue to the privacy policy screen and accept that as well, then click `[Next].

Configure permissions Android only
On Android, after having accepted the EULA and privacy policy, you will be asked to configure permissions needed by FolderSync. On the Permissions screen you can grant the permissions which are required. Tap on the individual permissions to grant them.
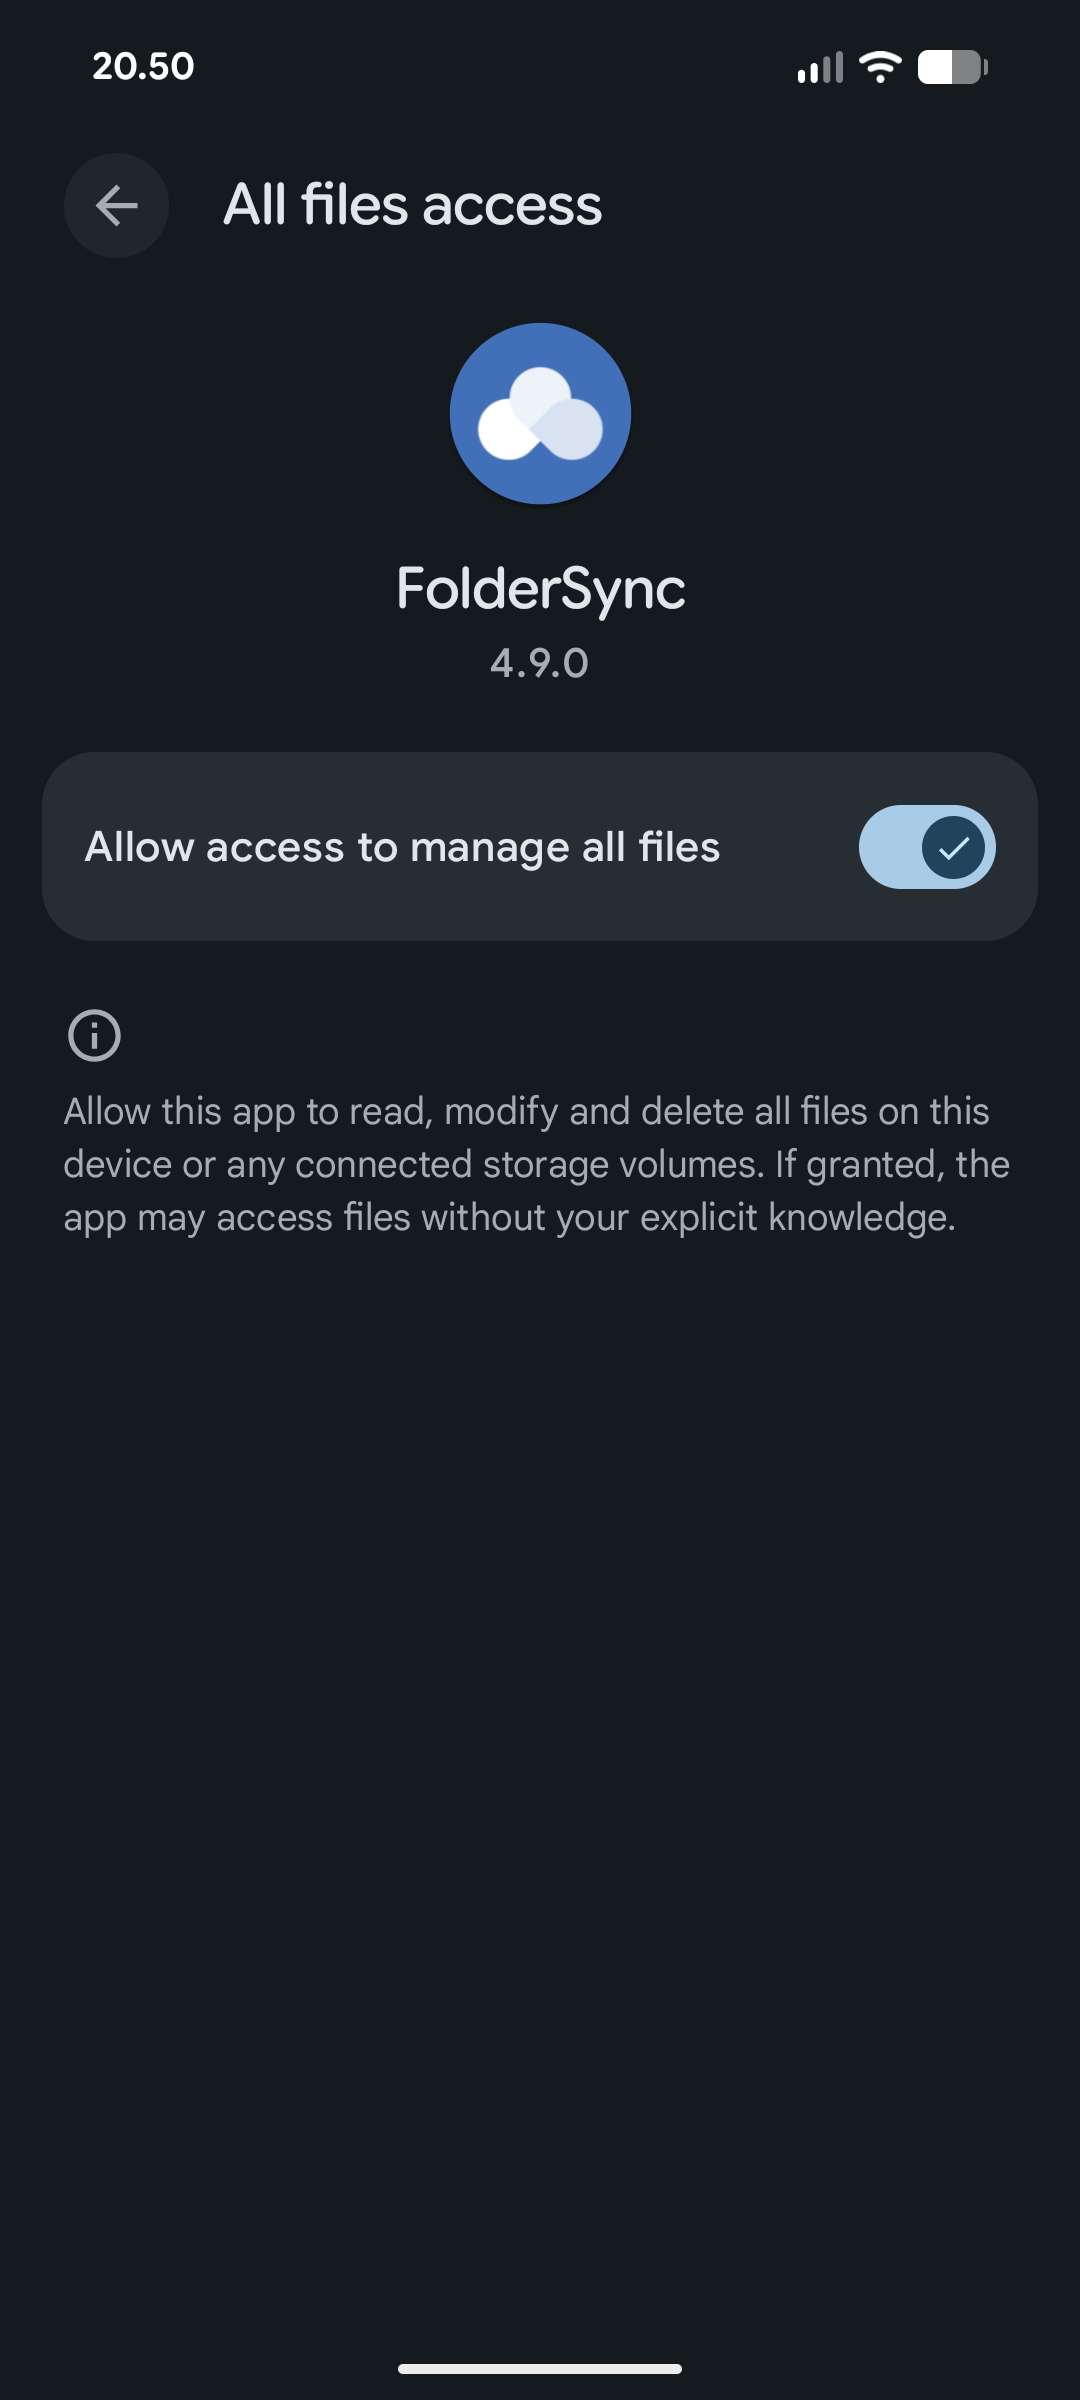
When adding Manage all files permission a native Android screen will open where you have to grant the permissions - on older Android versions a pop-up dialog will ask you to grant file permission access. The same is the case if you add the optional Location in background permission - this is only needed if you need FolderSync to access SSID of WiFi network if you want to add connection rule to only sync when connected to specific network.
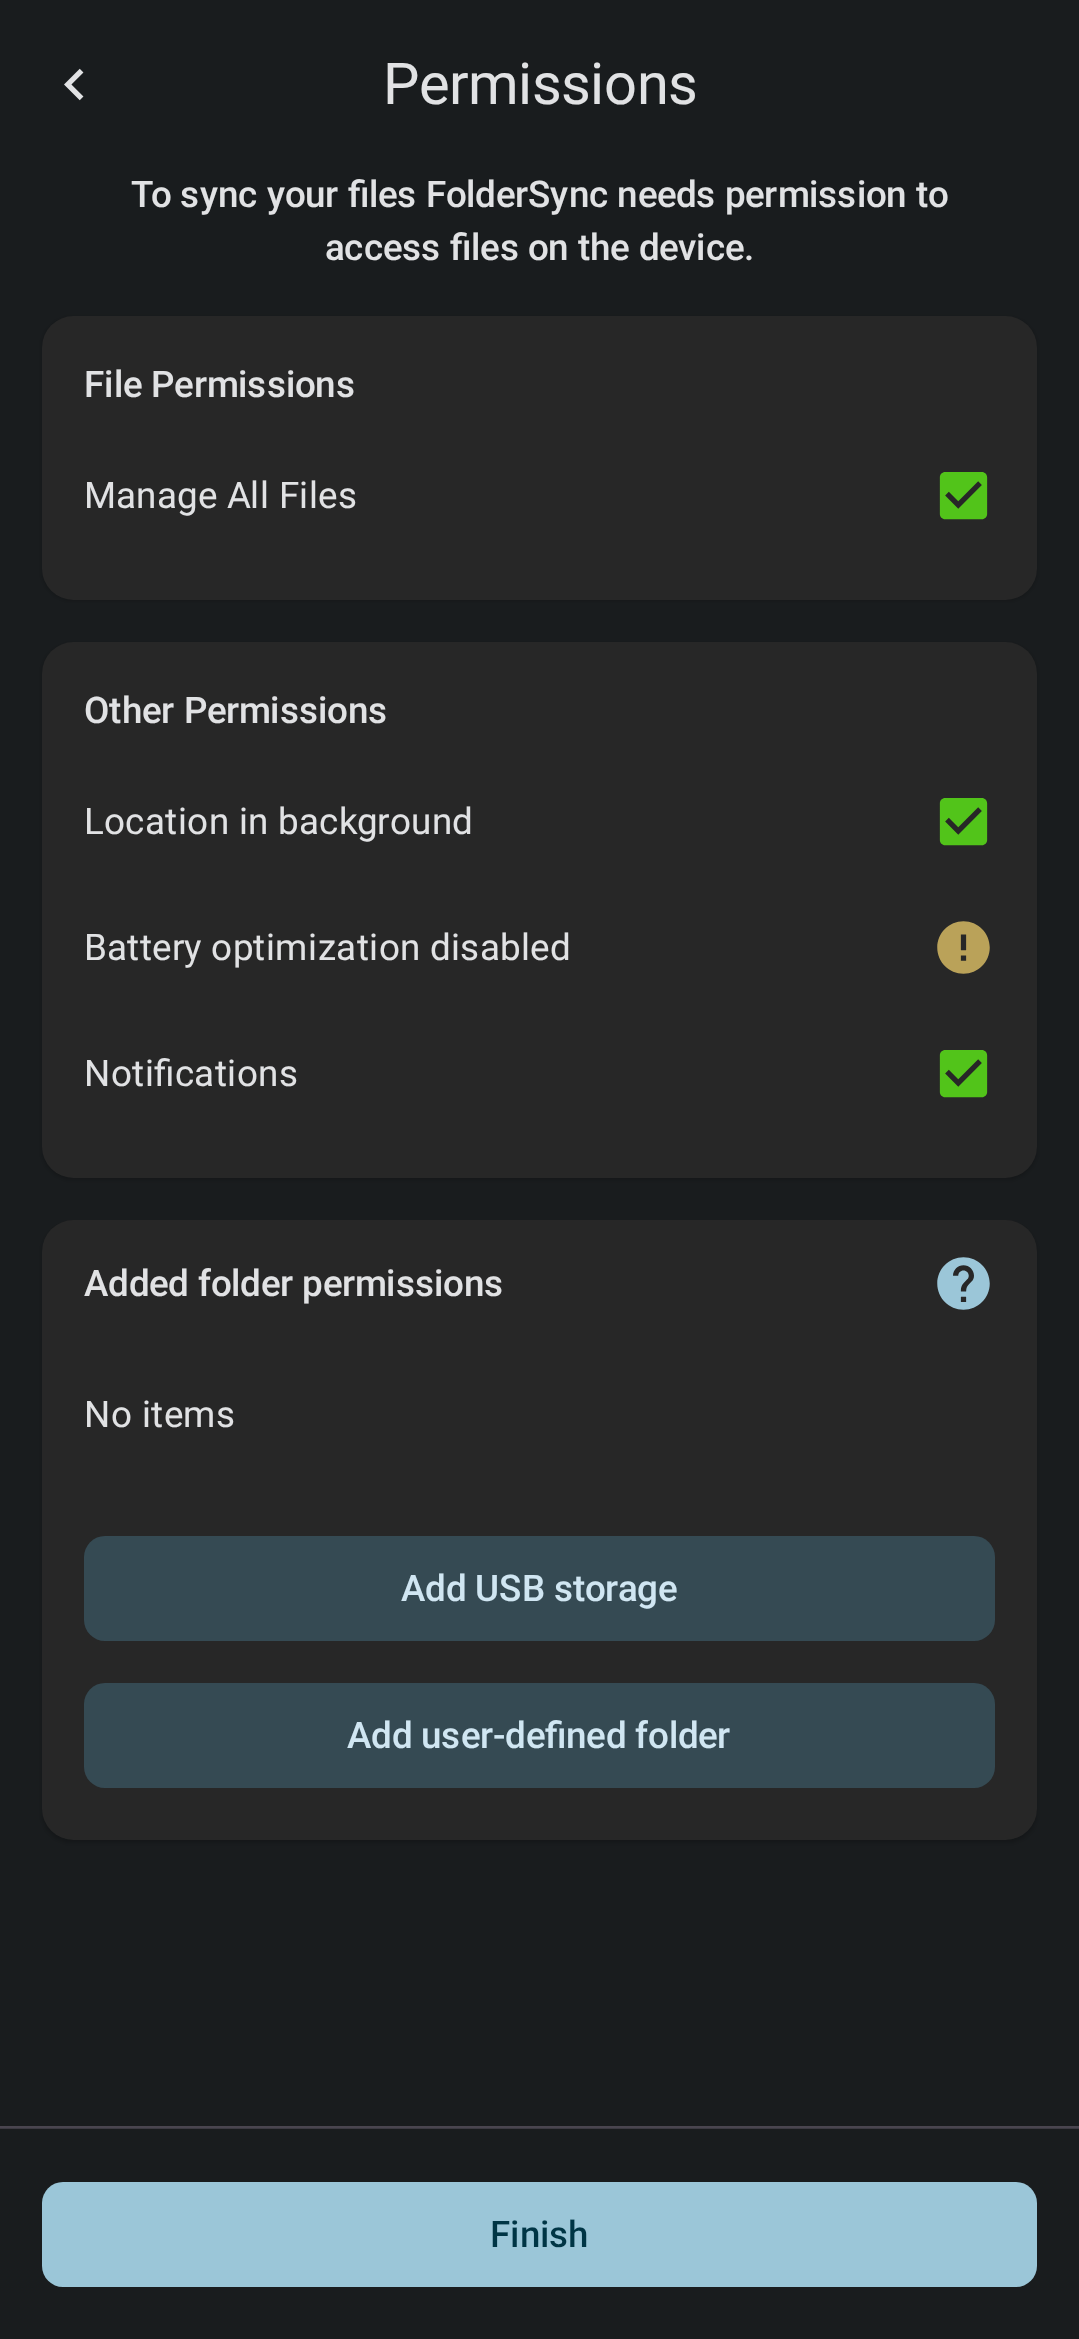
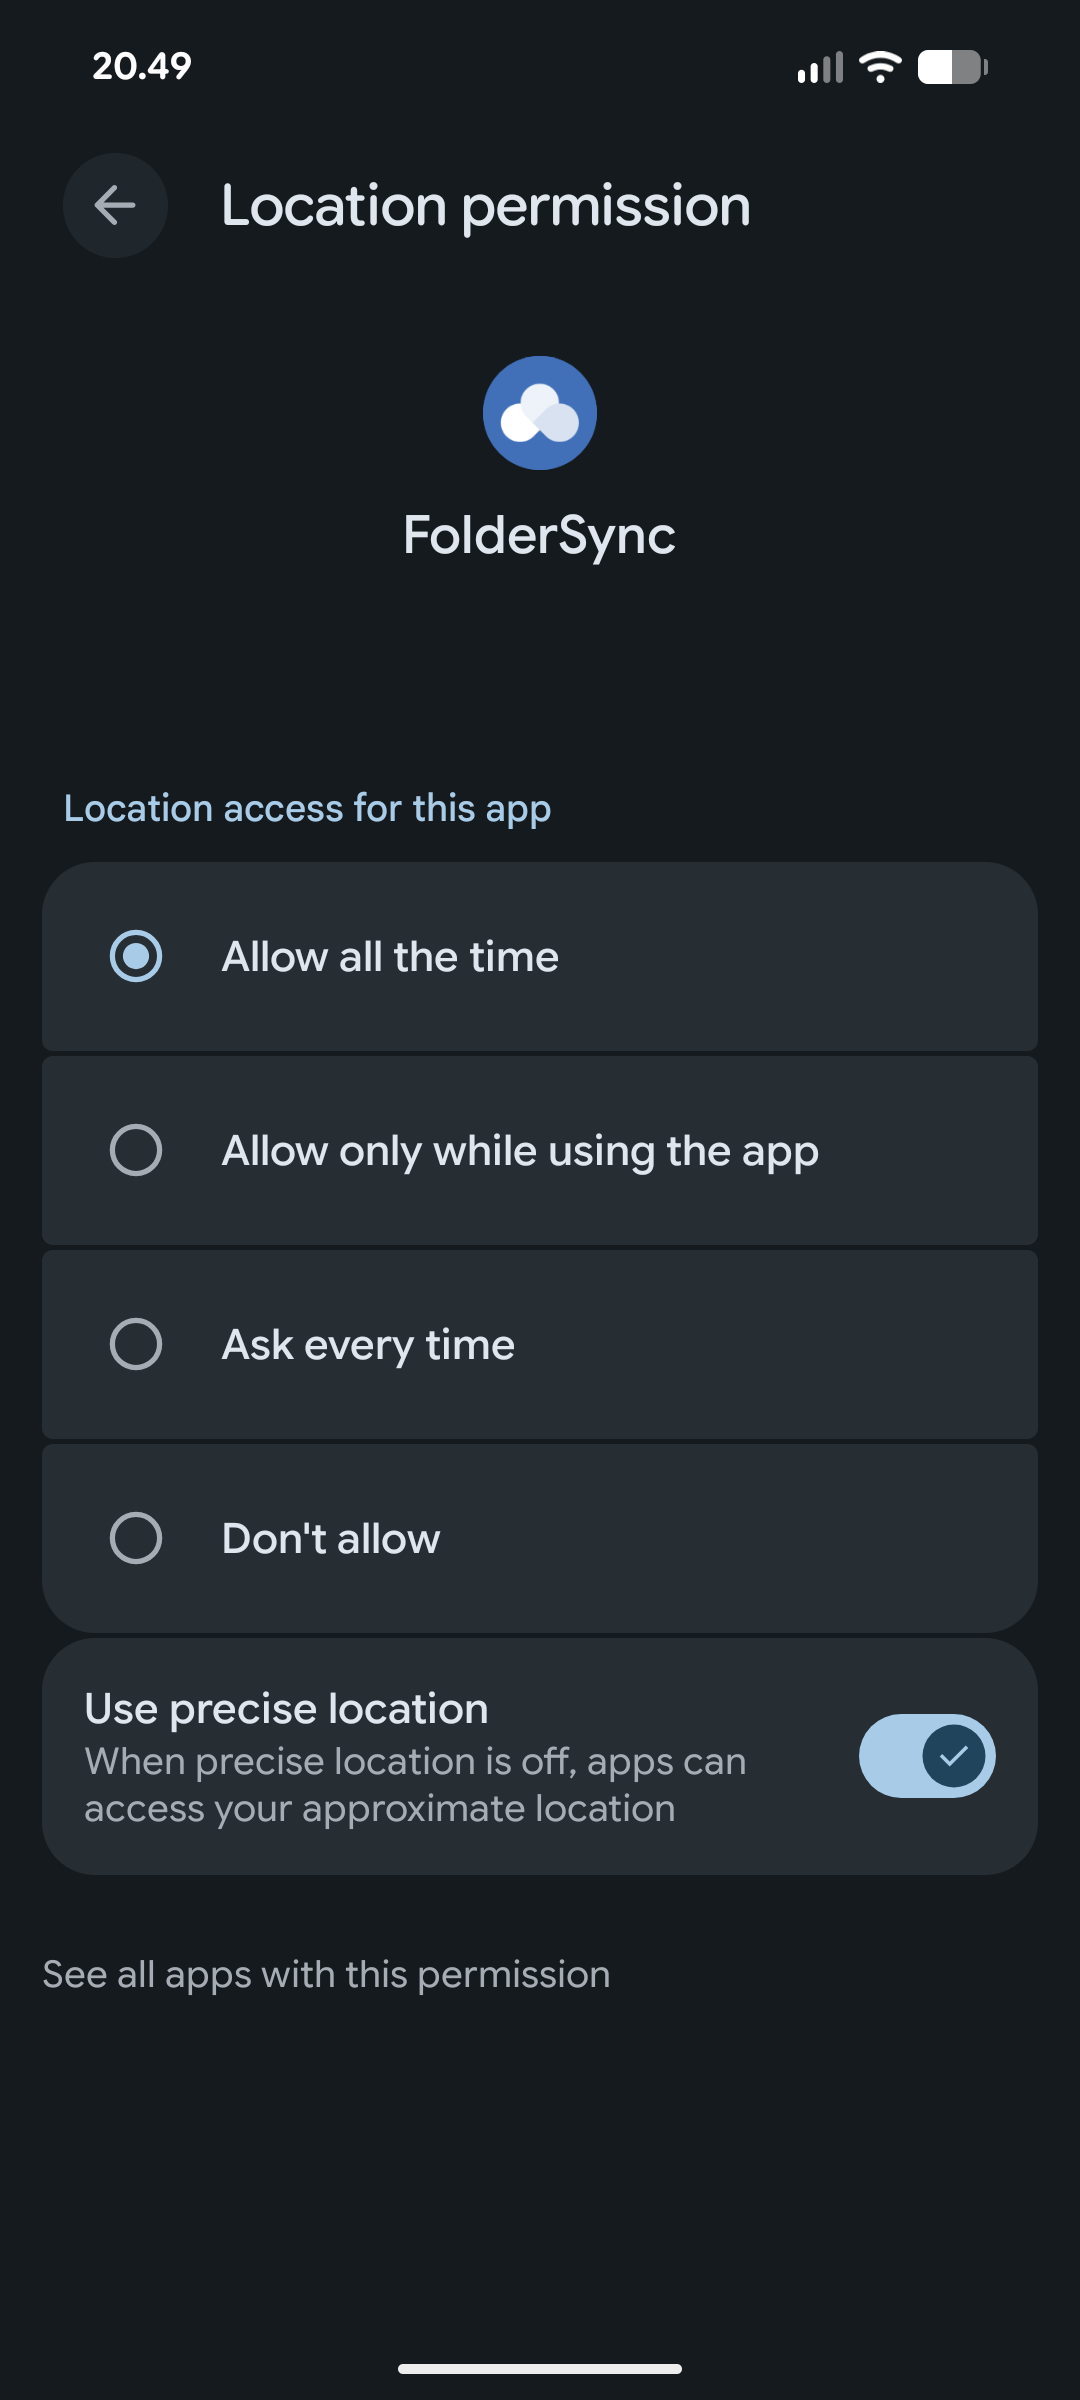
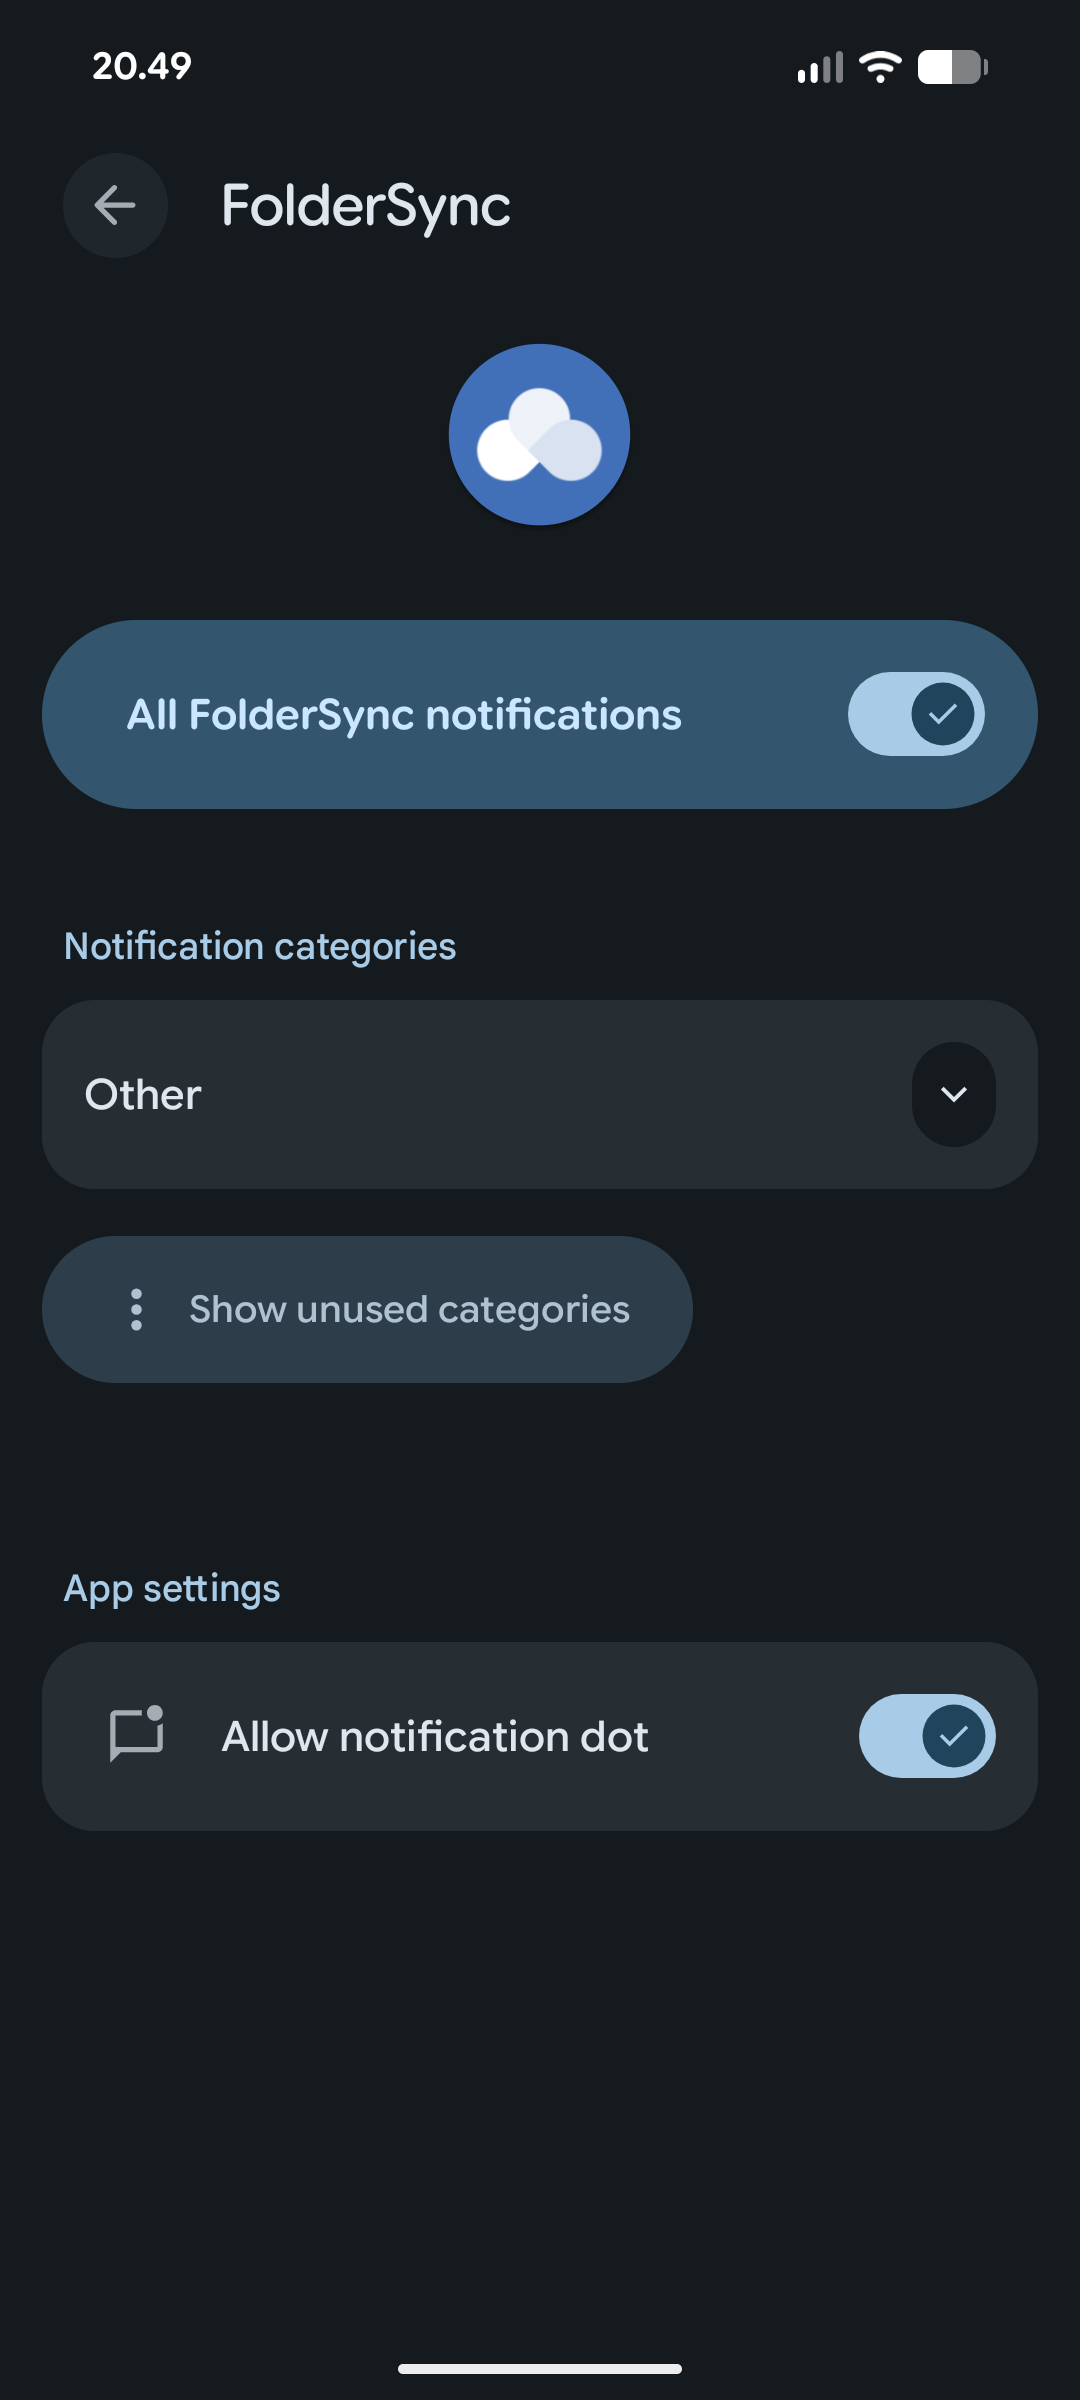
When the required permissions have been granted tap [Finish].
Info
You can always access the permissions screen again from the About menu.
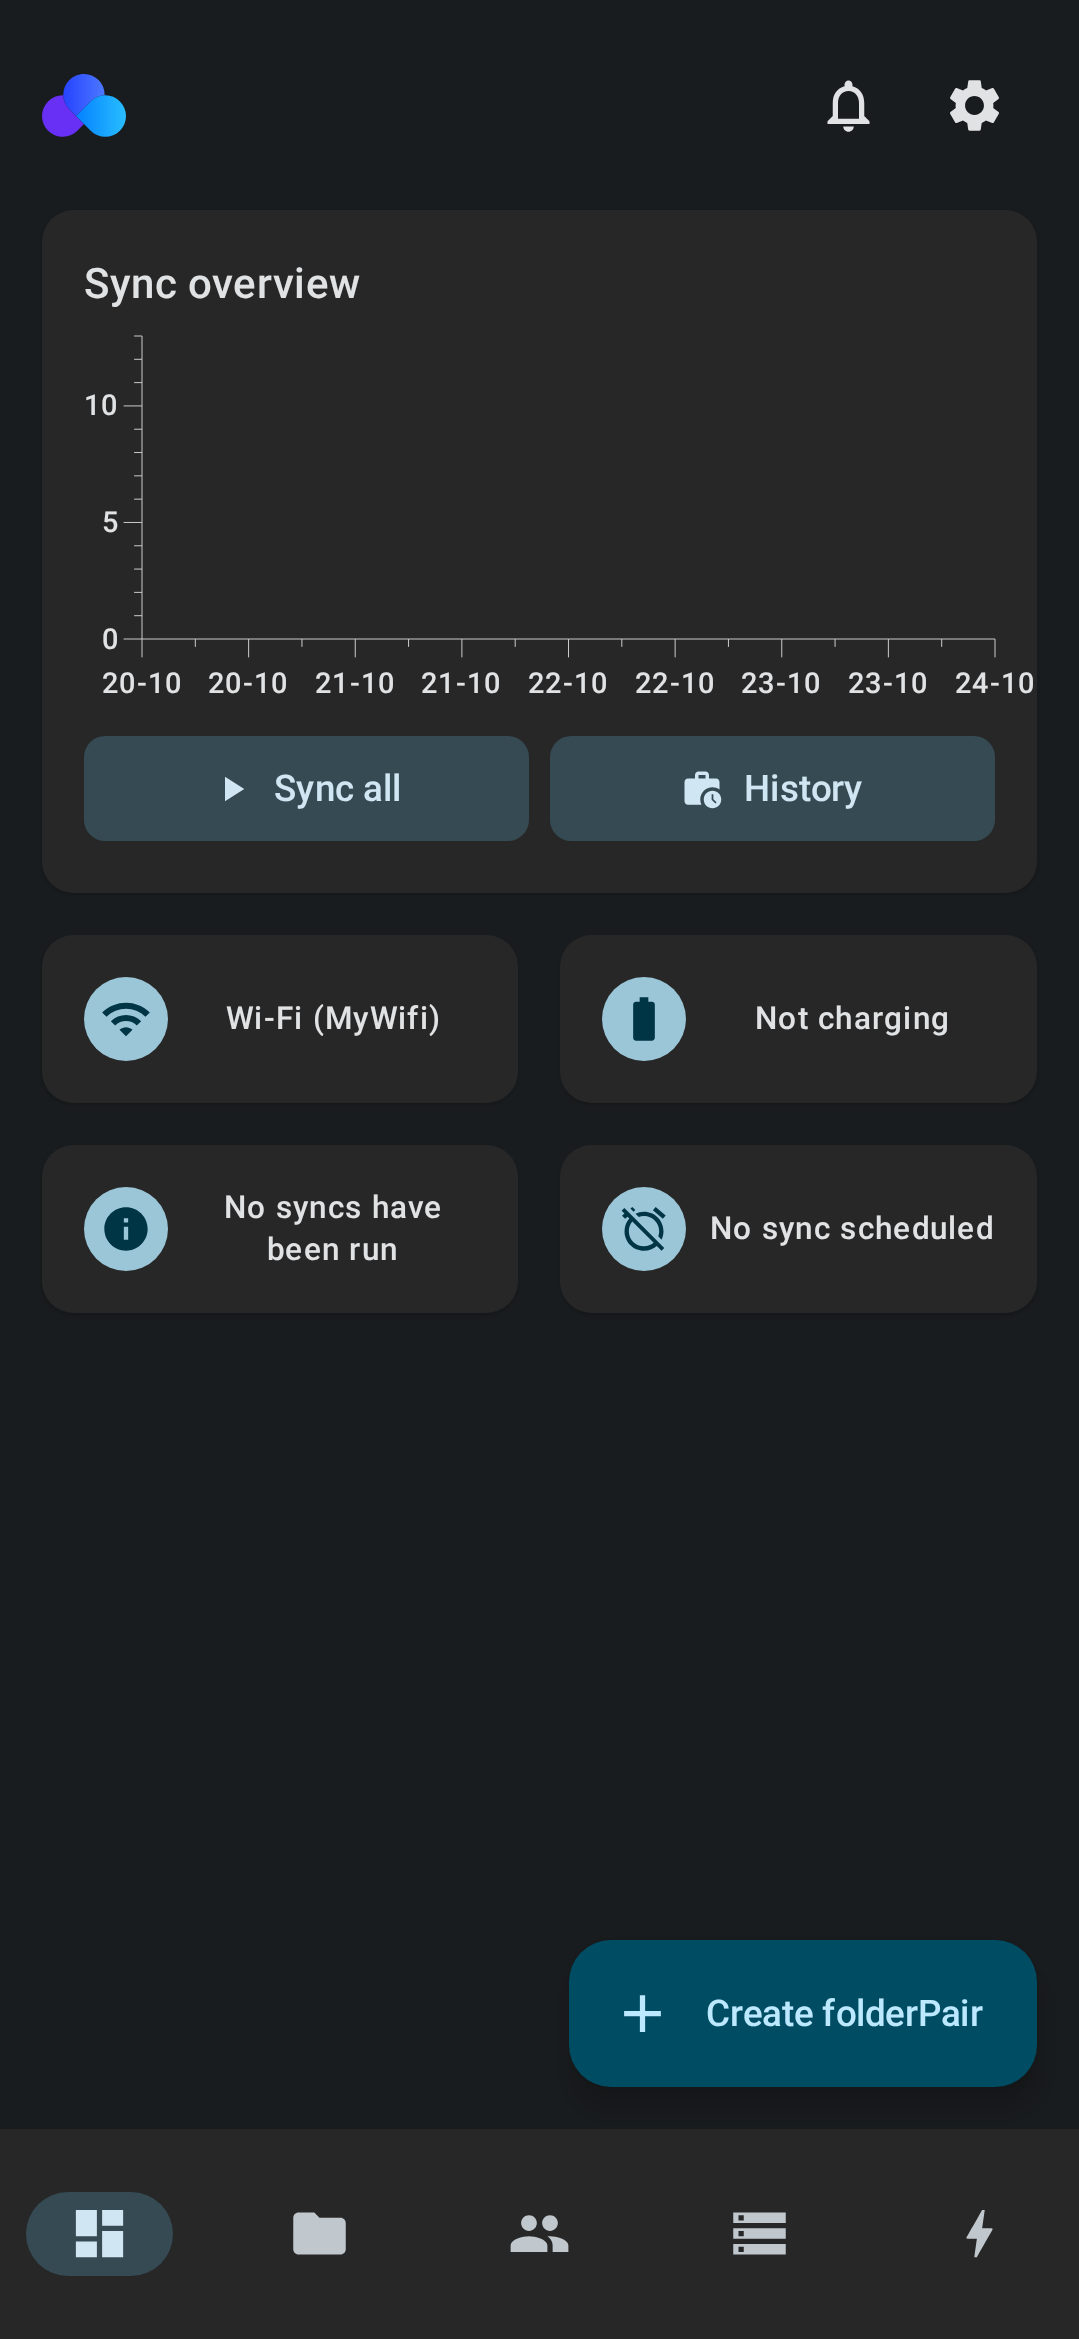
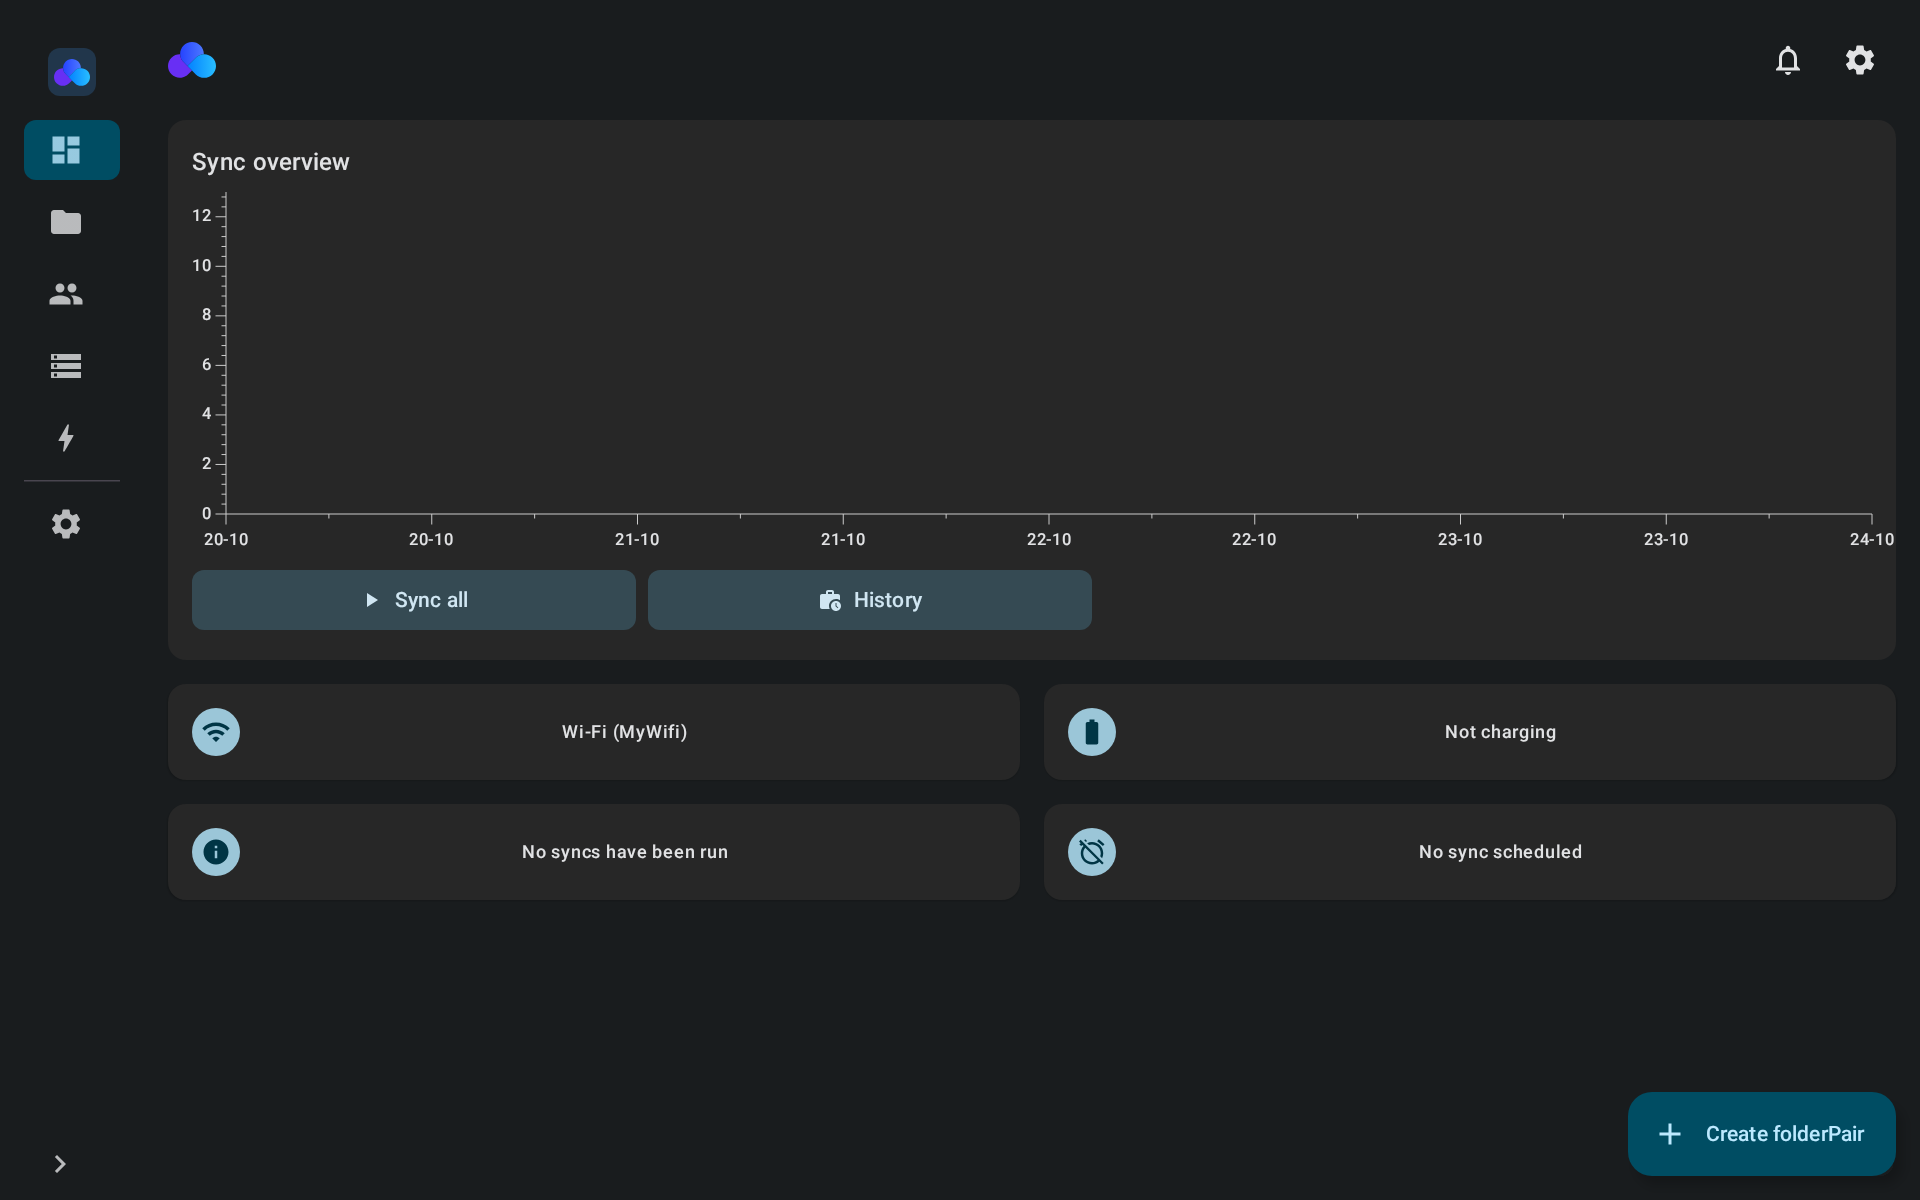
App is ready for use
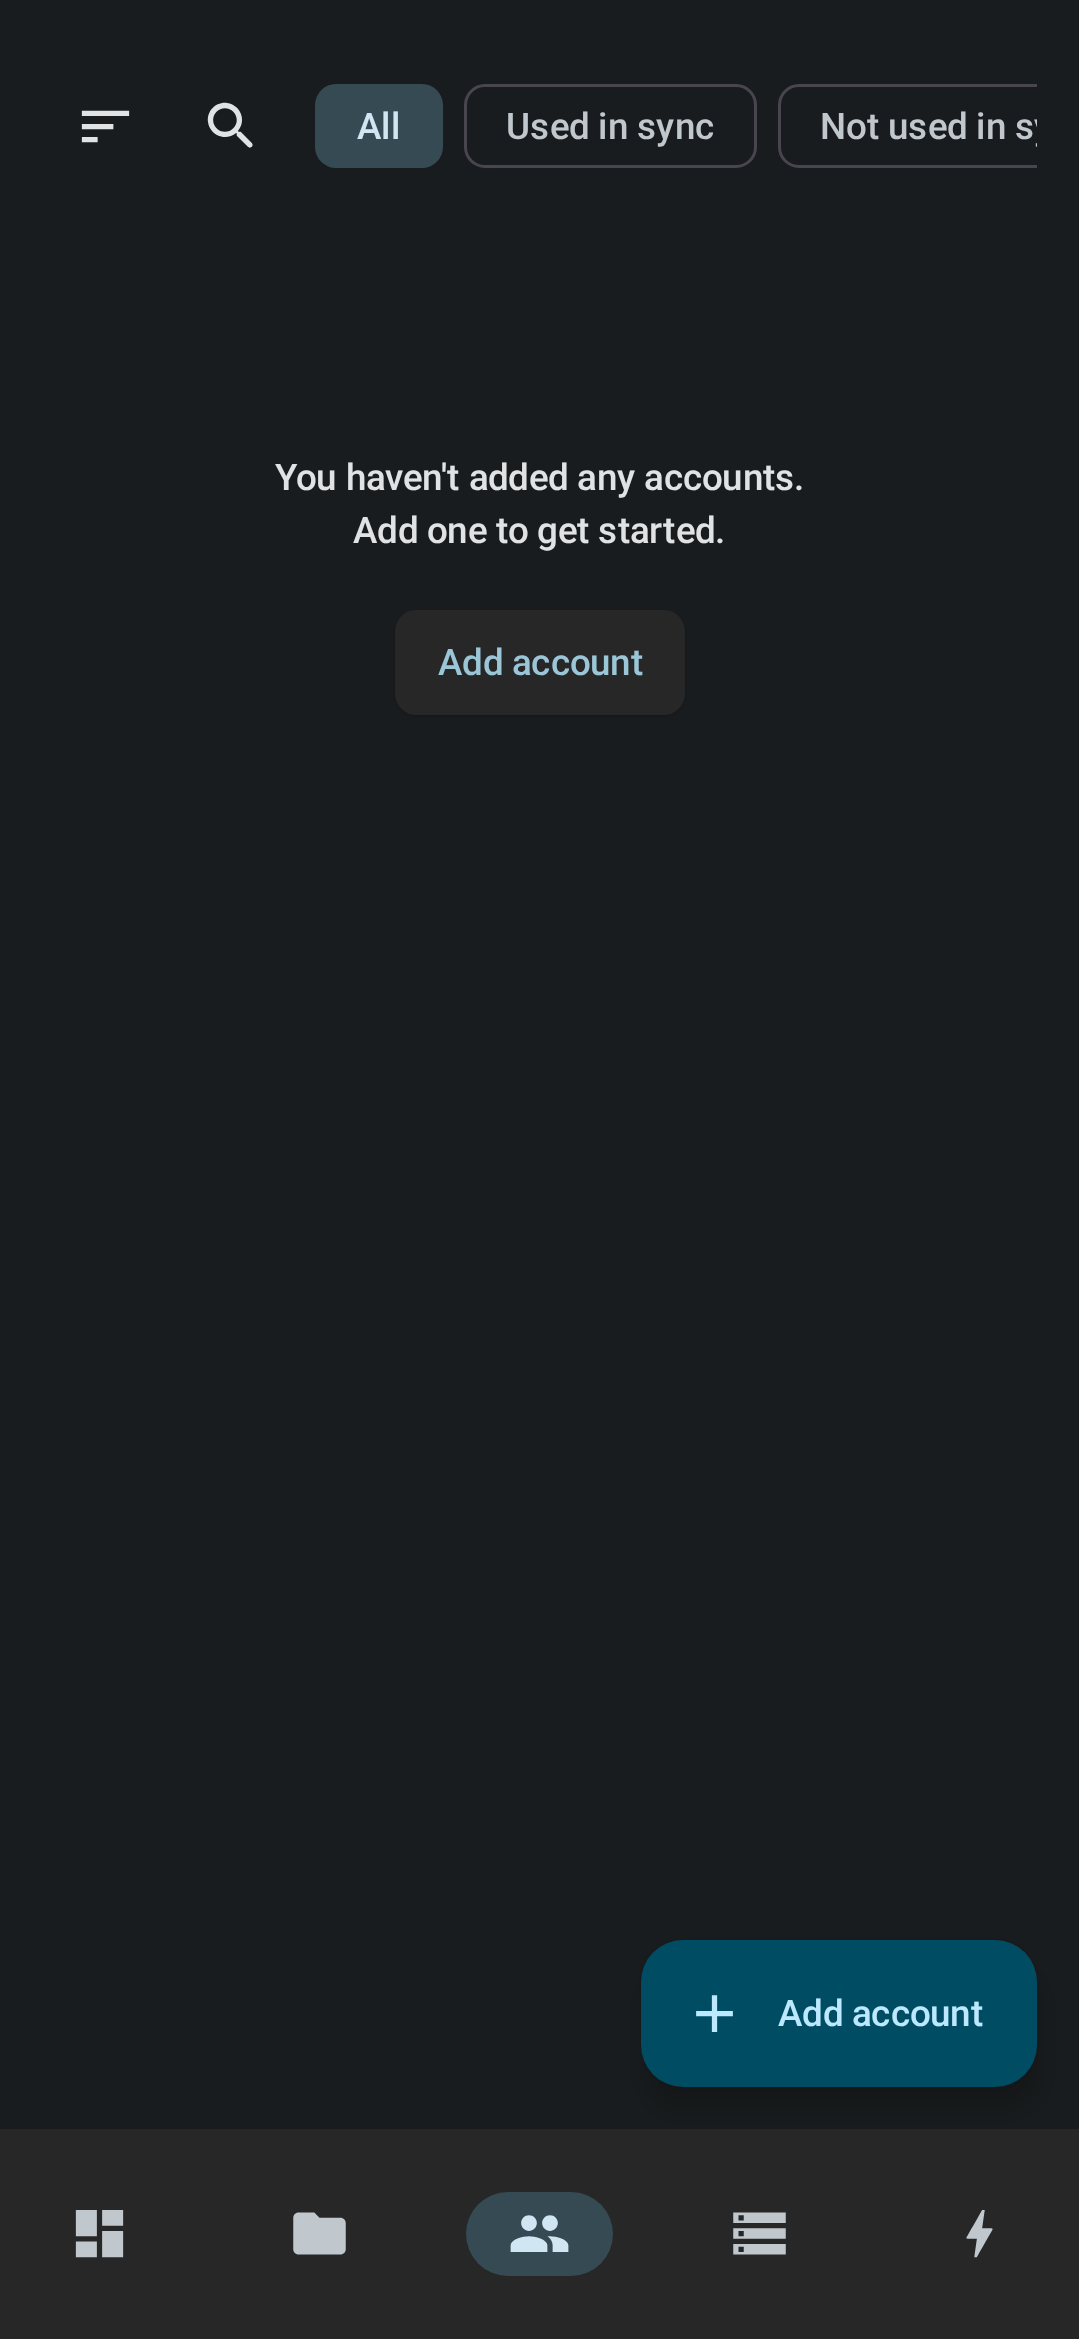
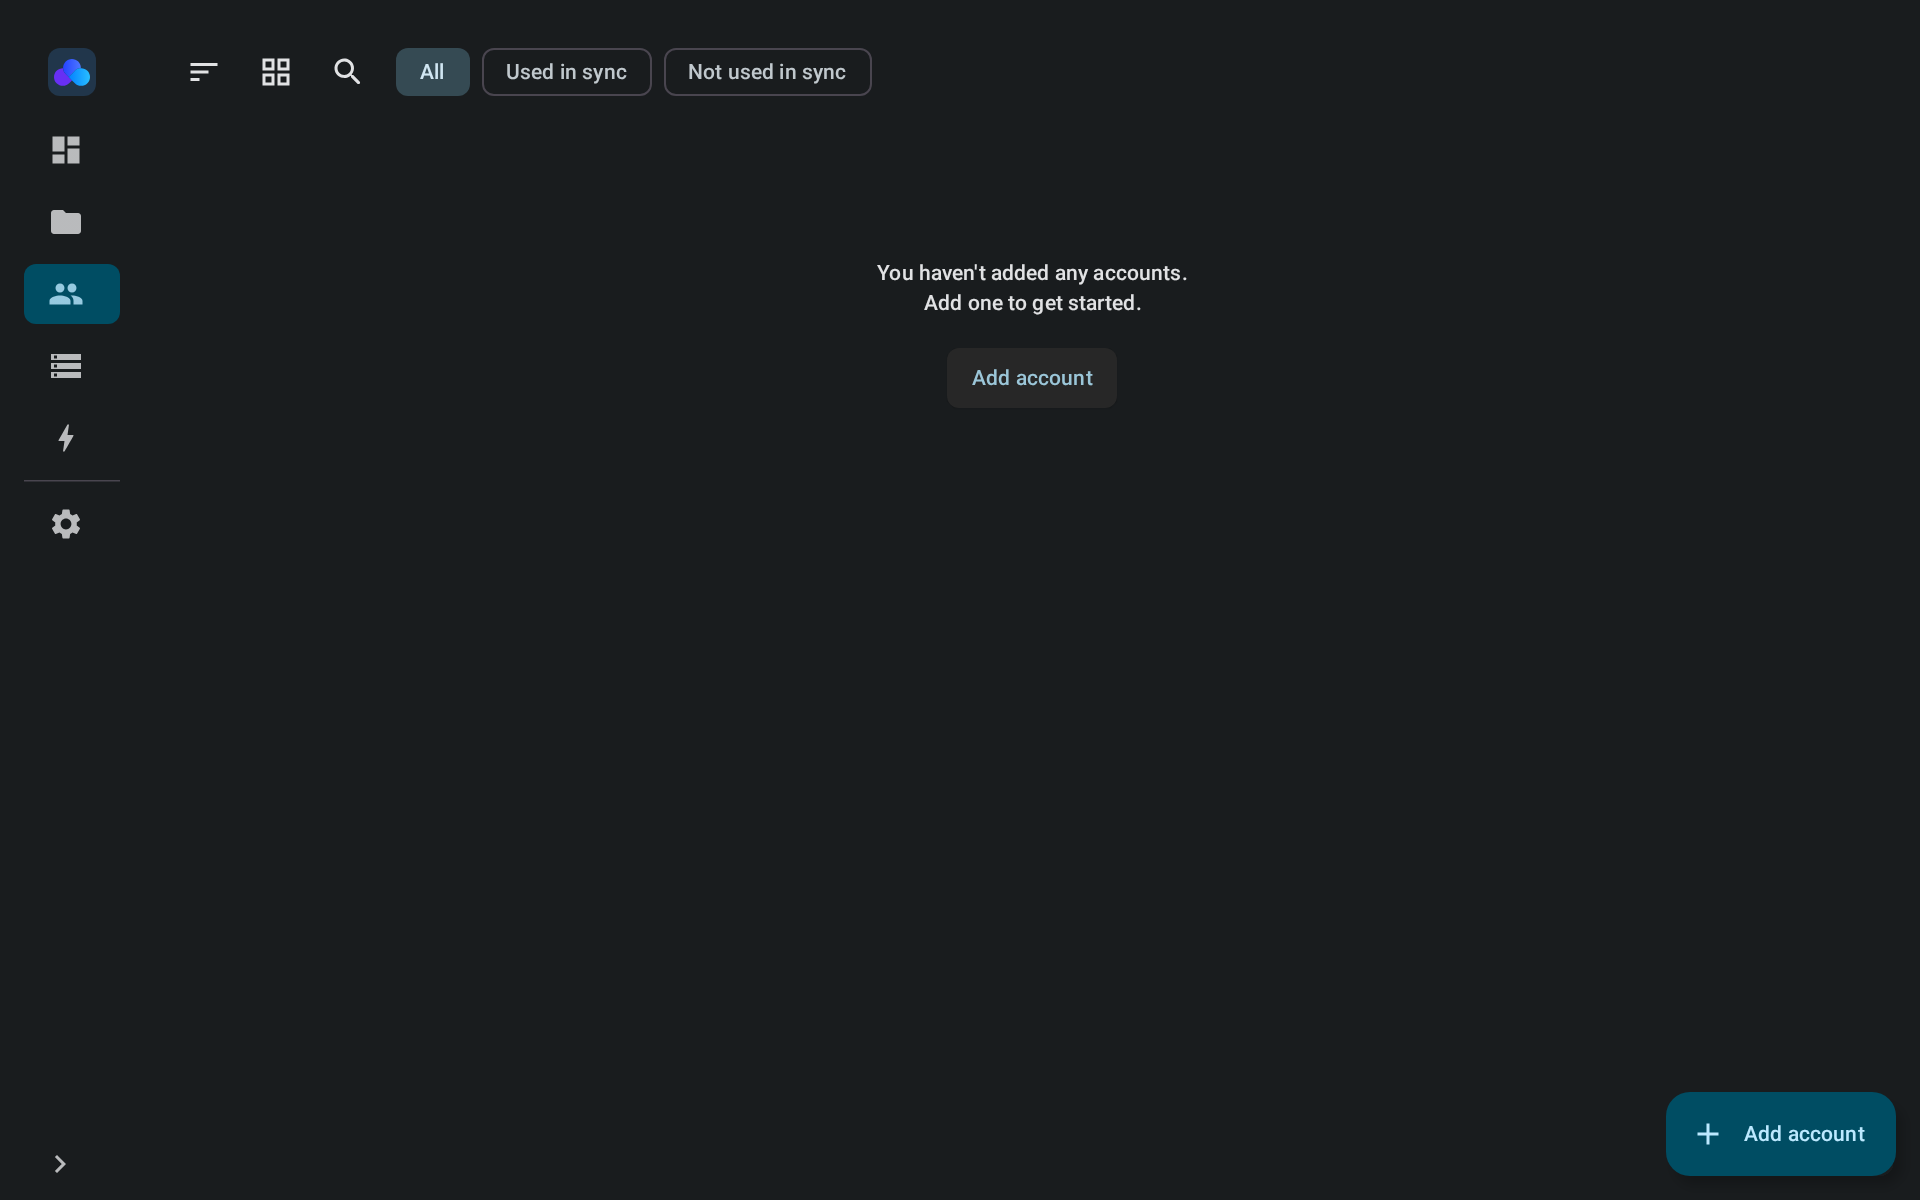
The app should now be ready for you to create a folderPair. You start on the Dashboard screen and and at the bottom you can see main menu of the app displayed (or in a navigation rail on the left on larger screens). The first thing we want to do is add an account, so go to the Accounts screen using the menu.
Add account
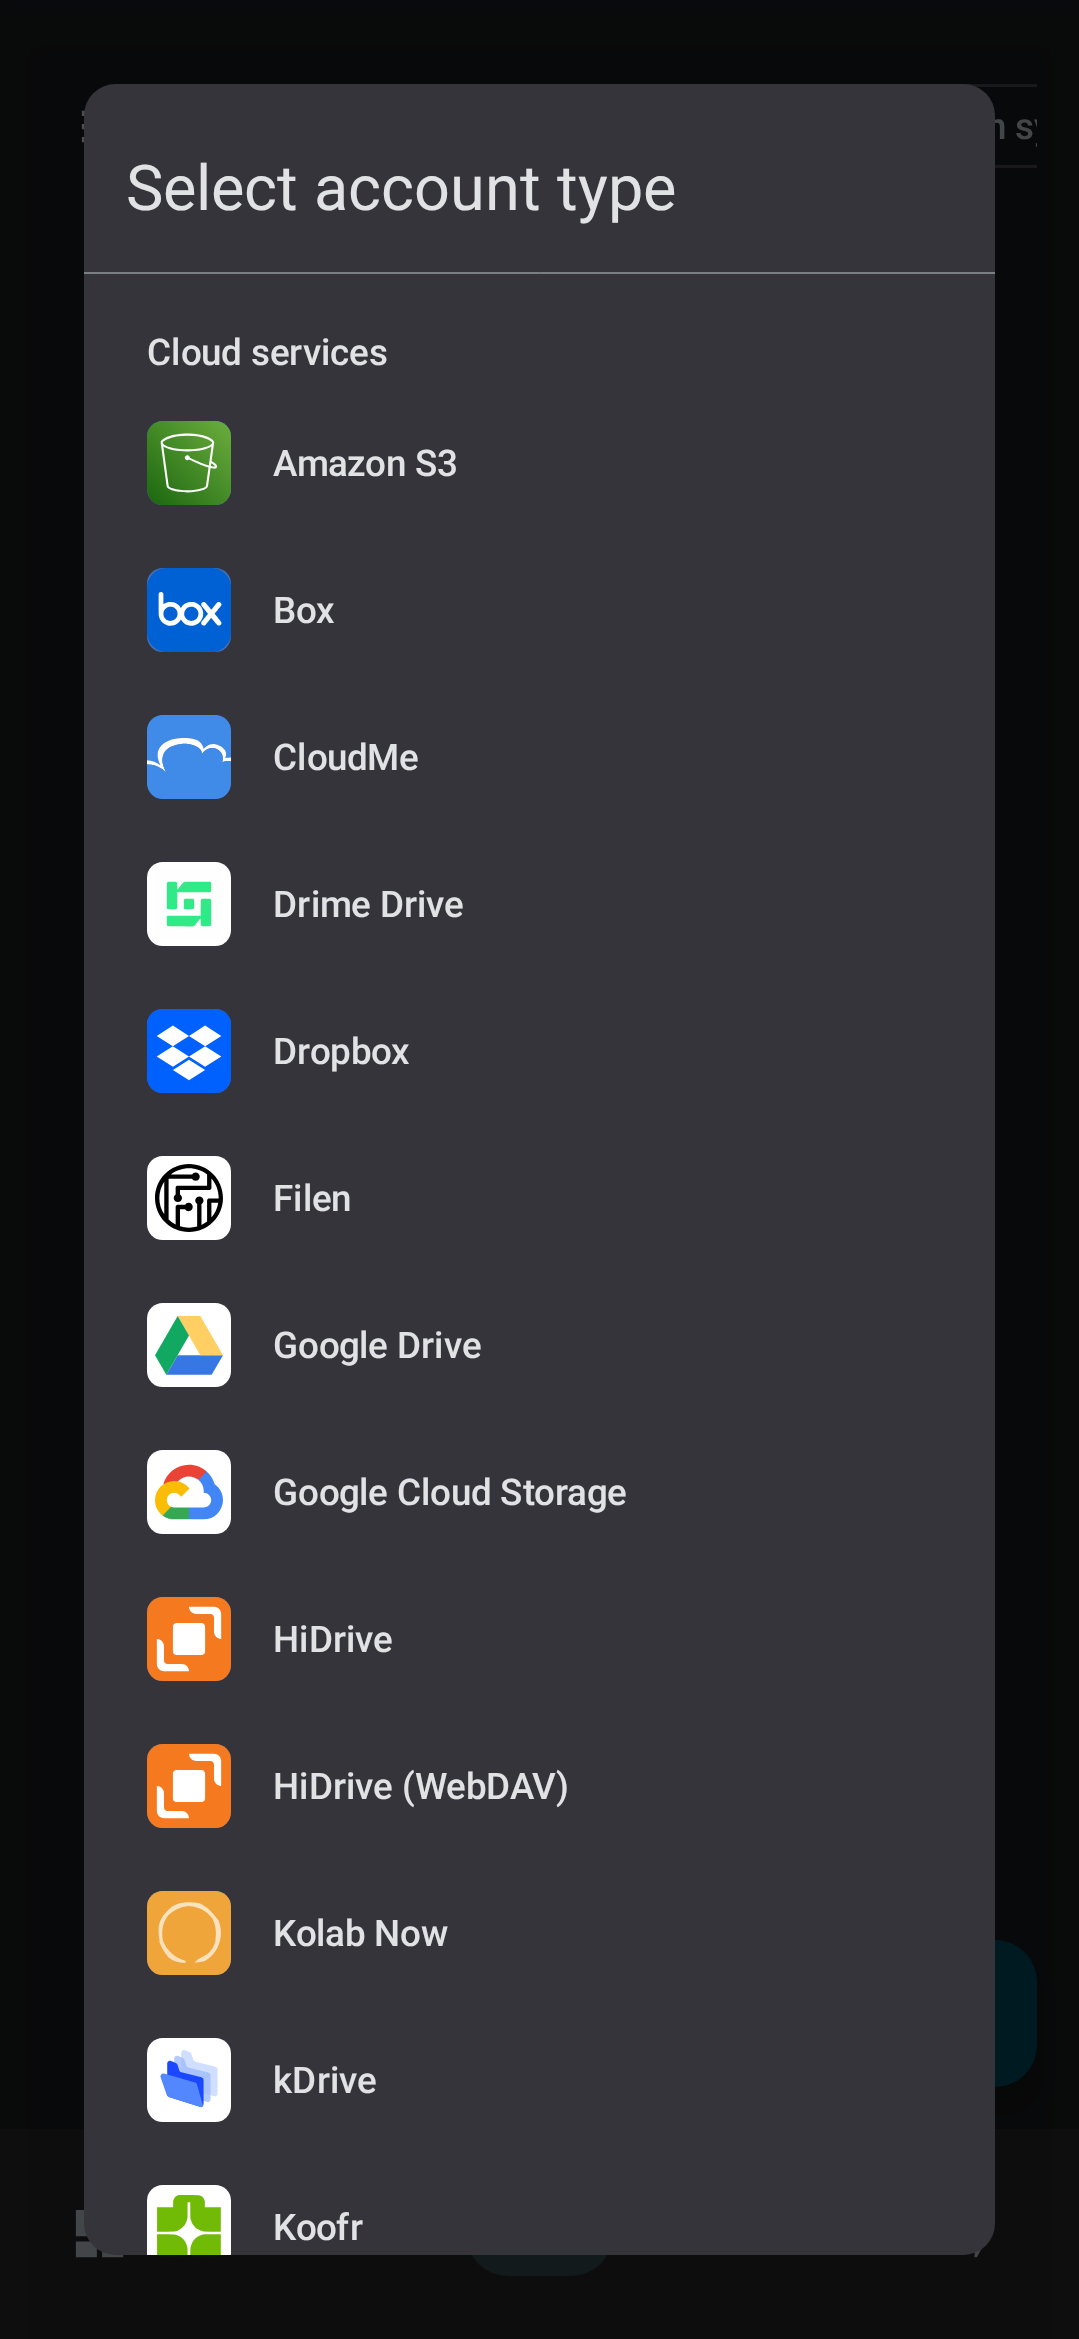
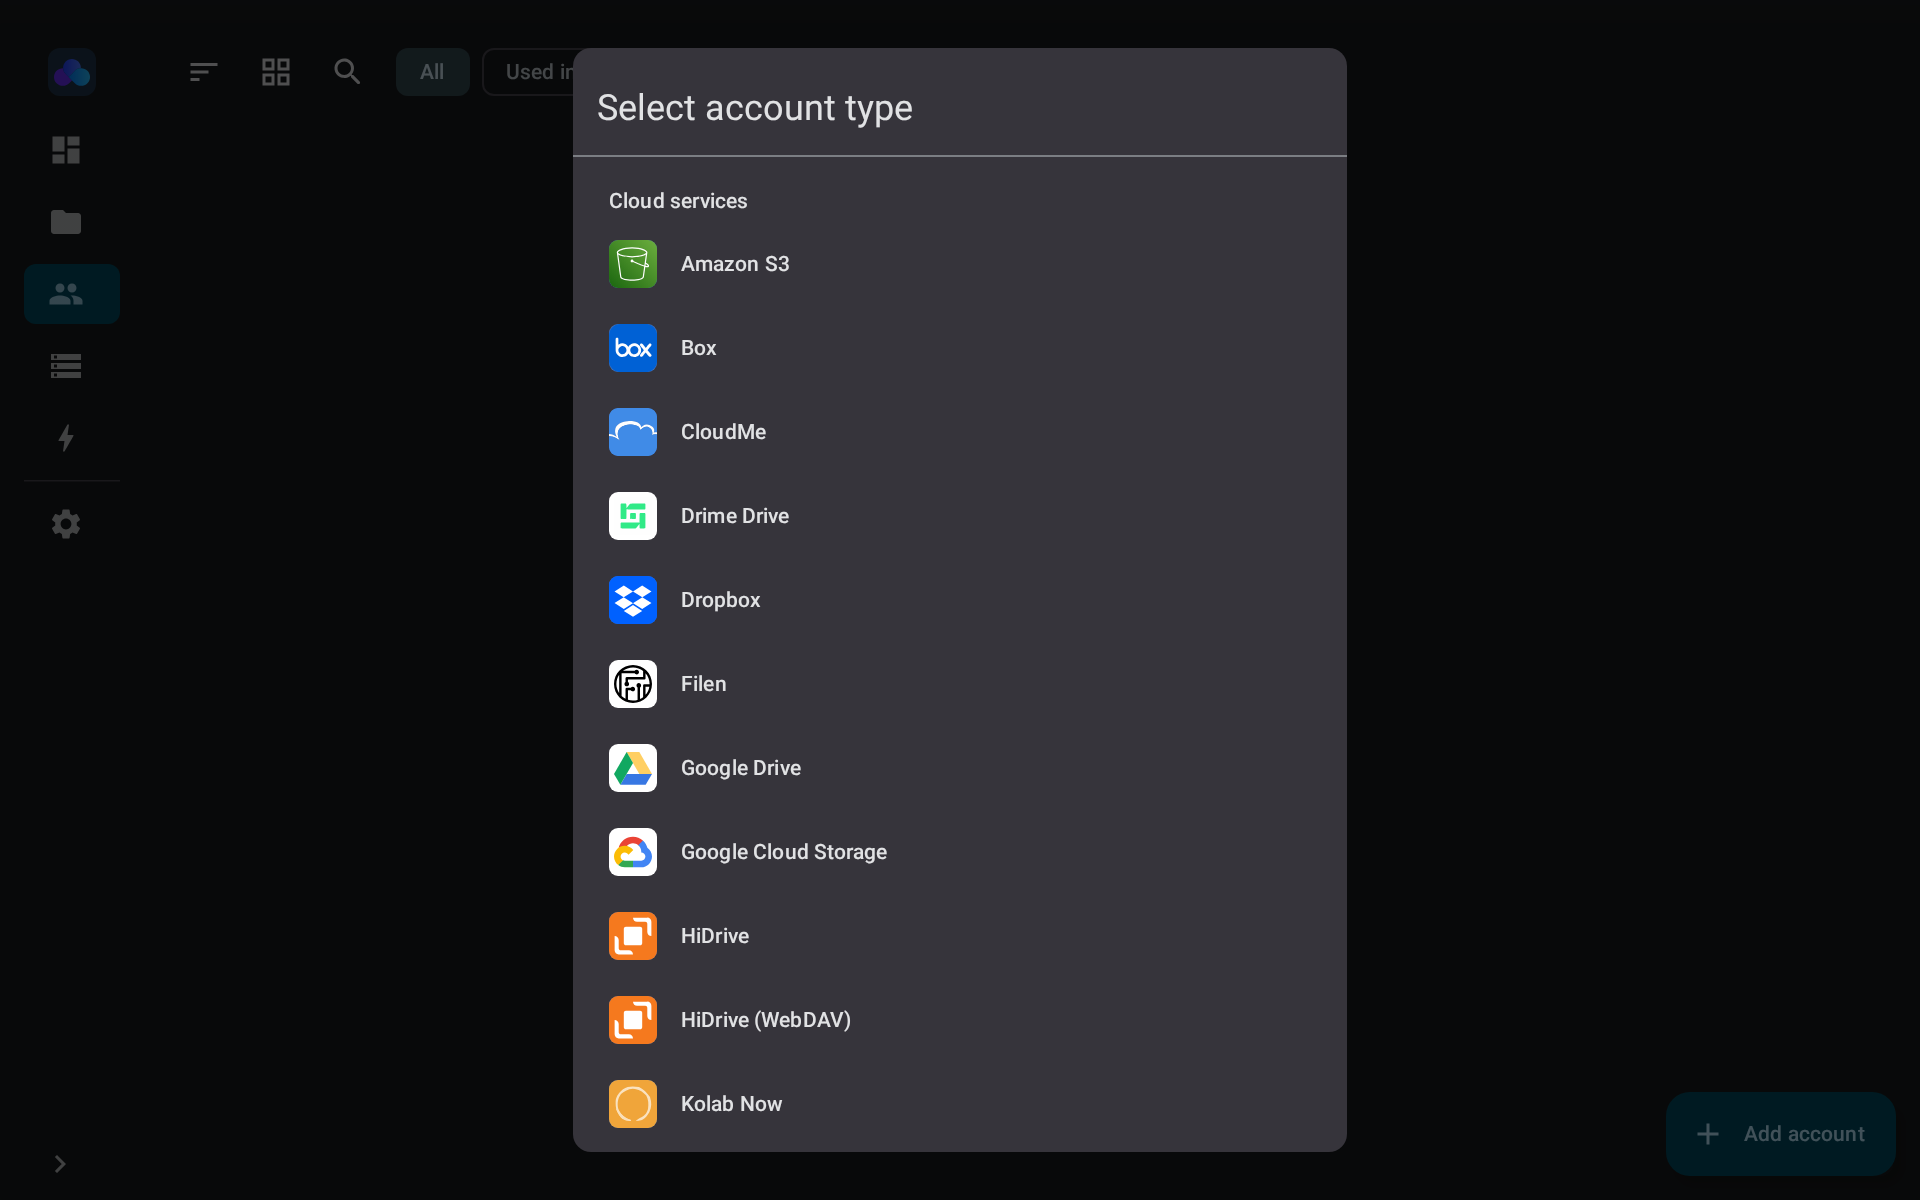
On the Accounts screen tap [Add account]. Then the account type dialog will be shown. Select the cloud provider or file protocol you wan't to use. See a list supported providers and protocols here. In this example we will use Google Drive.
Configure account
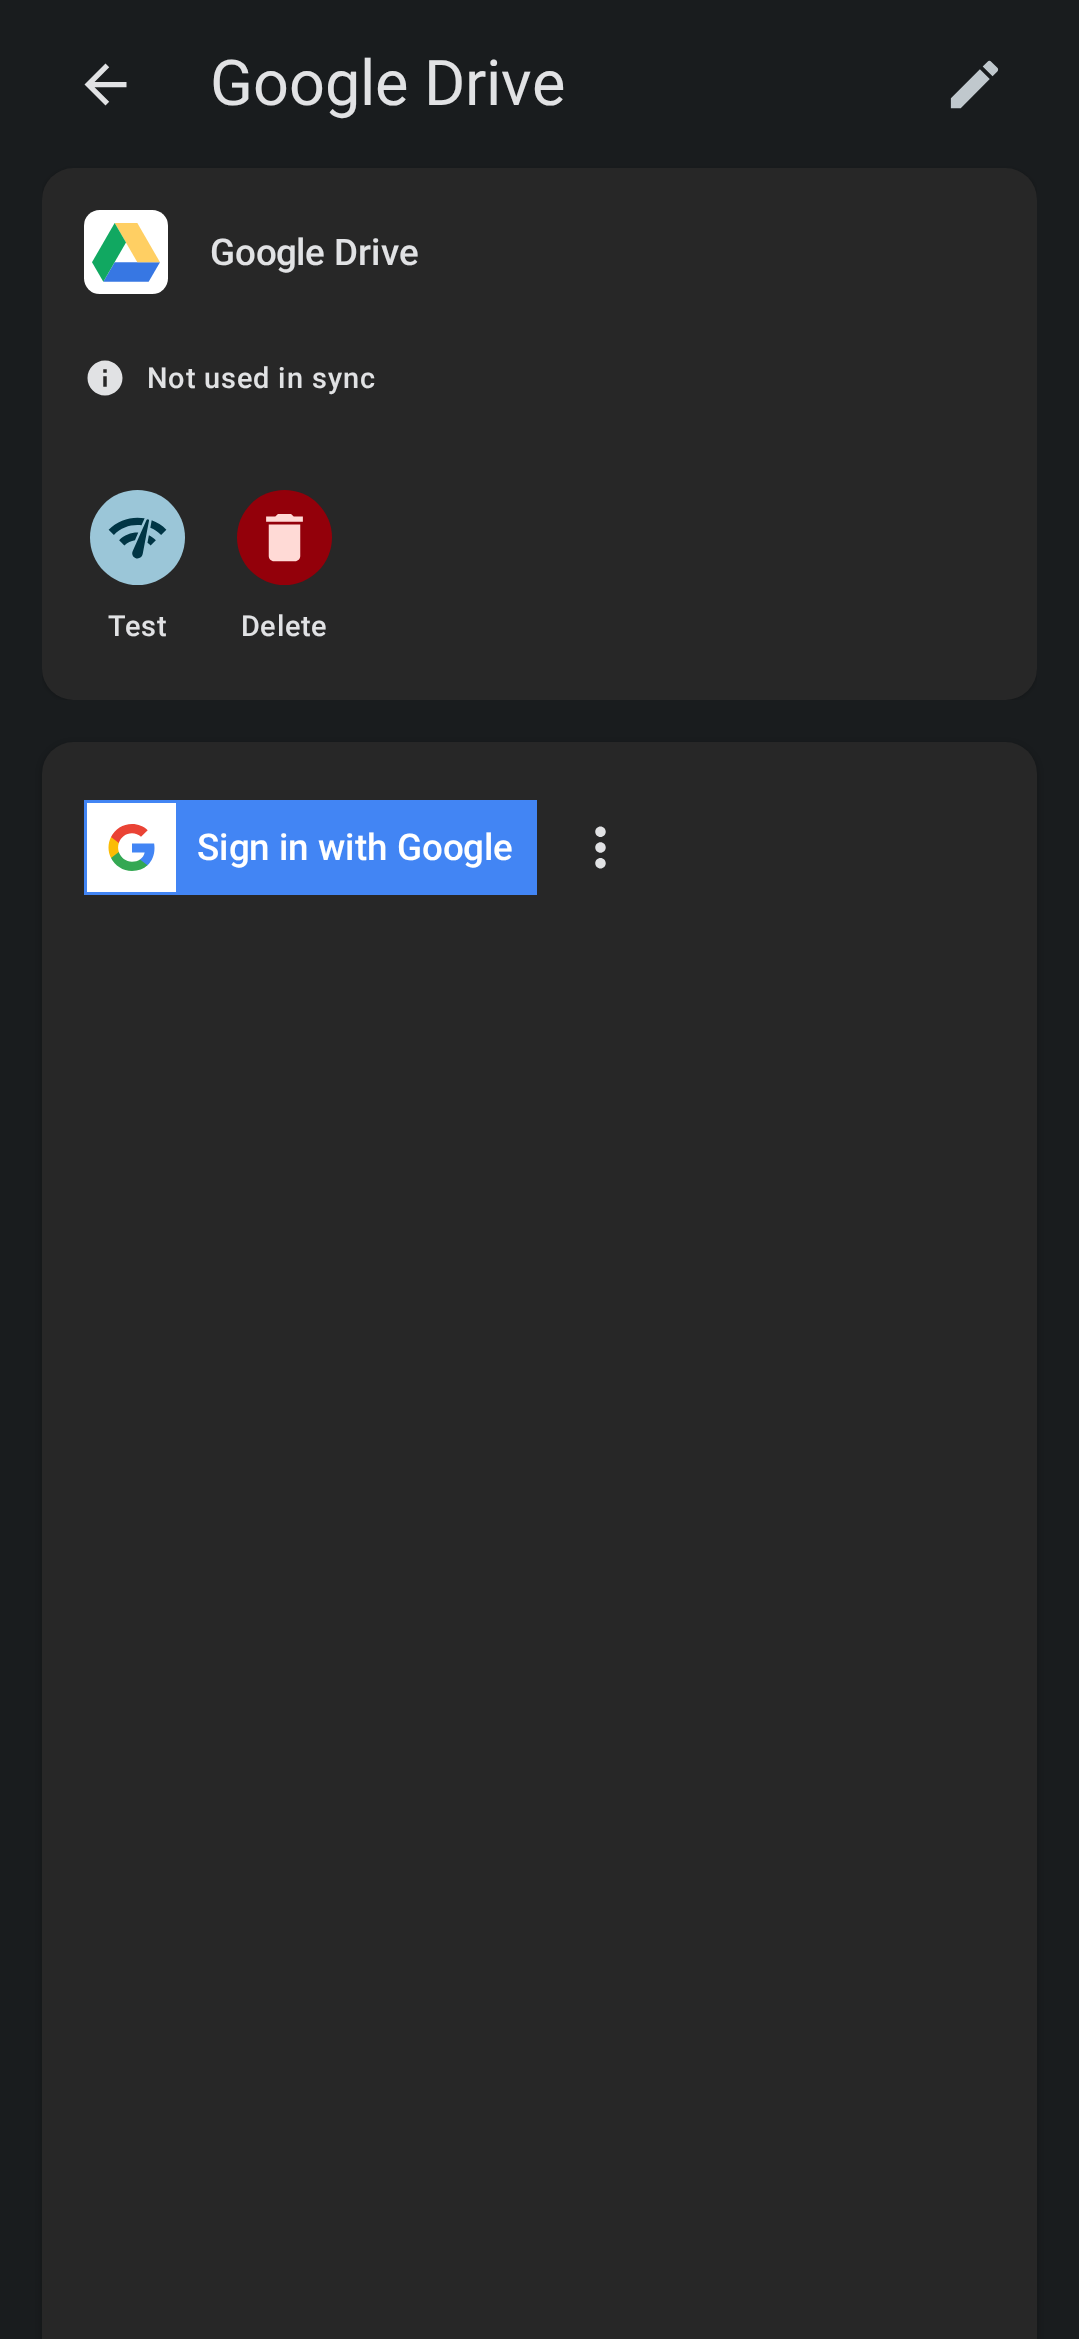
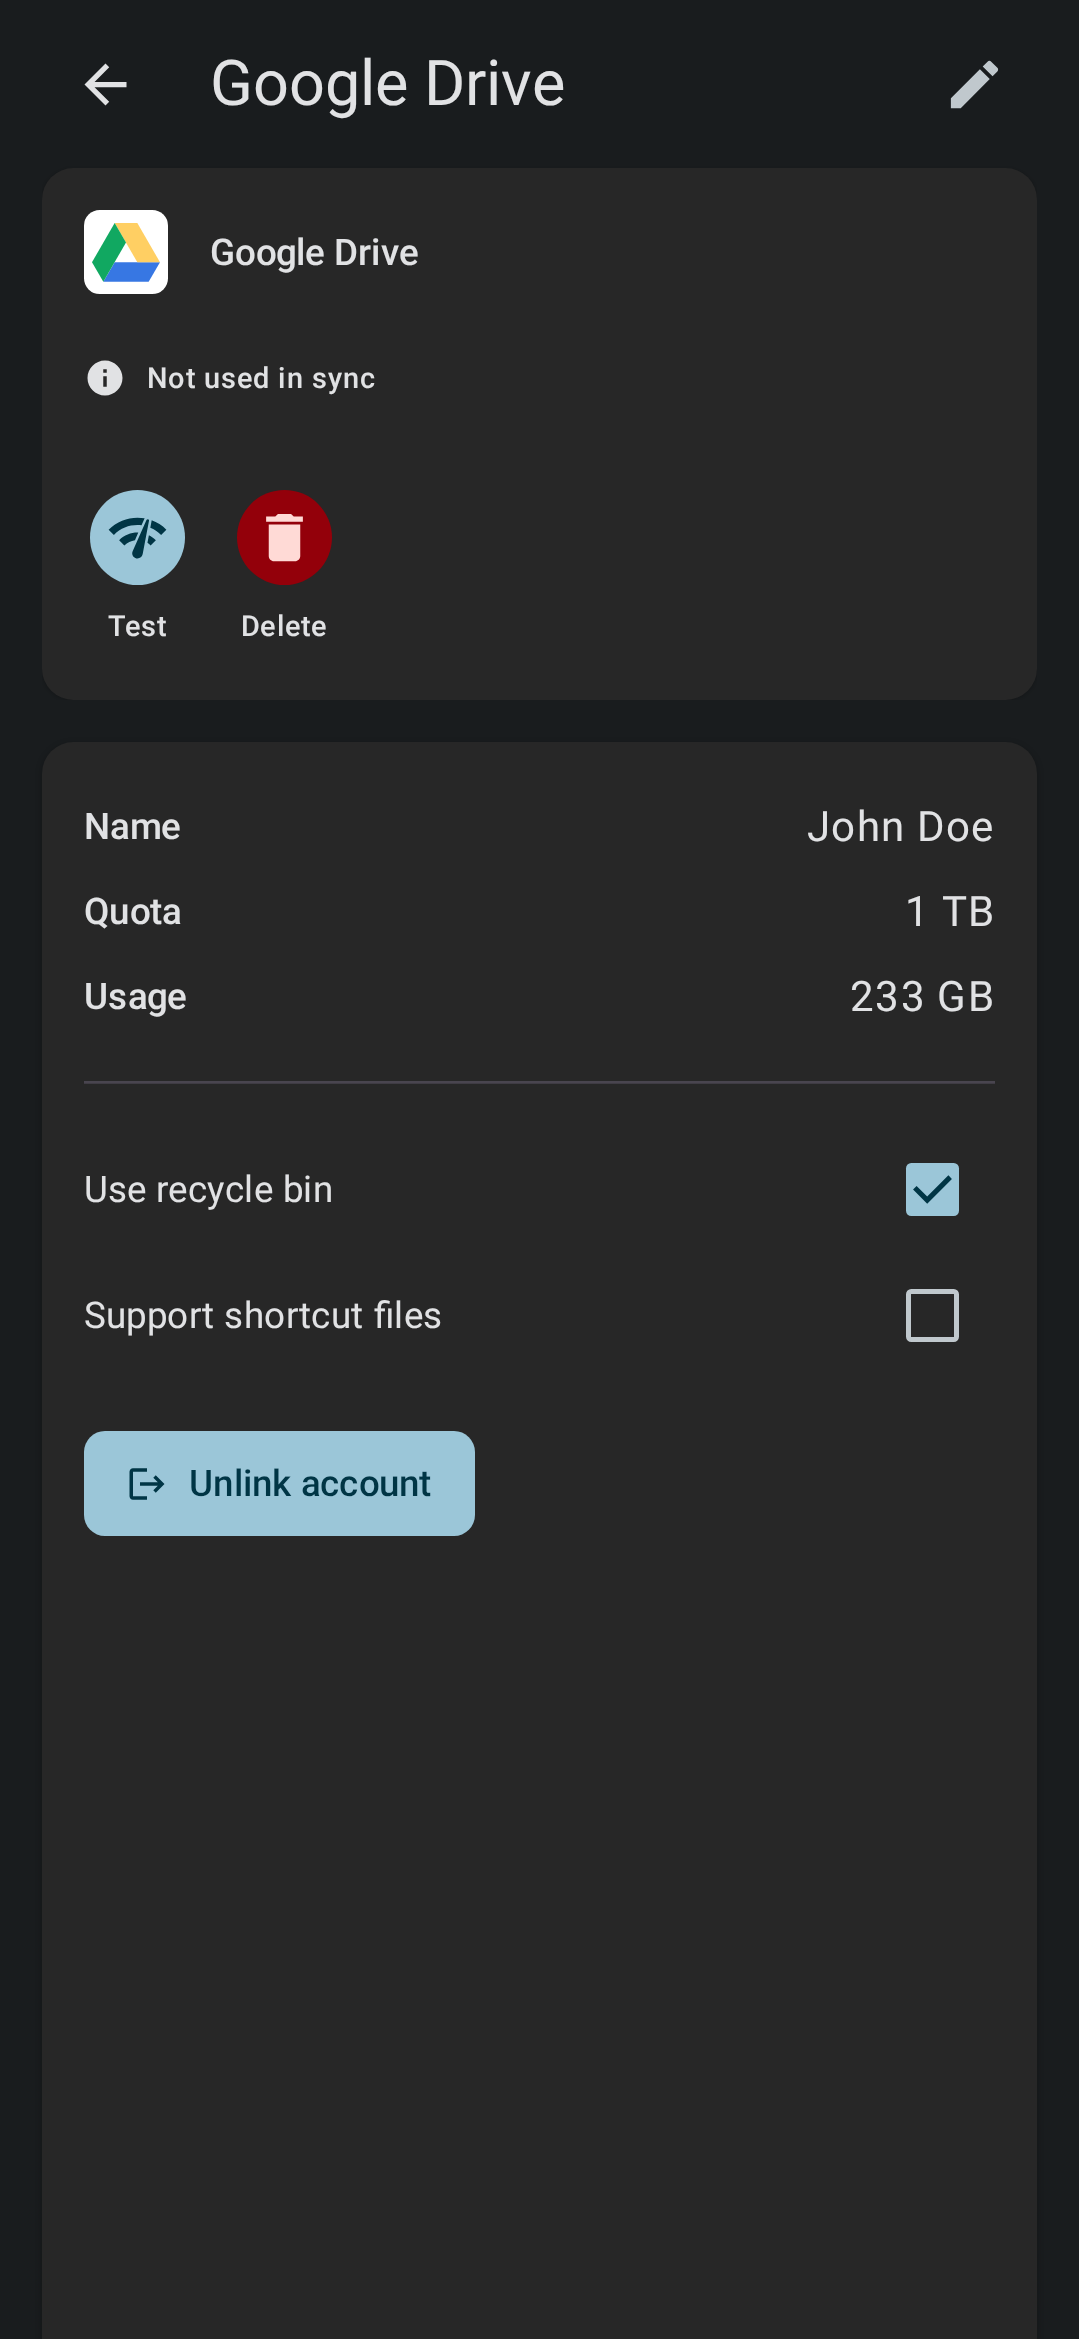
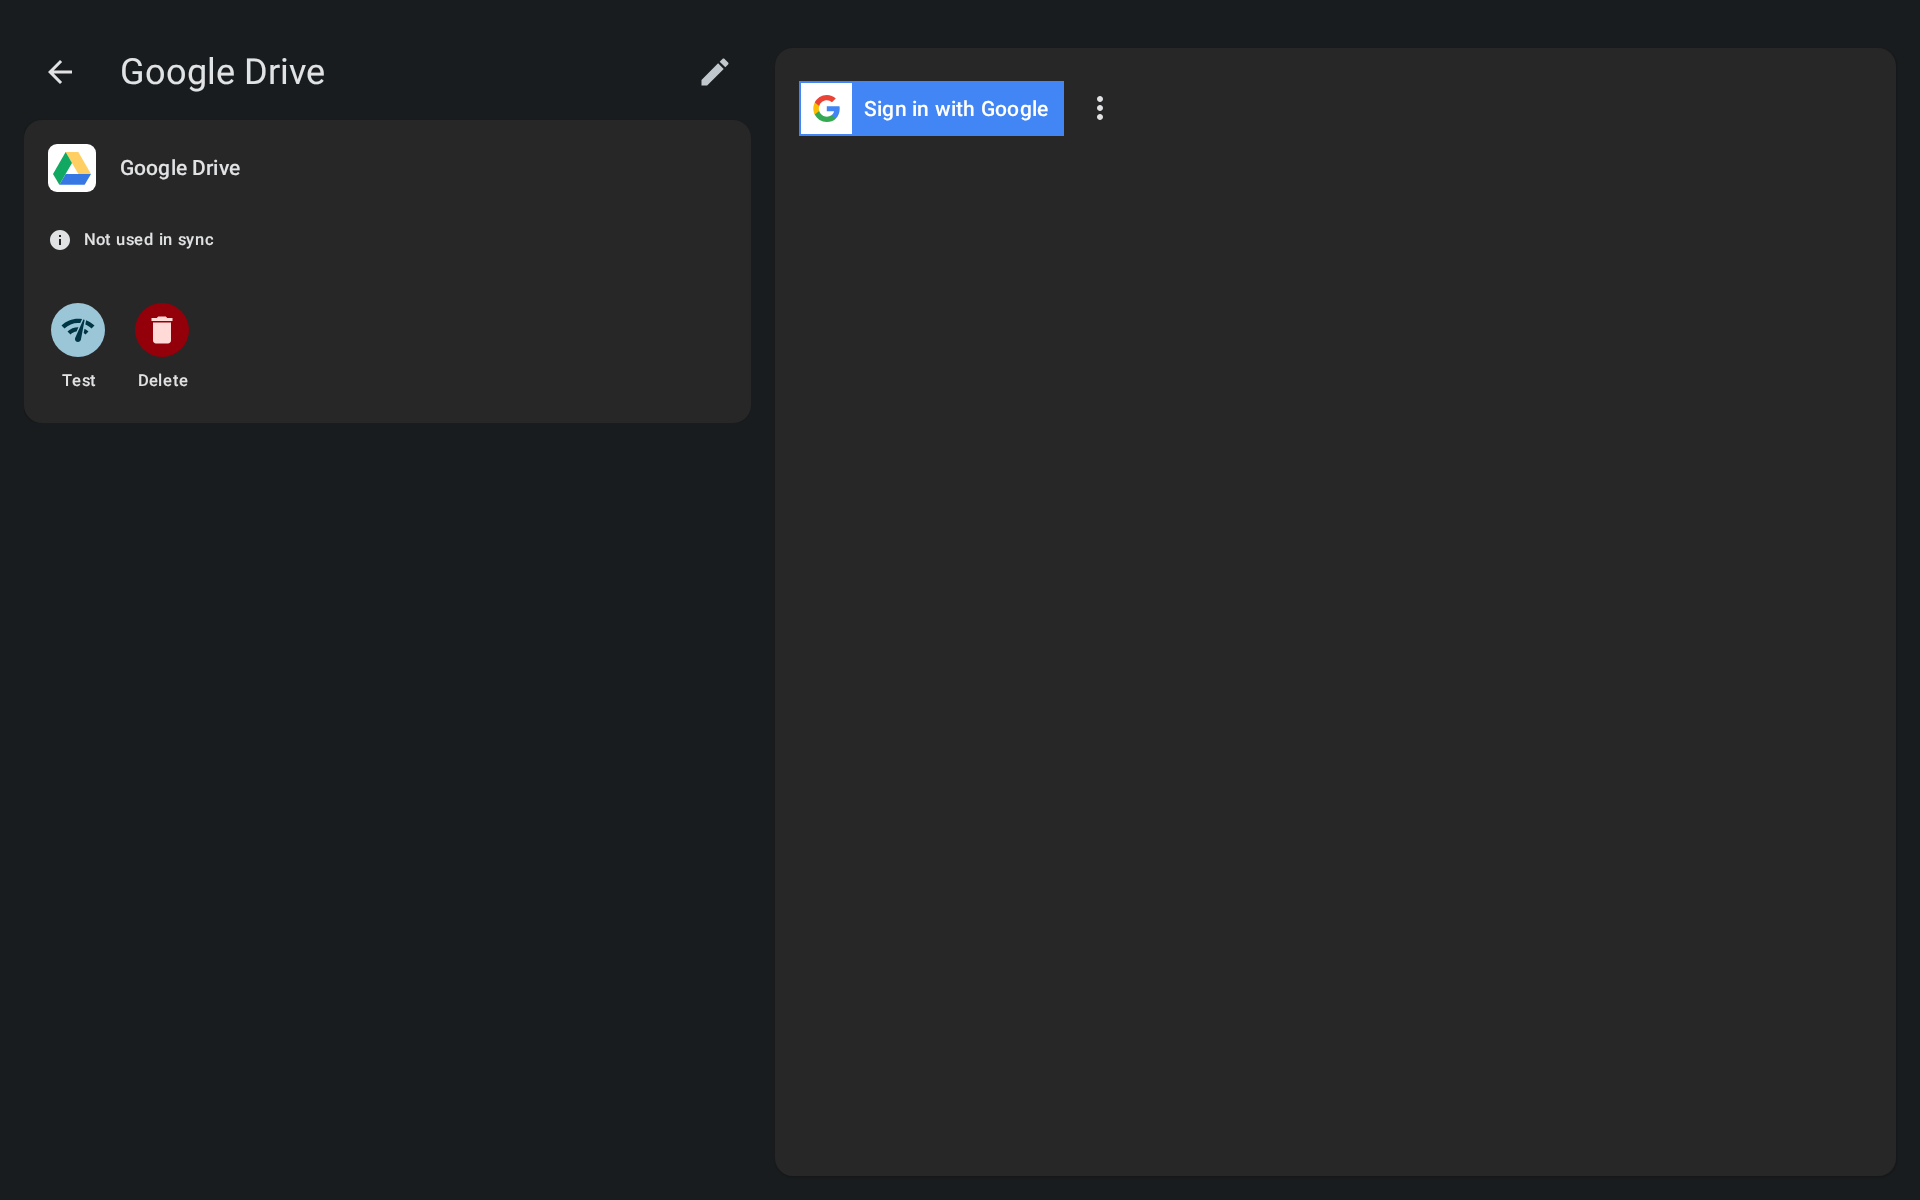
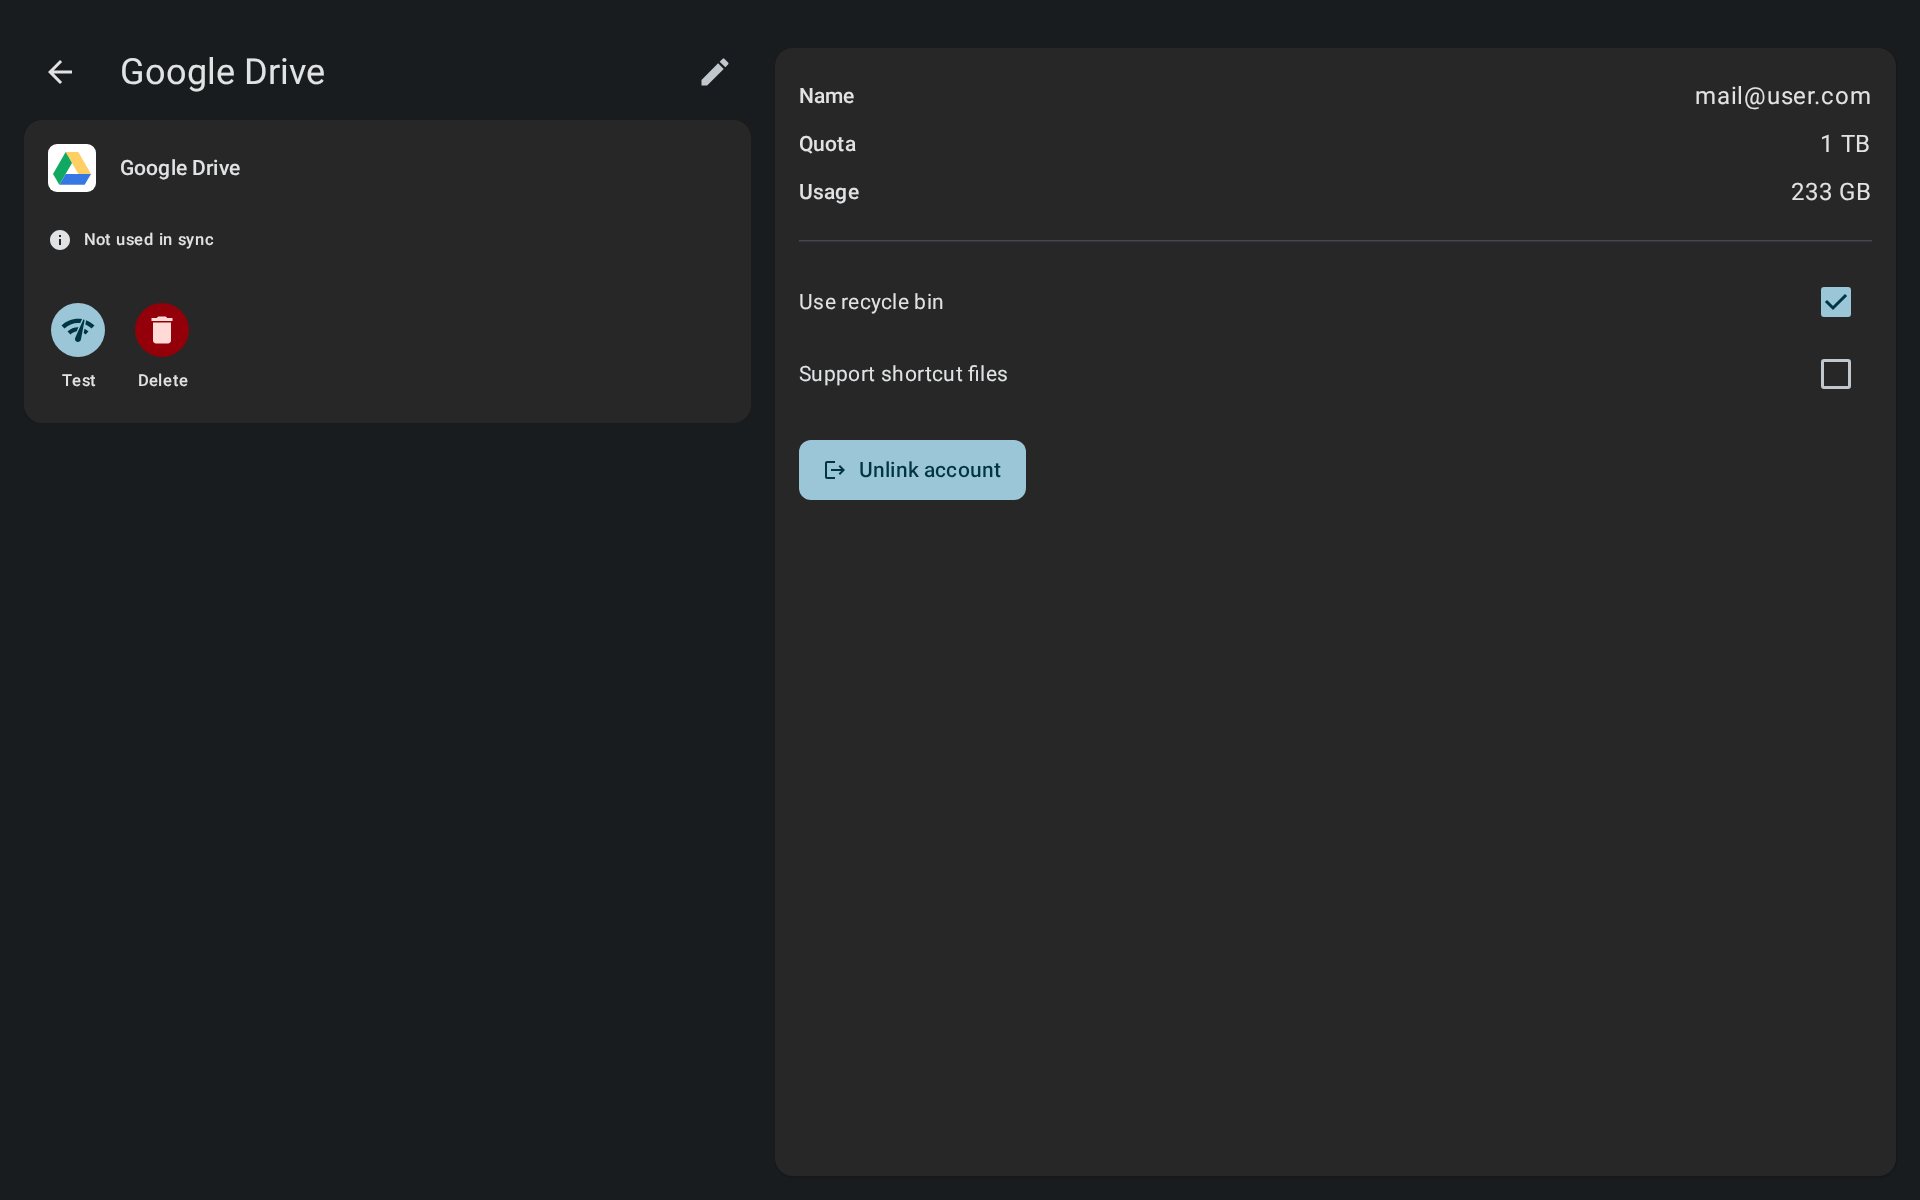
After having selected the account type the Account screen will be shown. This has different options depending on the account type.
To configure the Google Drive account in our example tap [Sign in with Google] and follow the login flow on the Google website to grant FolderSync access your files. After completion you should be returned to the app - you will know this is working when you see your quota and the unlink button is shown.
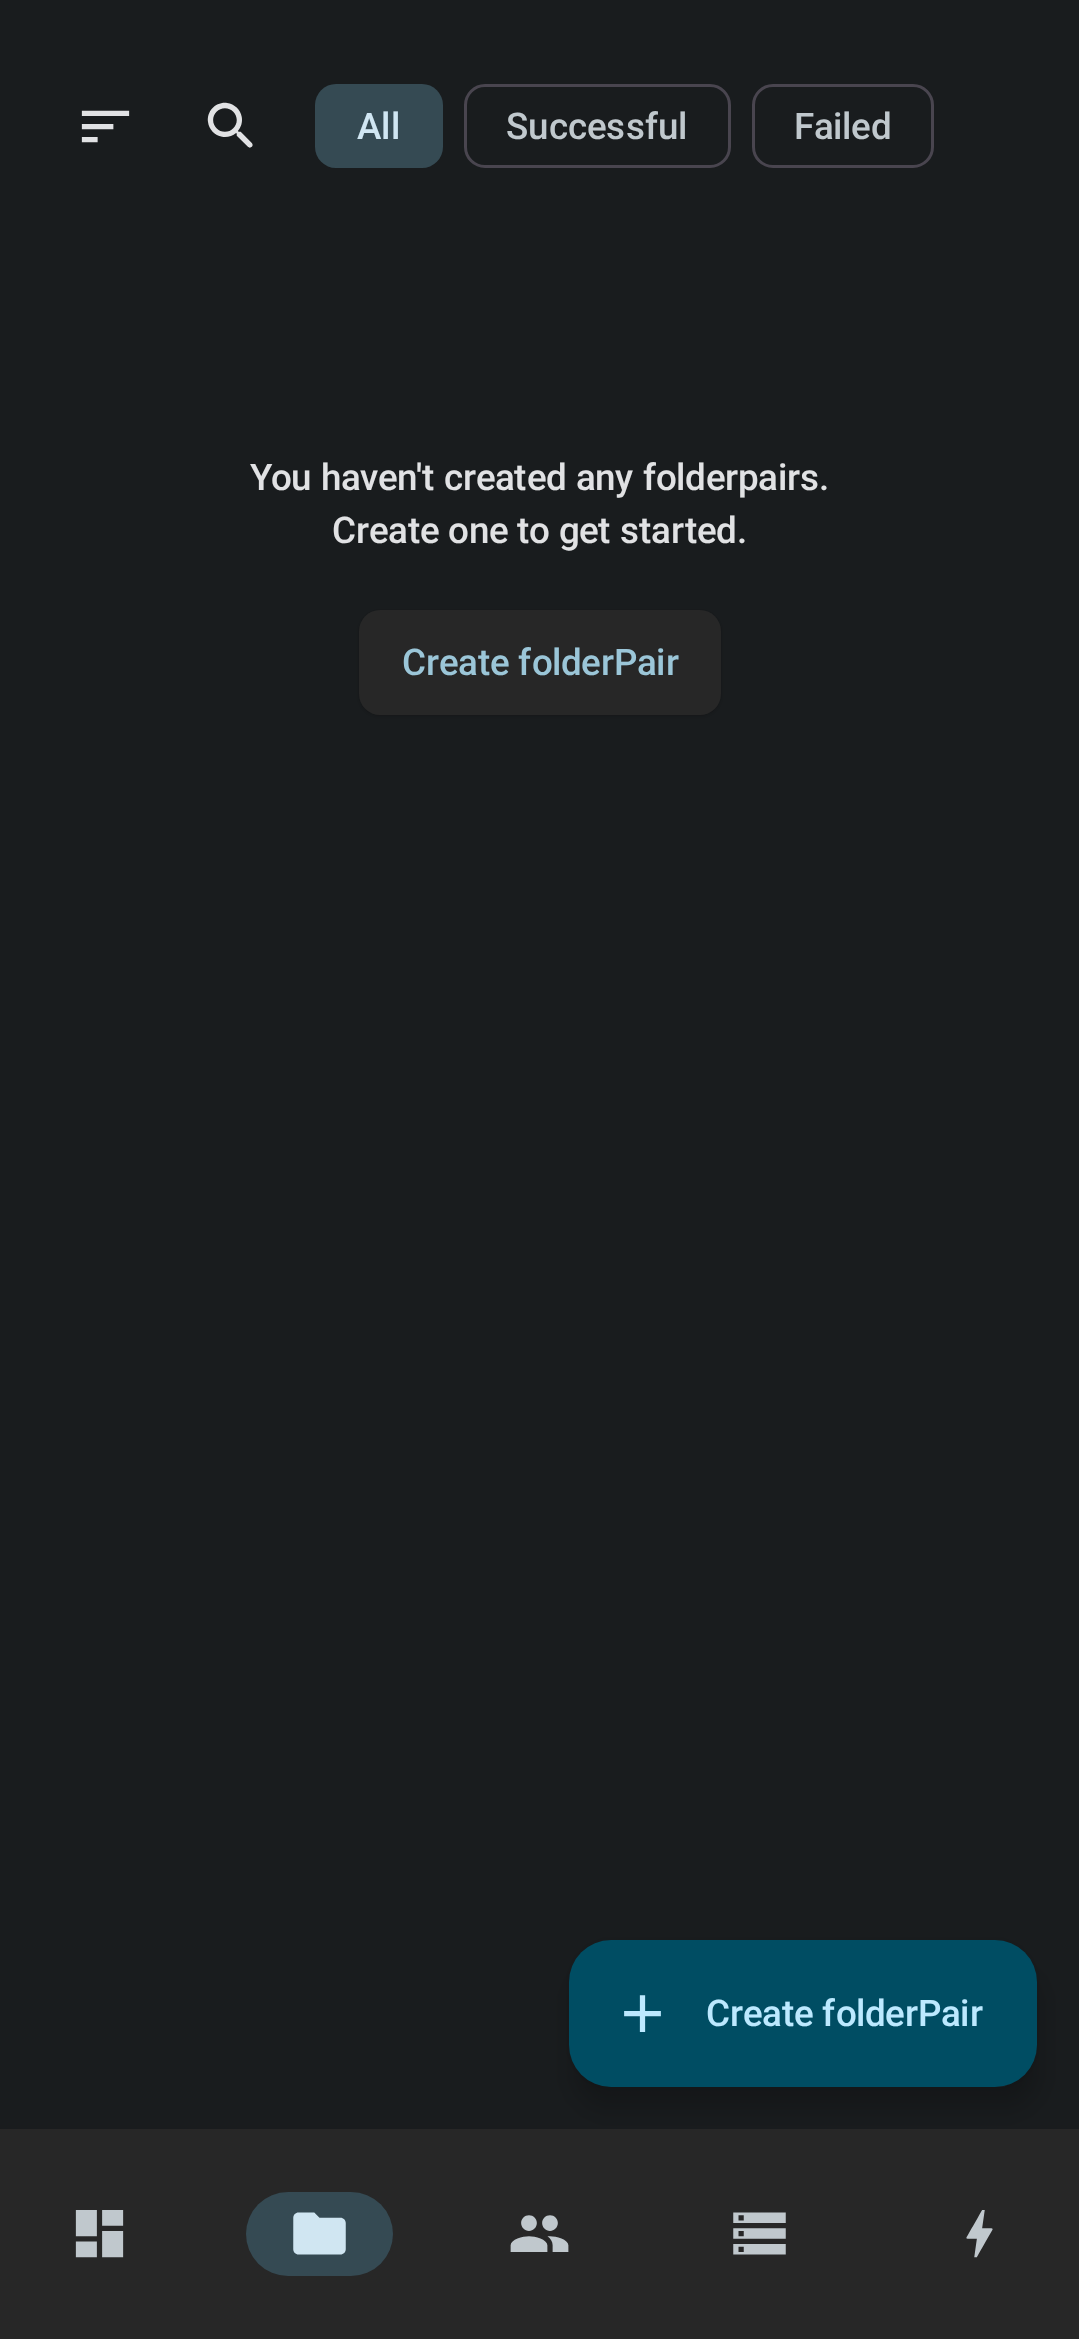
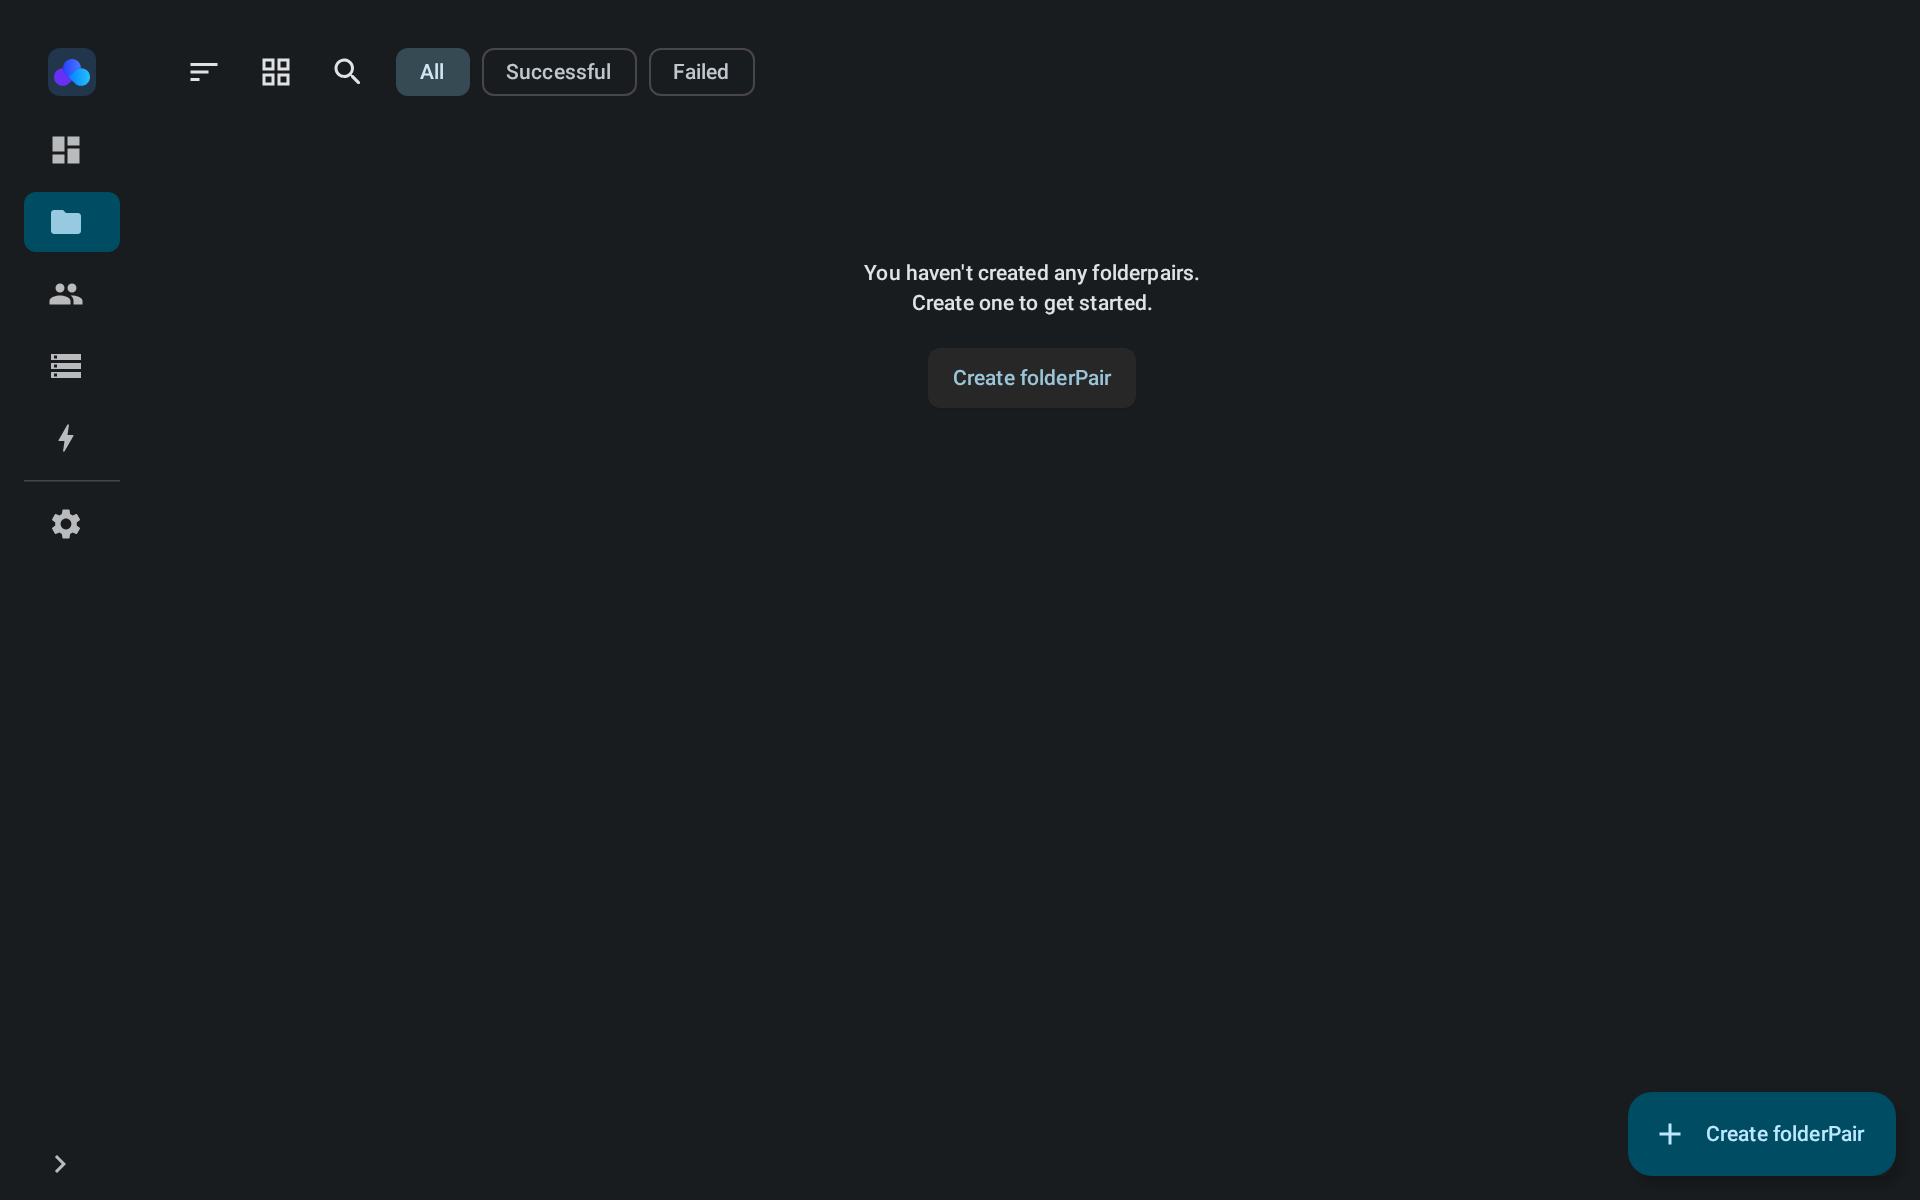
Add folderPair
The next step is to configure syncing of files so leave the account screen and navigate to the FolderPairs screen. When there tap [Create FolderPair] to open the create folderPair wizard shown below.
Select the sync direction of the files, see the description to understand what the difference is.
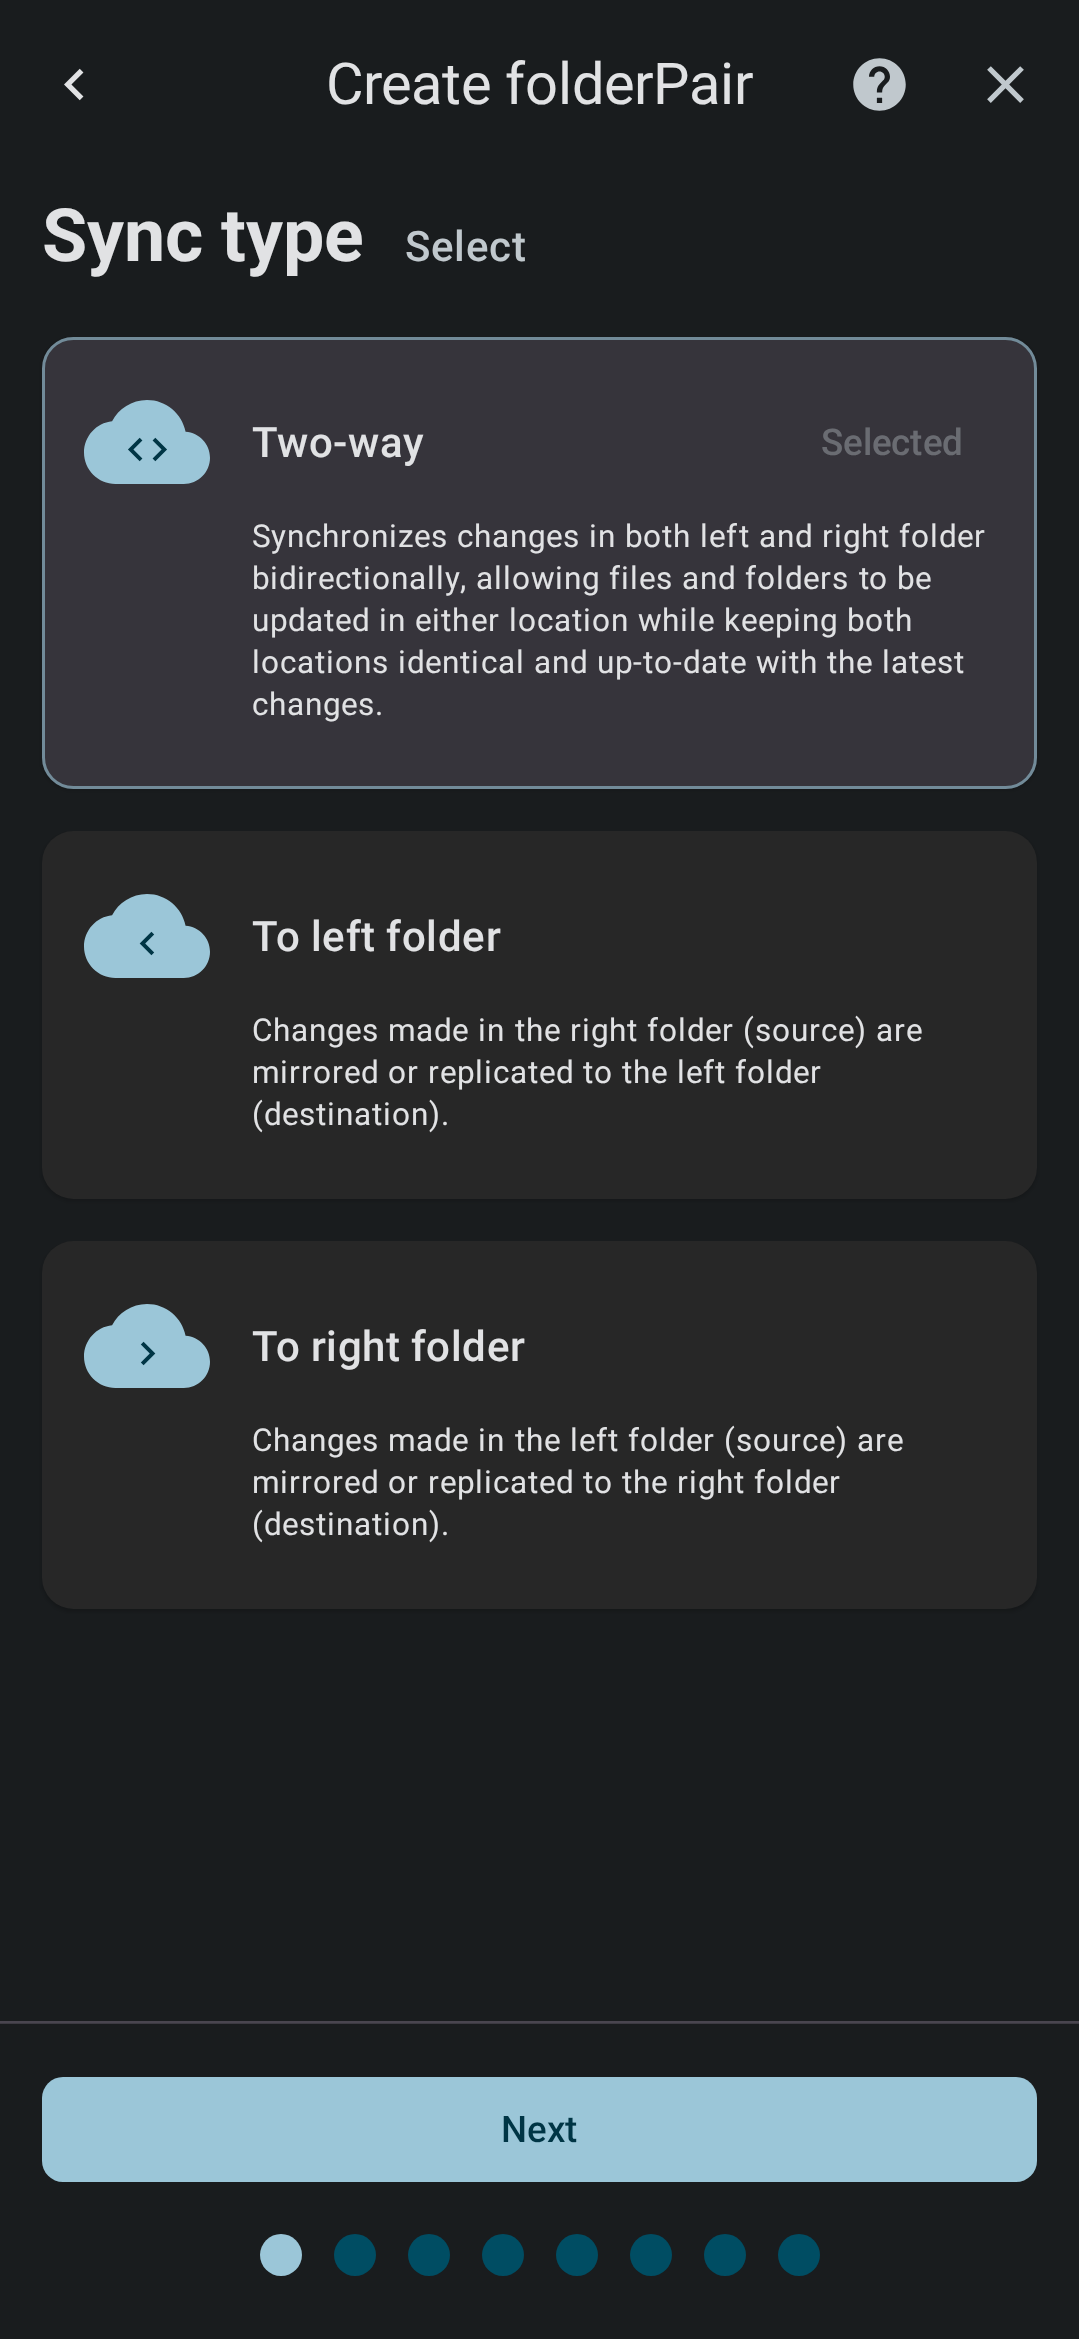
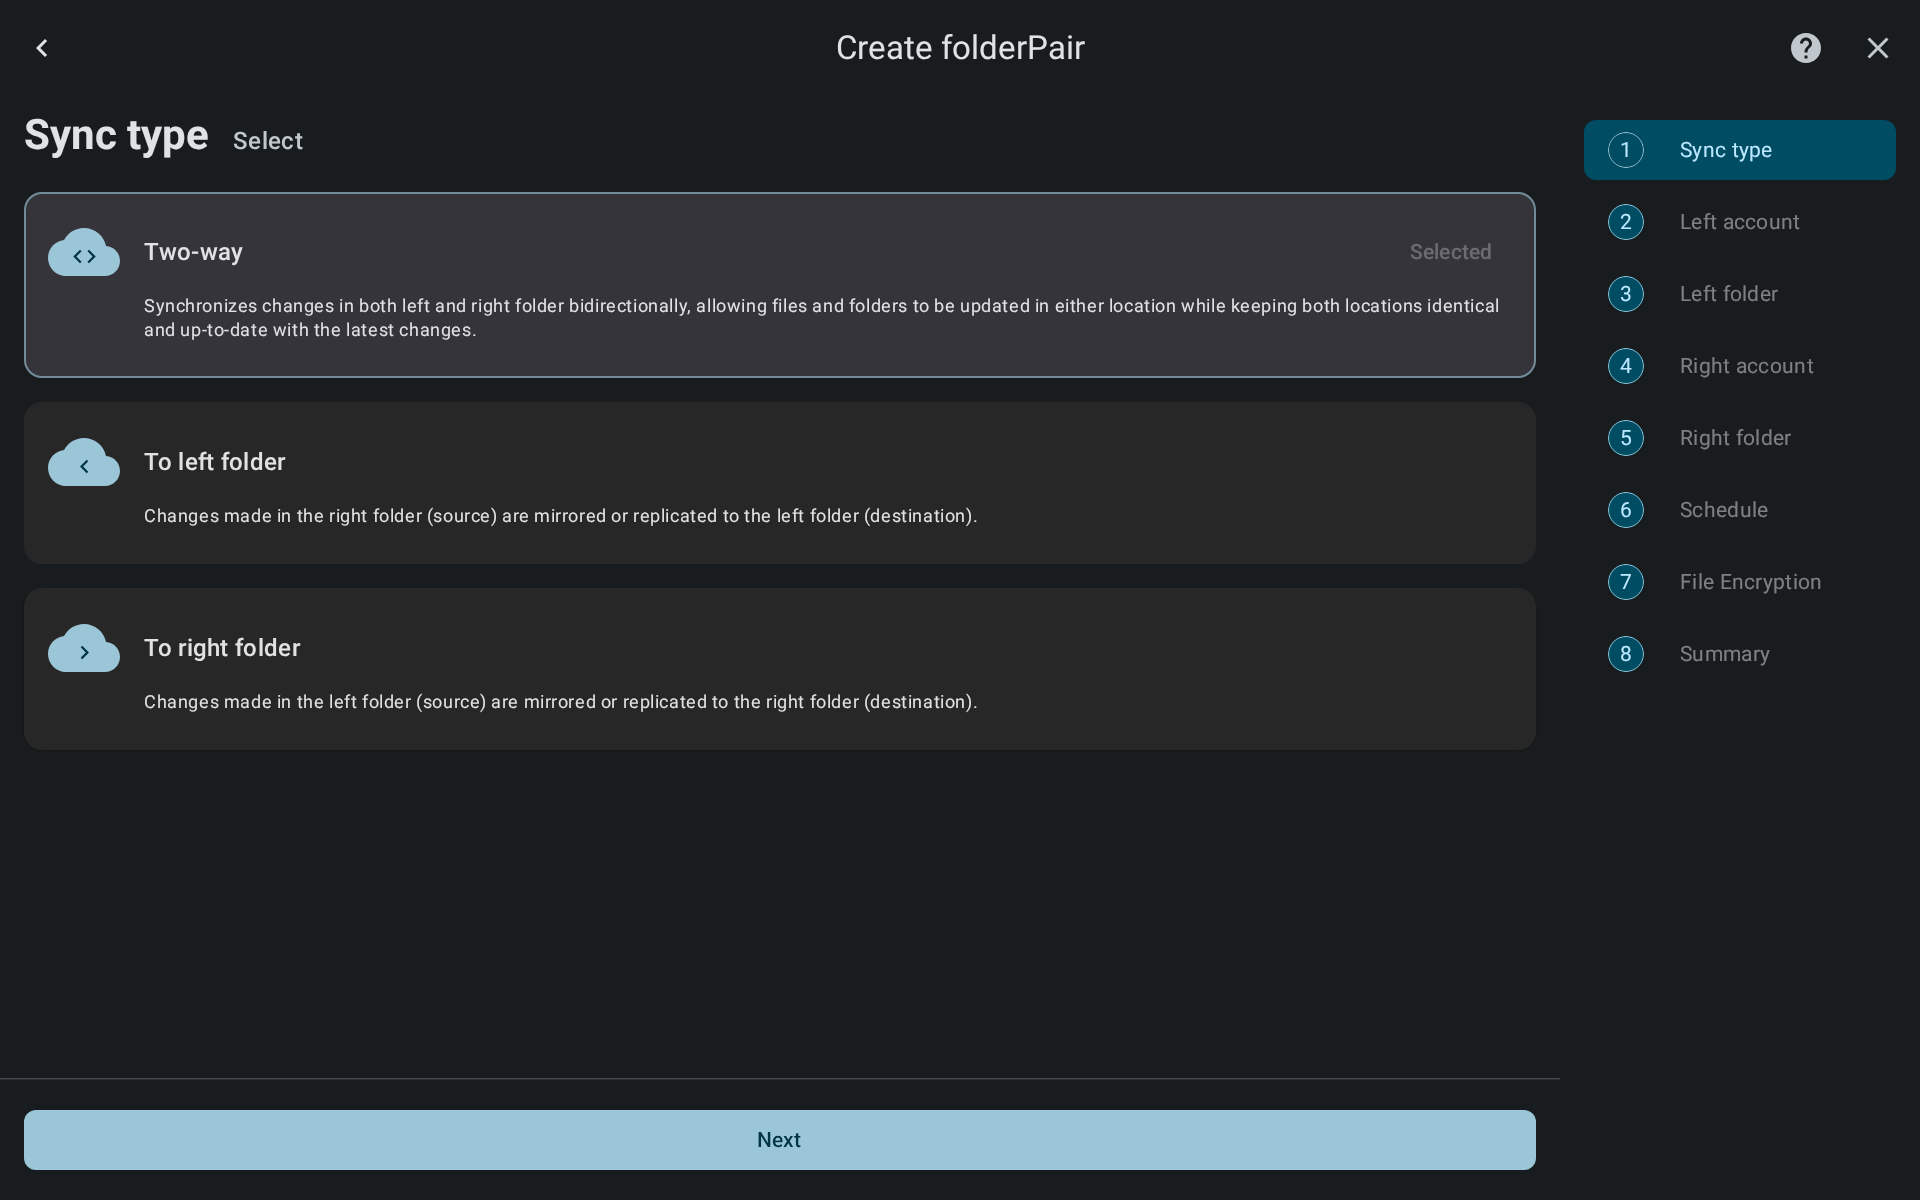
Tap [Next] to select accounts and folders.
Choose left folder
Now choose the left account and left folder
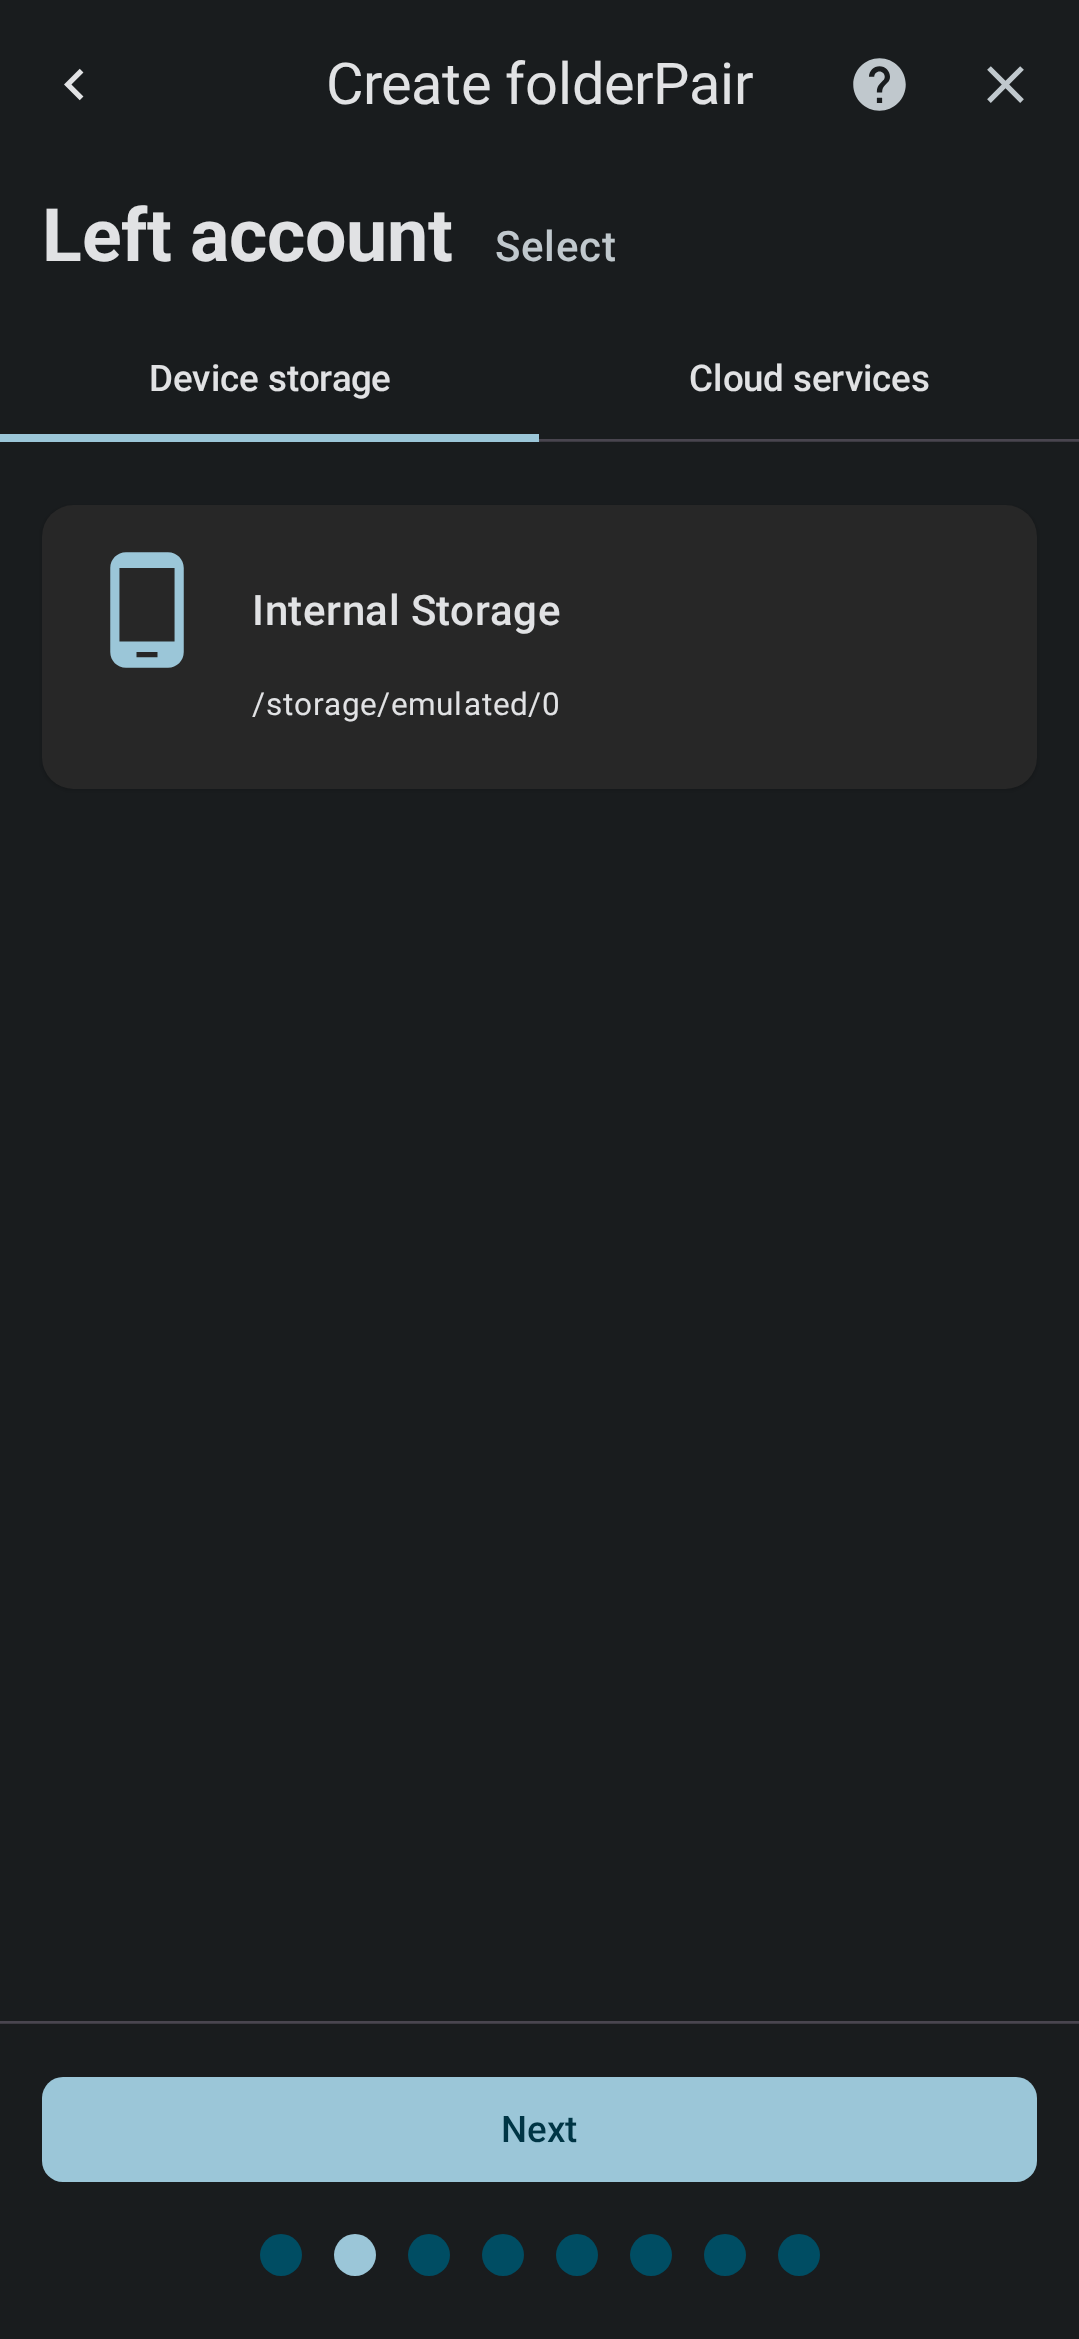
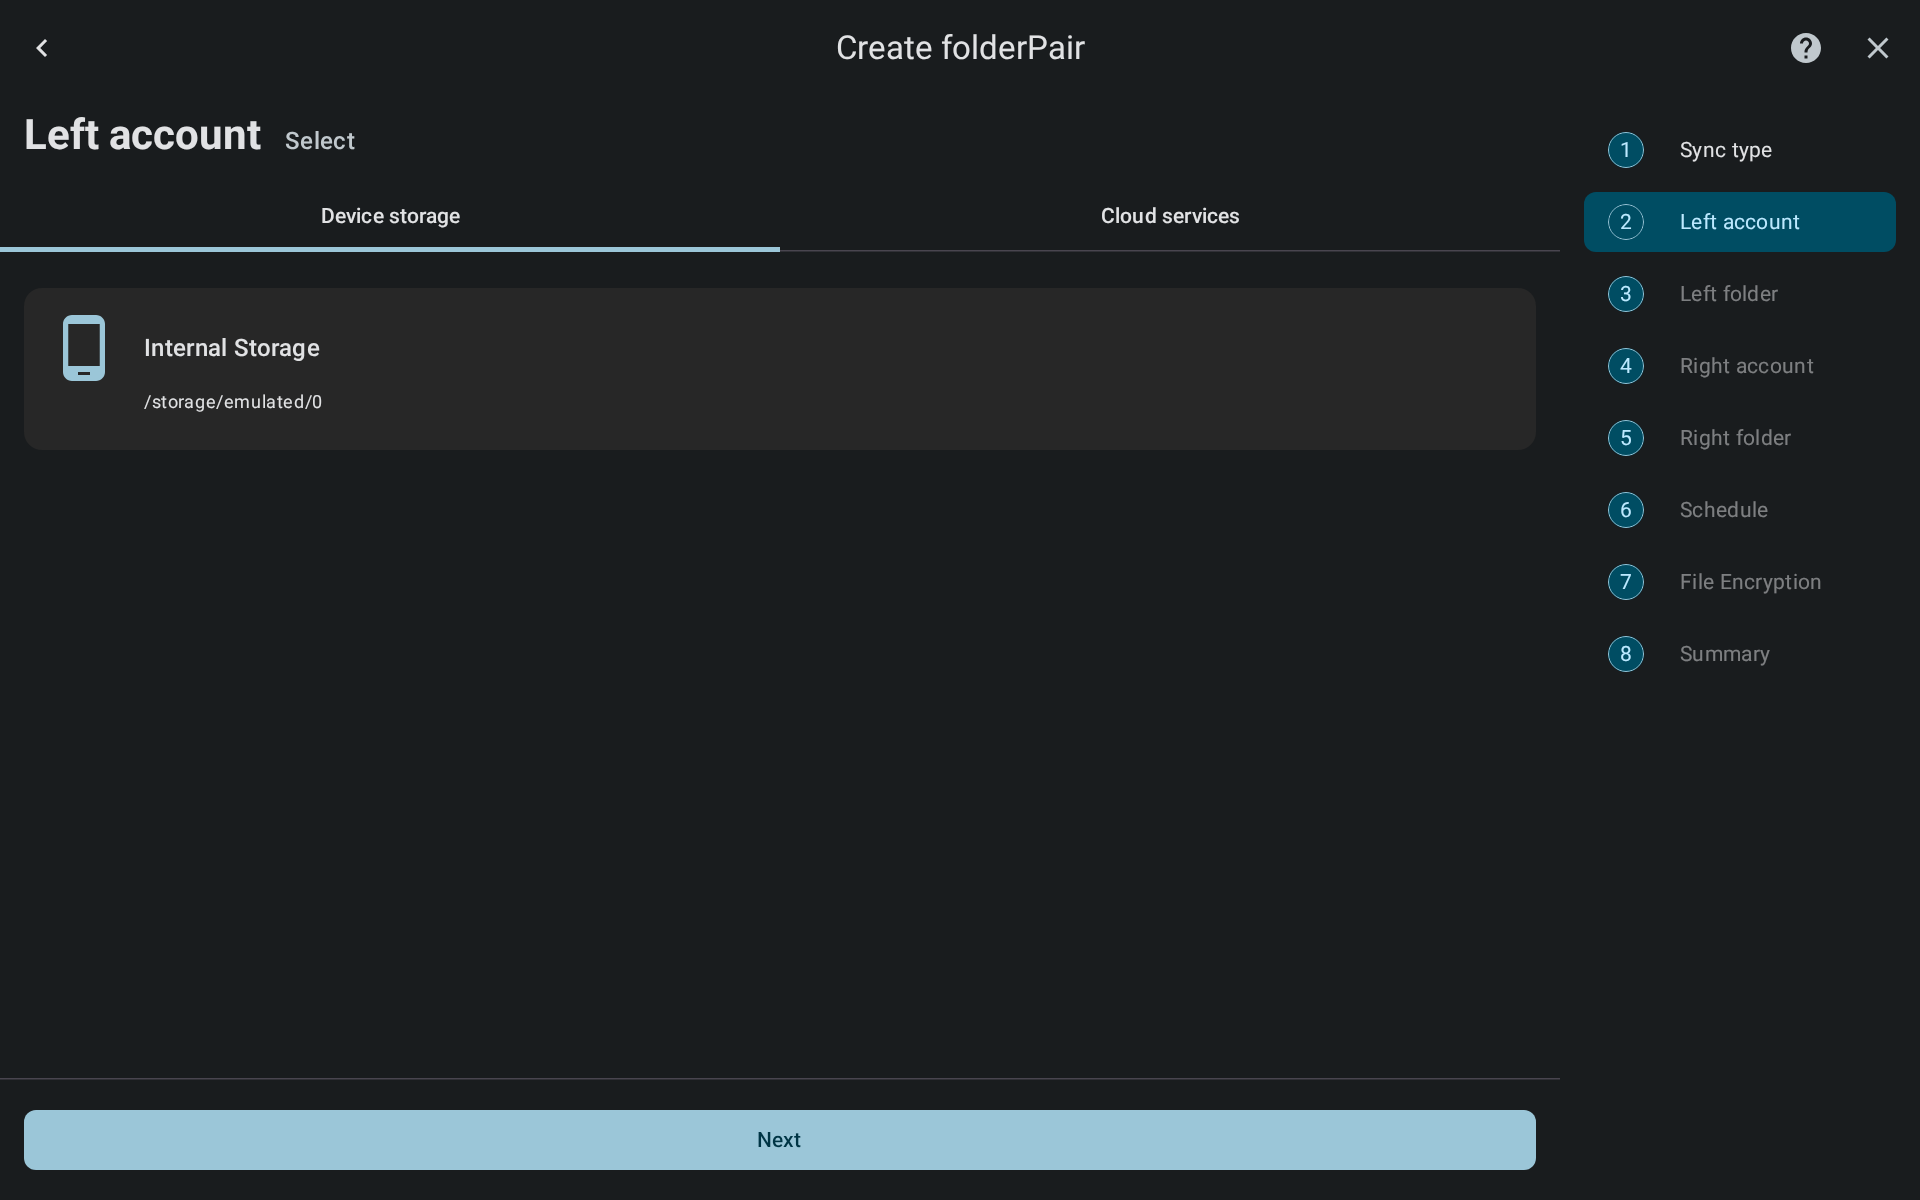
Select device storage location or cloud account. In this example we choose the device internal storage and click Next.
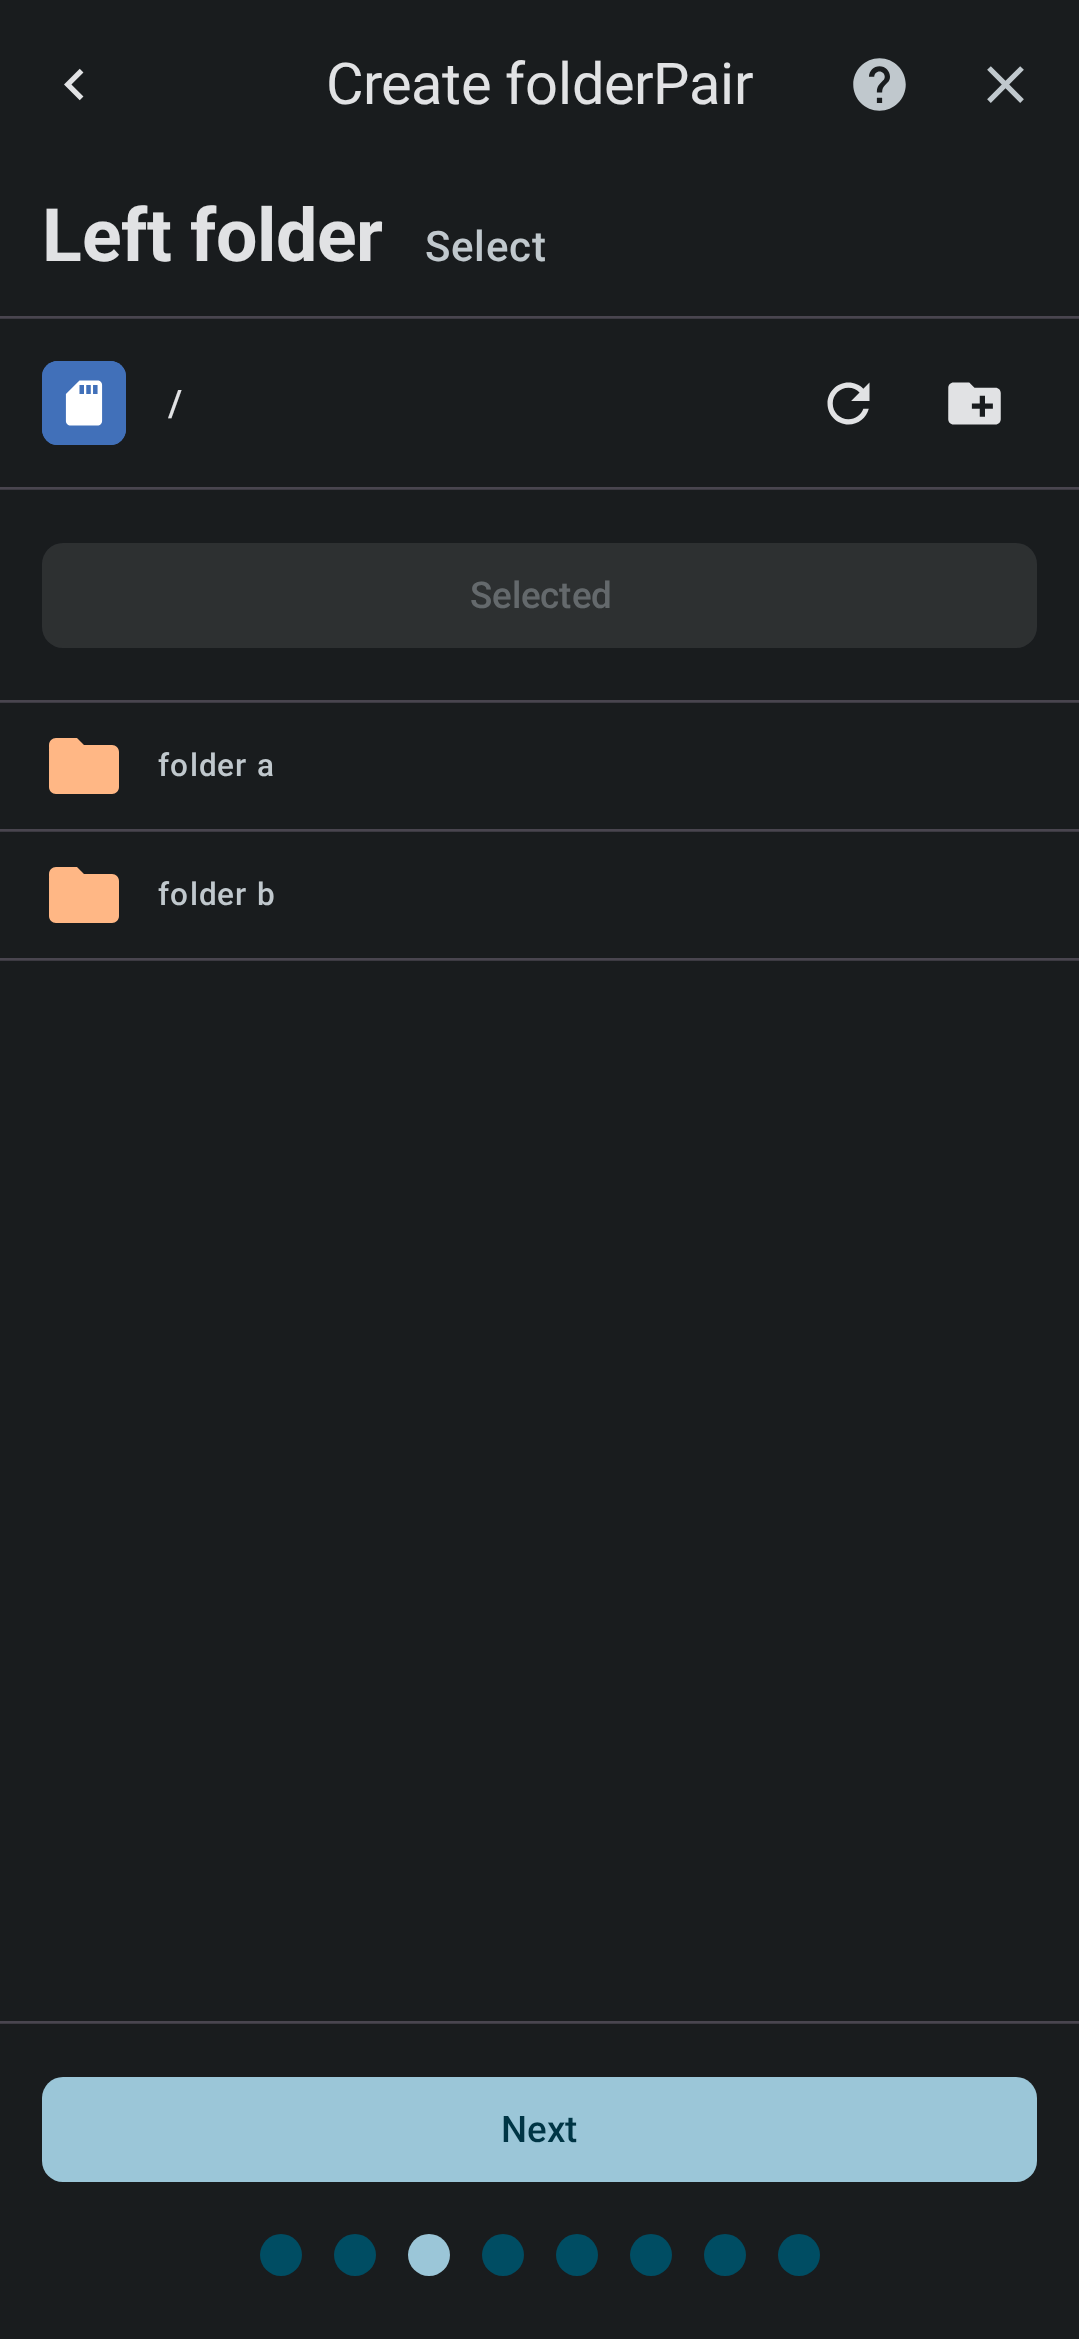
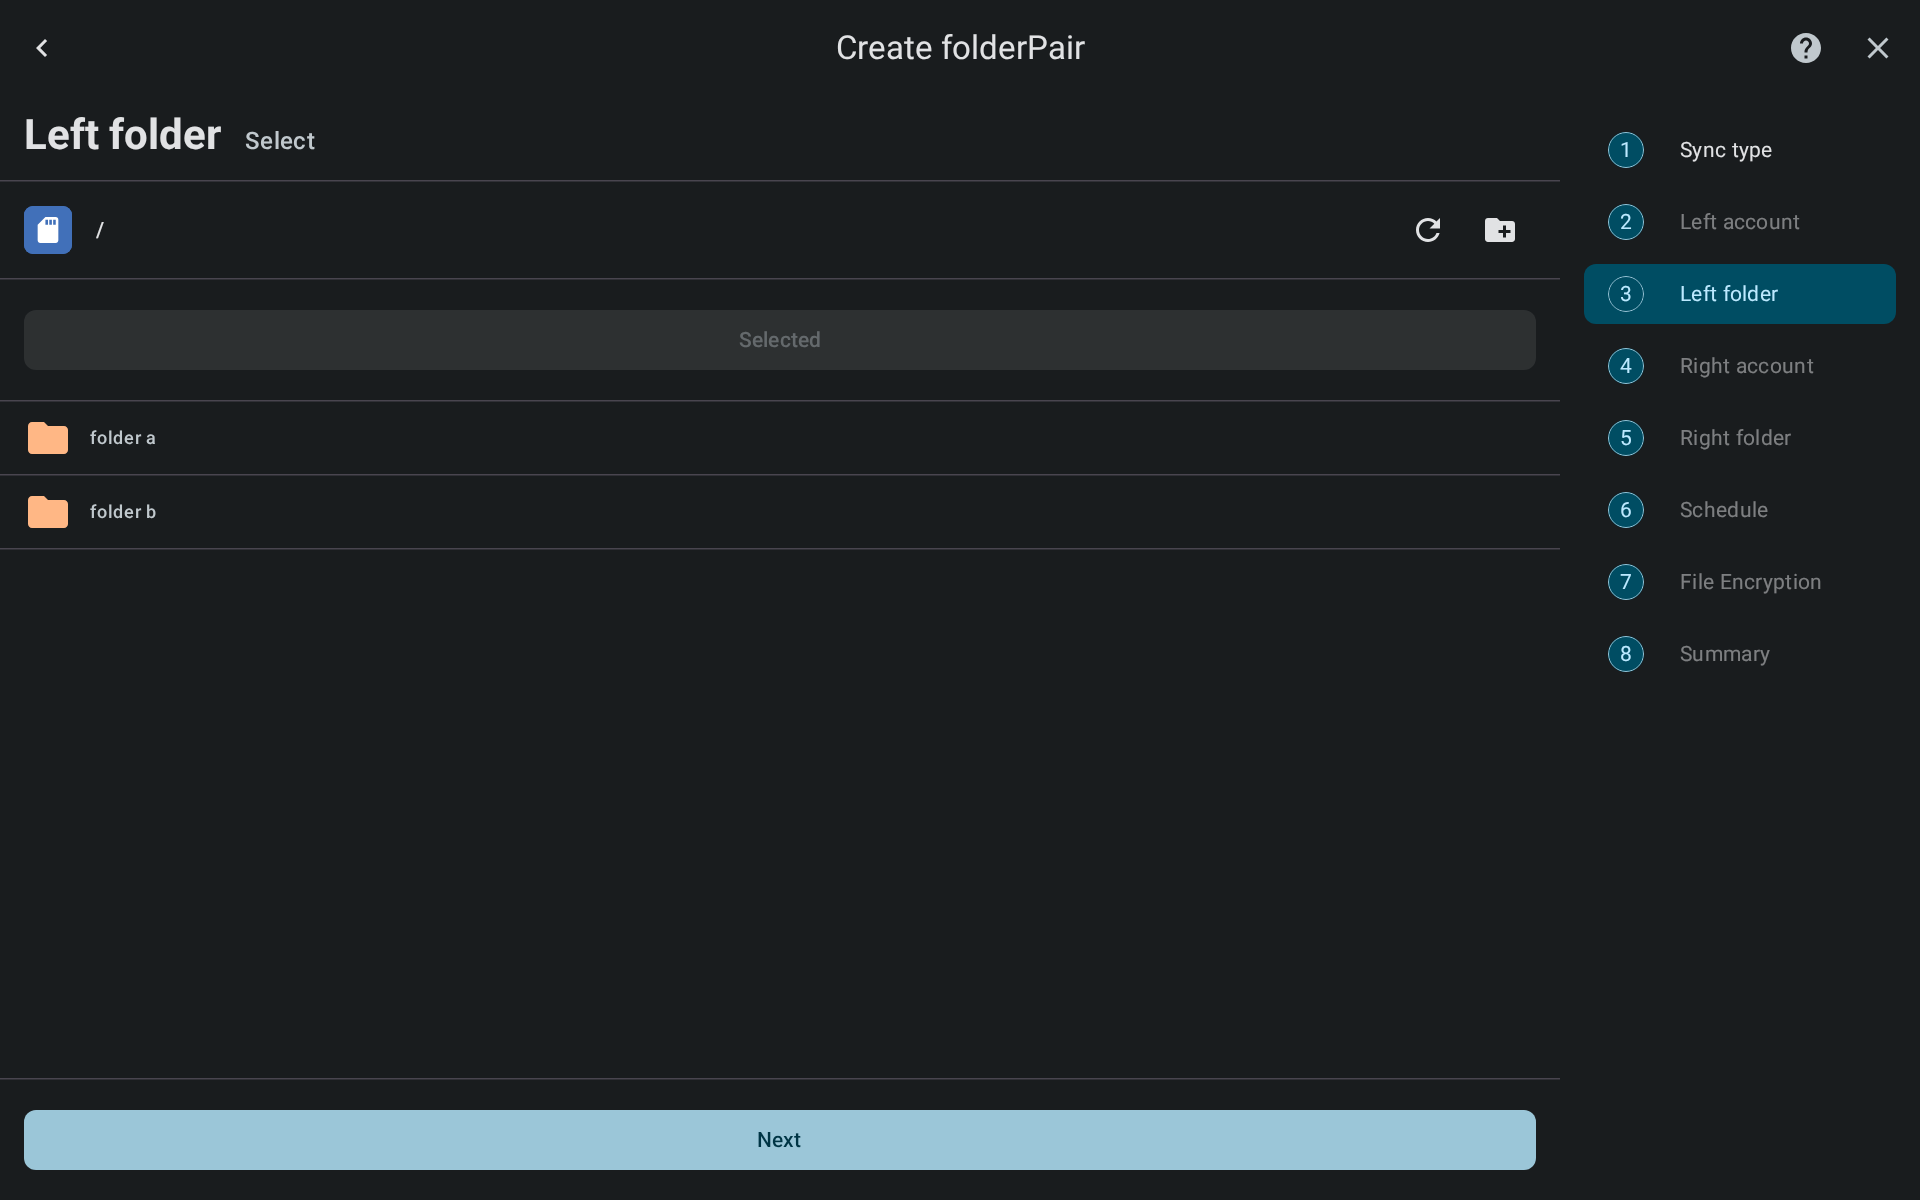
Now navigate to the desired folder and click [Select folder] - this will allow you to select the left folder of the folderPair to be synced. Then click Next.
Choose right folder
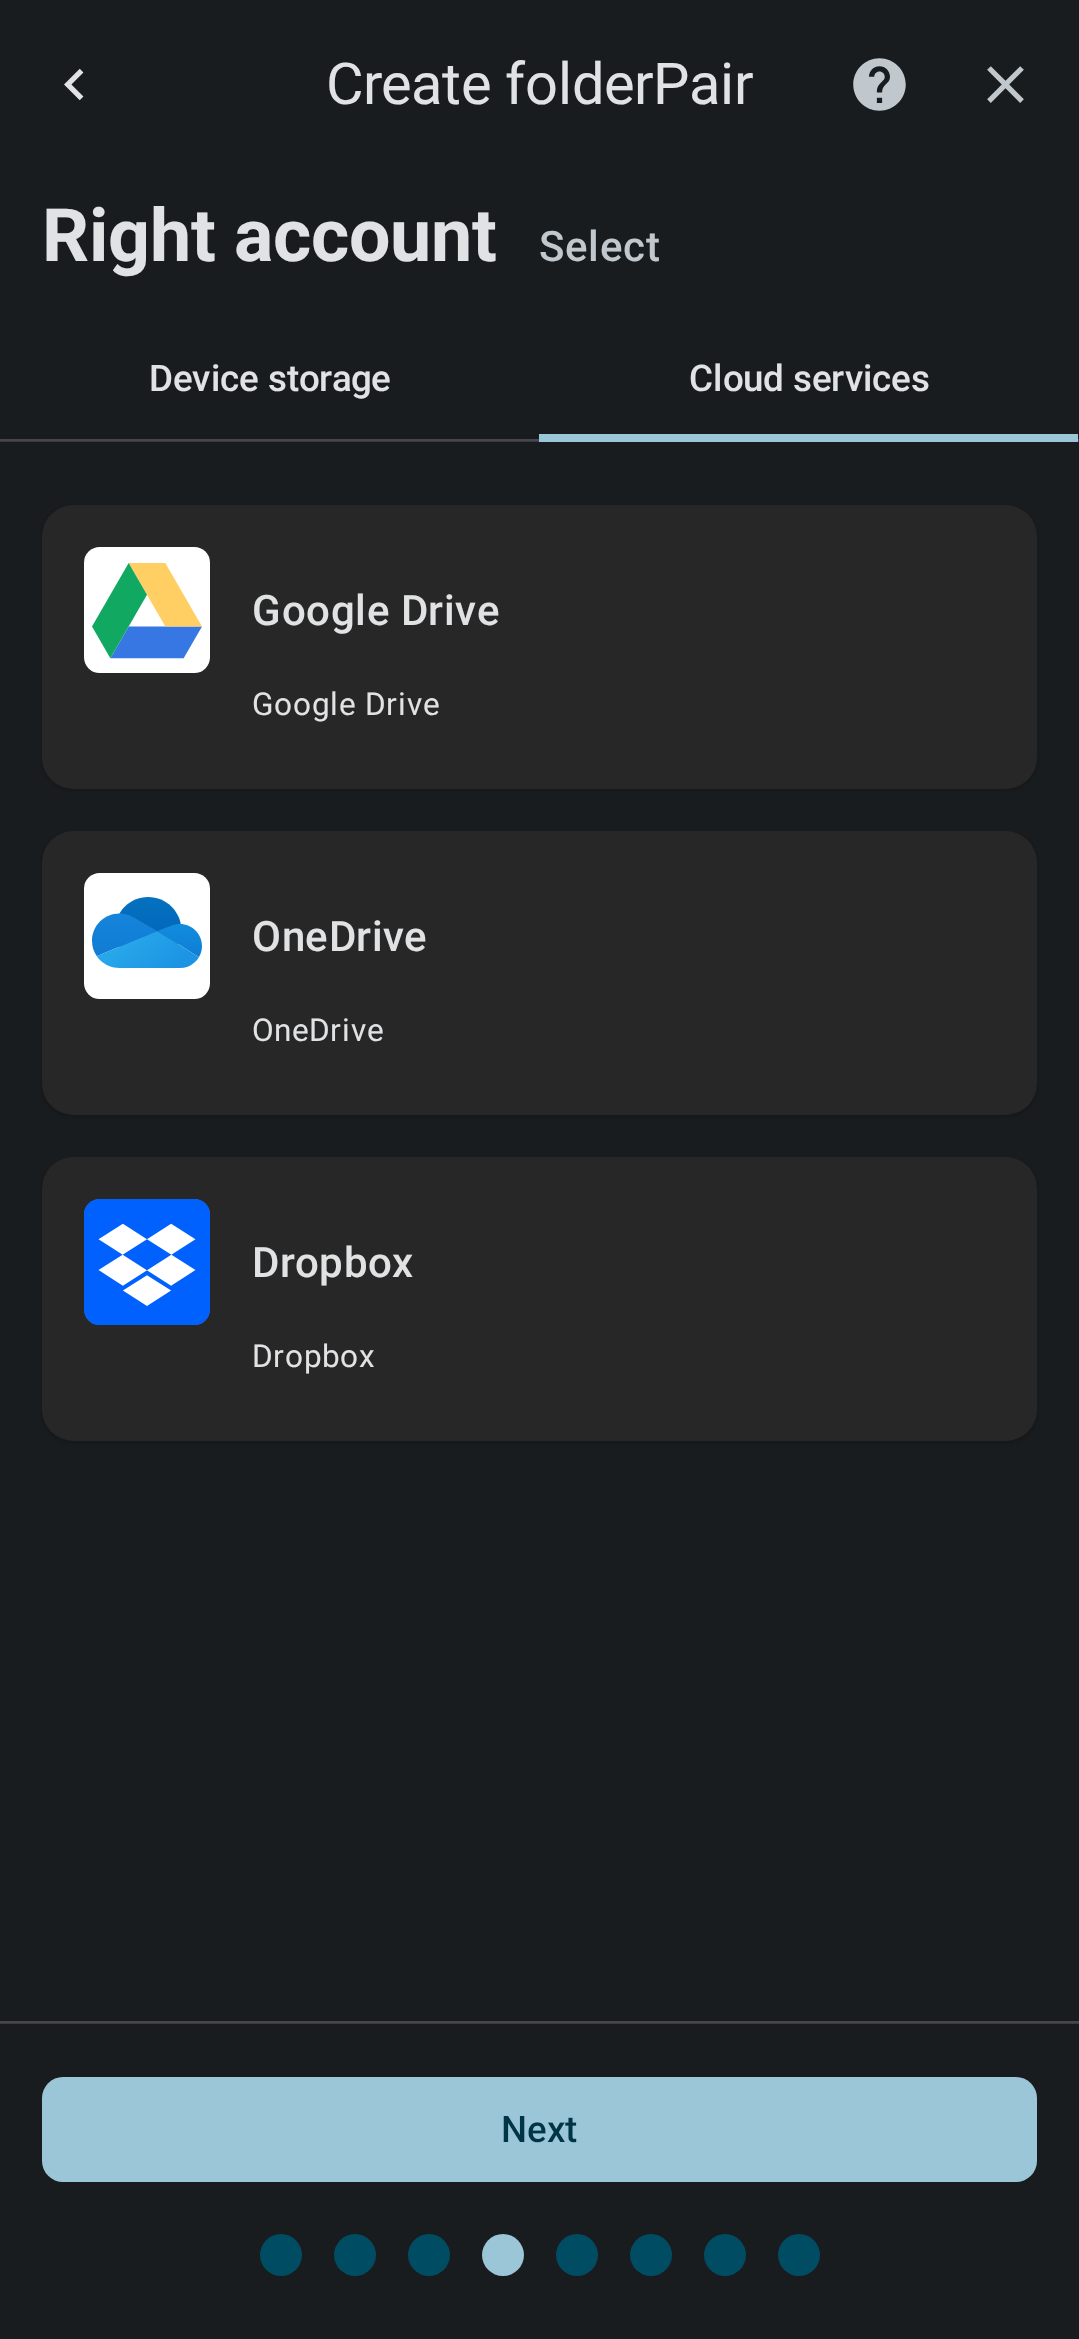
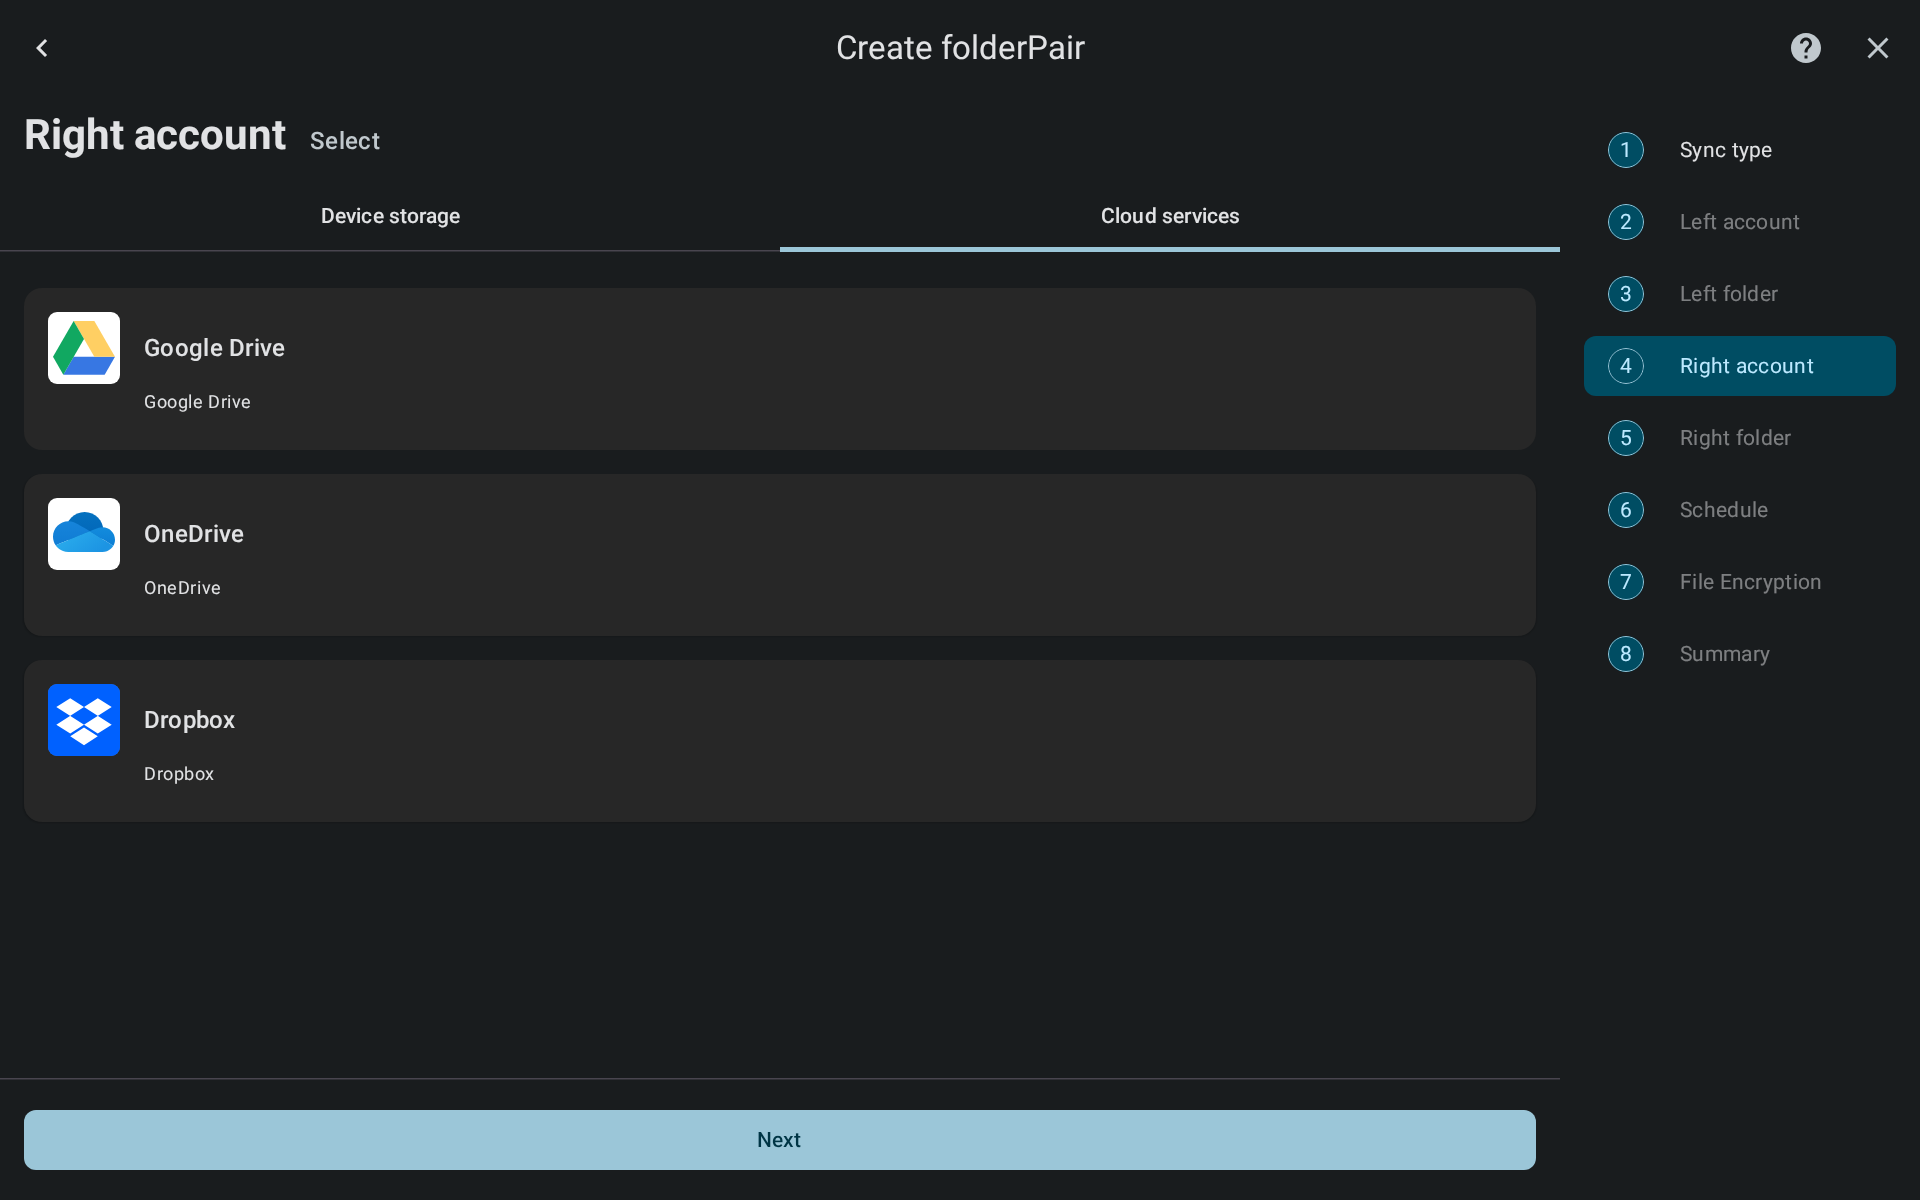
Now choose the right account and right folder
Select device storage location or cloud account. In this example we choose the Google Drive account and click Next.
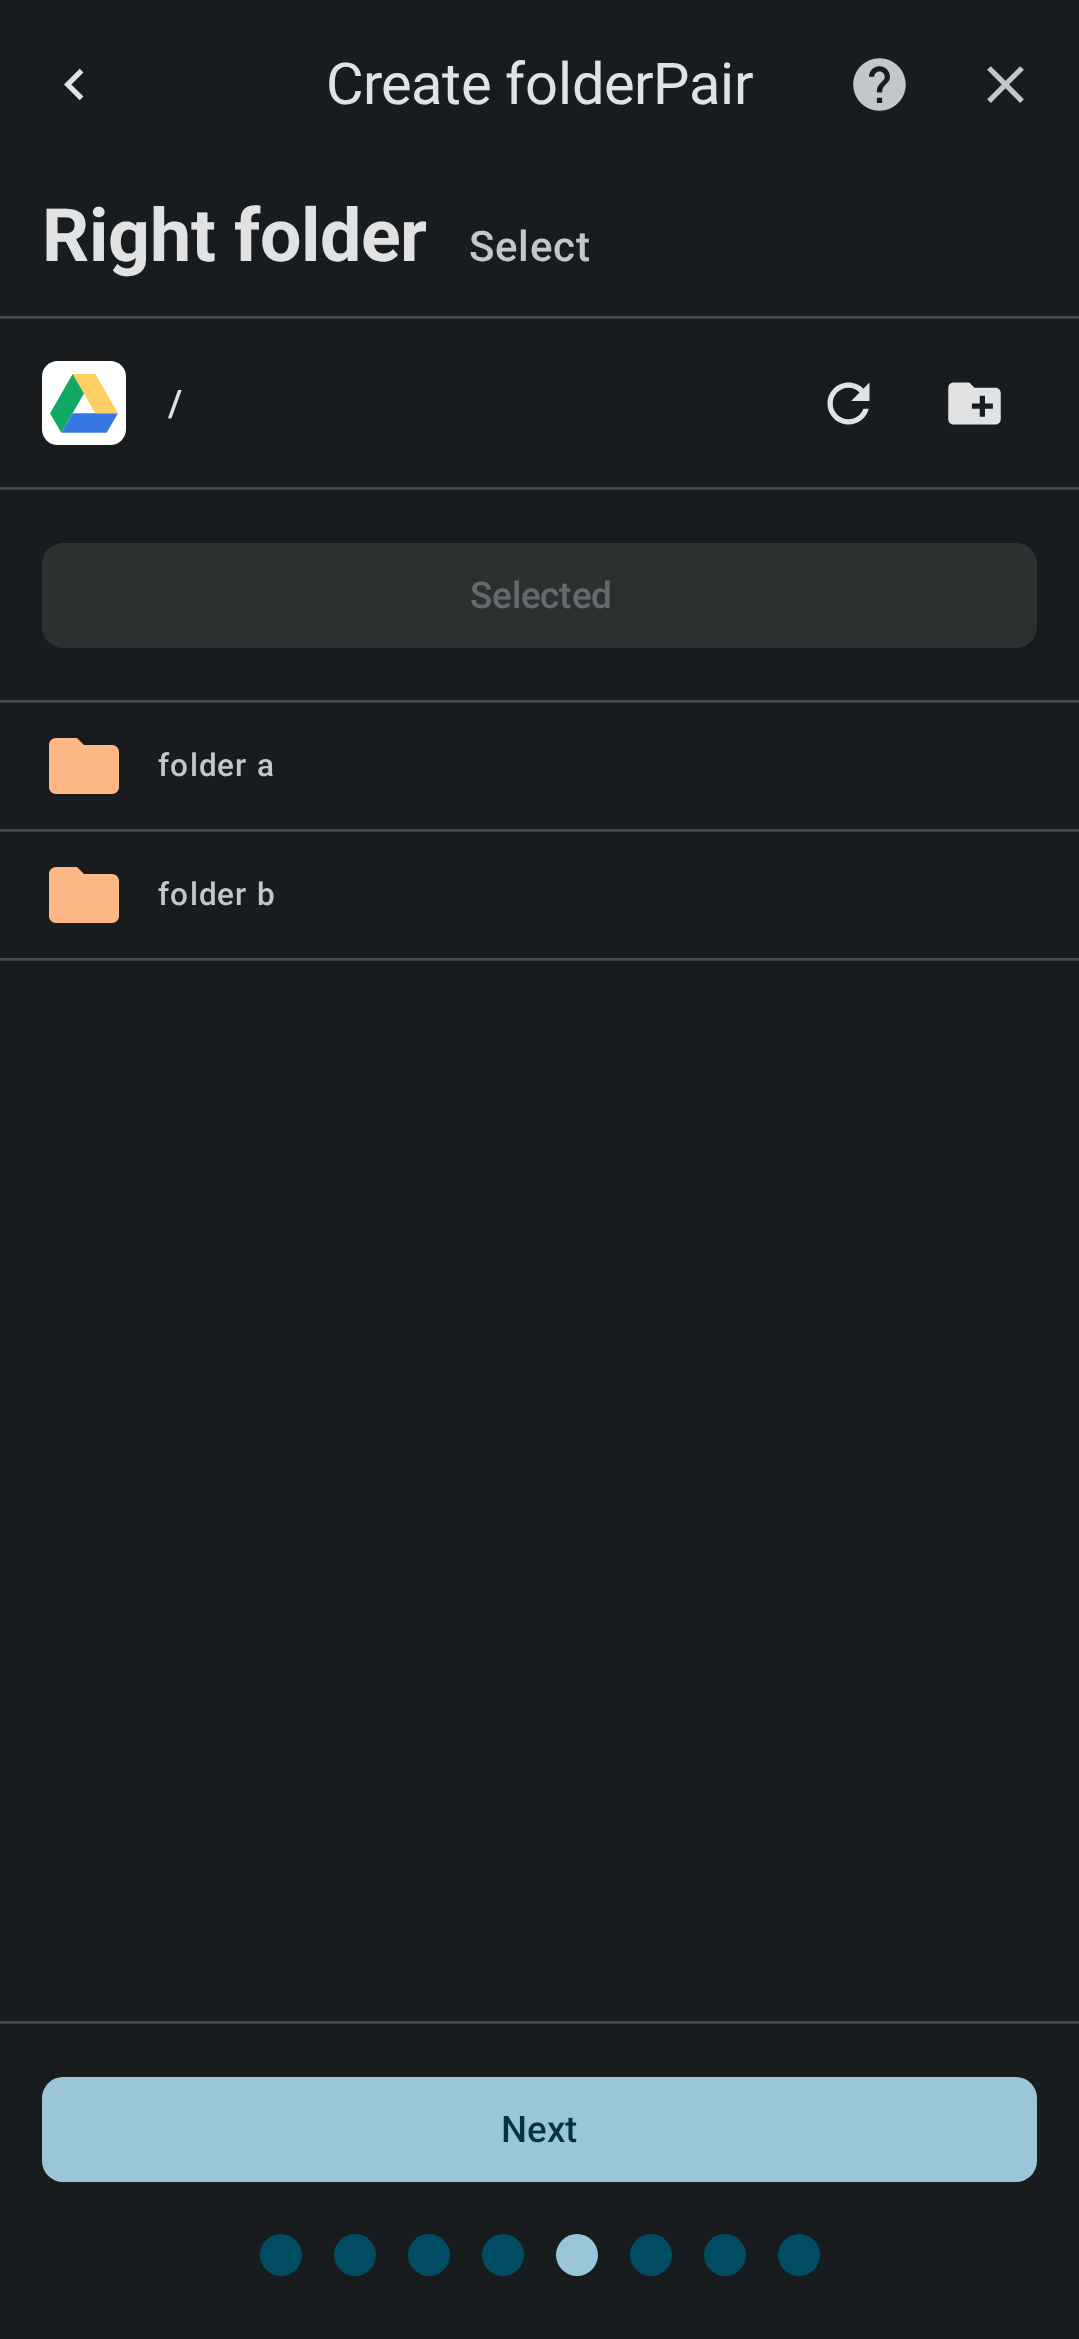
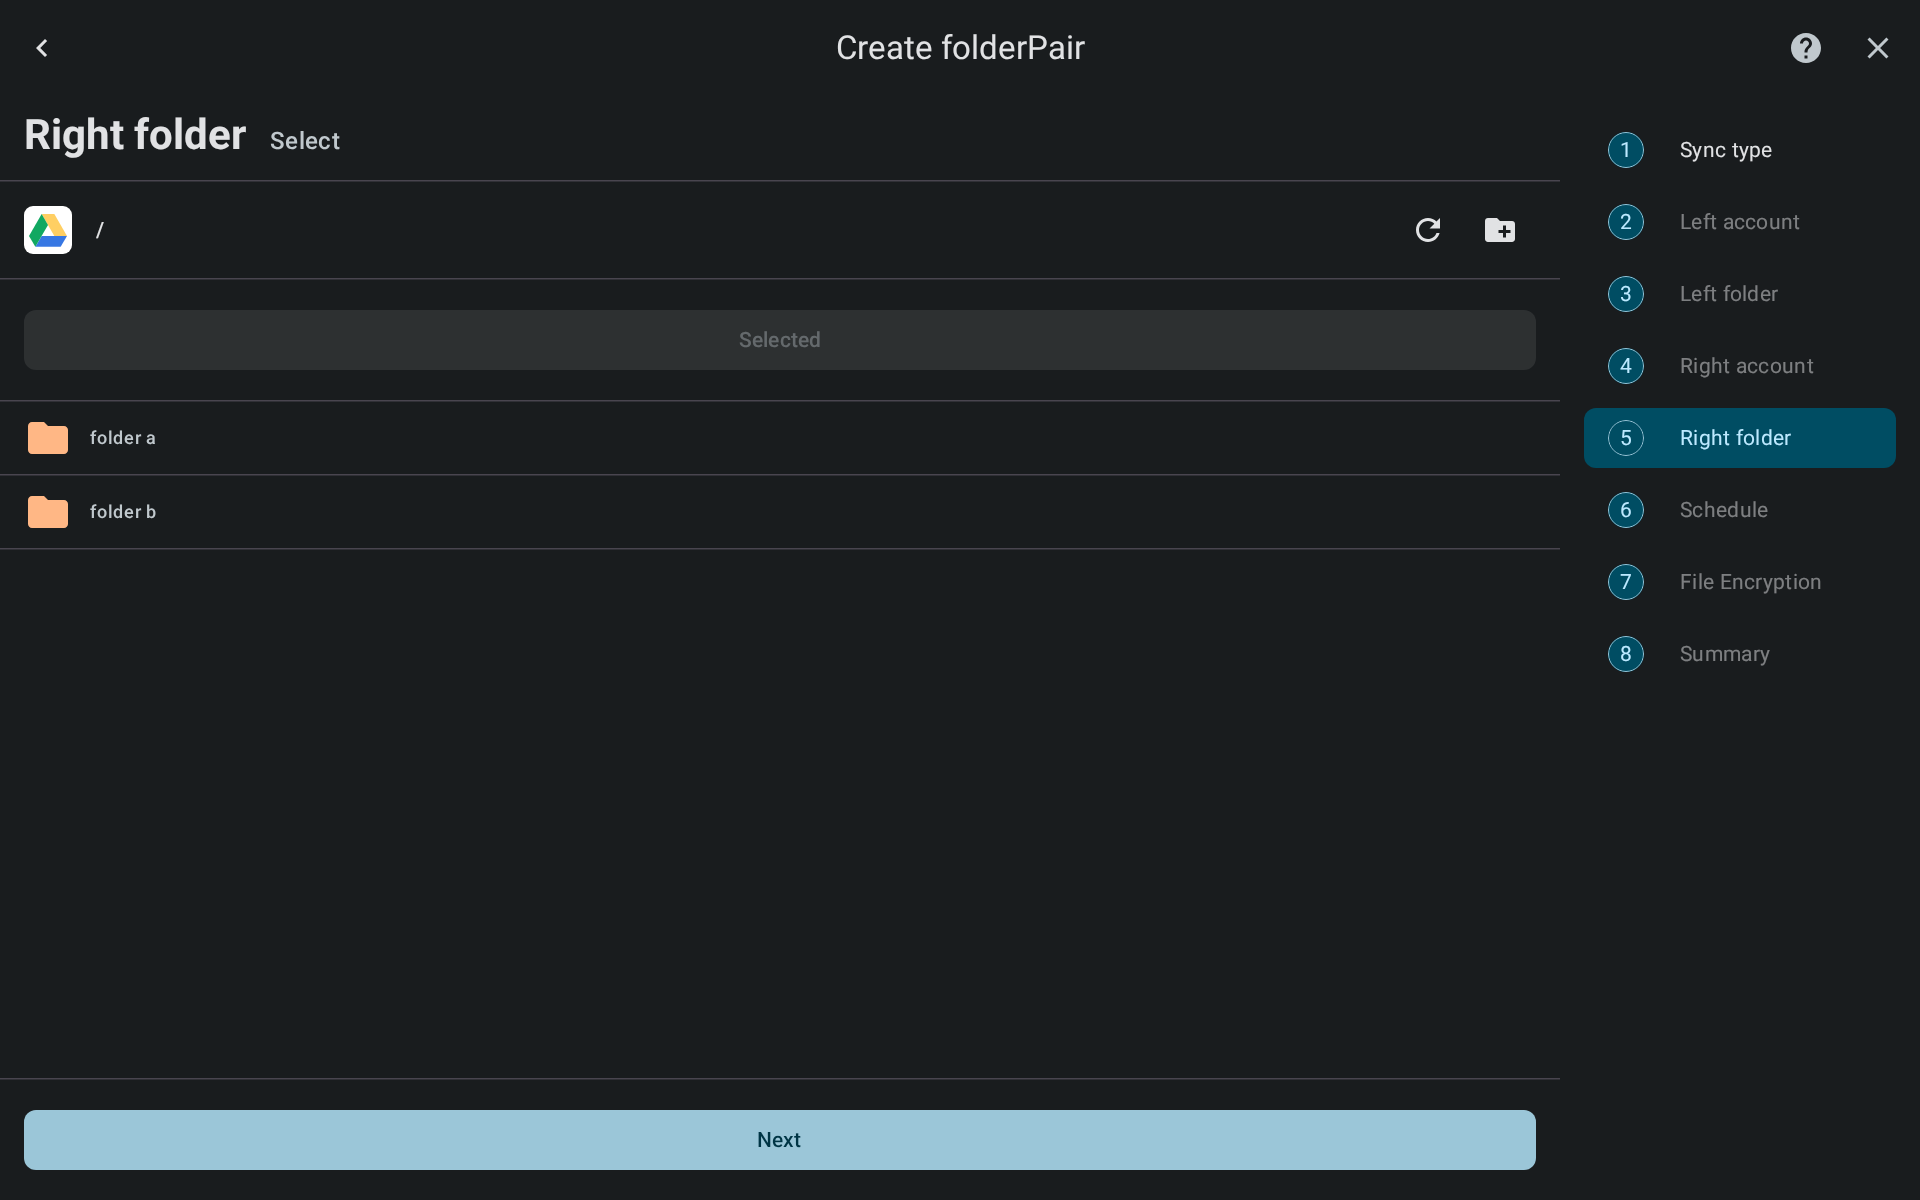
Now navigate to the desired folder and click [Select folder] - this will allow you to select the right folder of the folderPair to be synced. Then click Next.
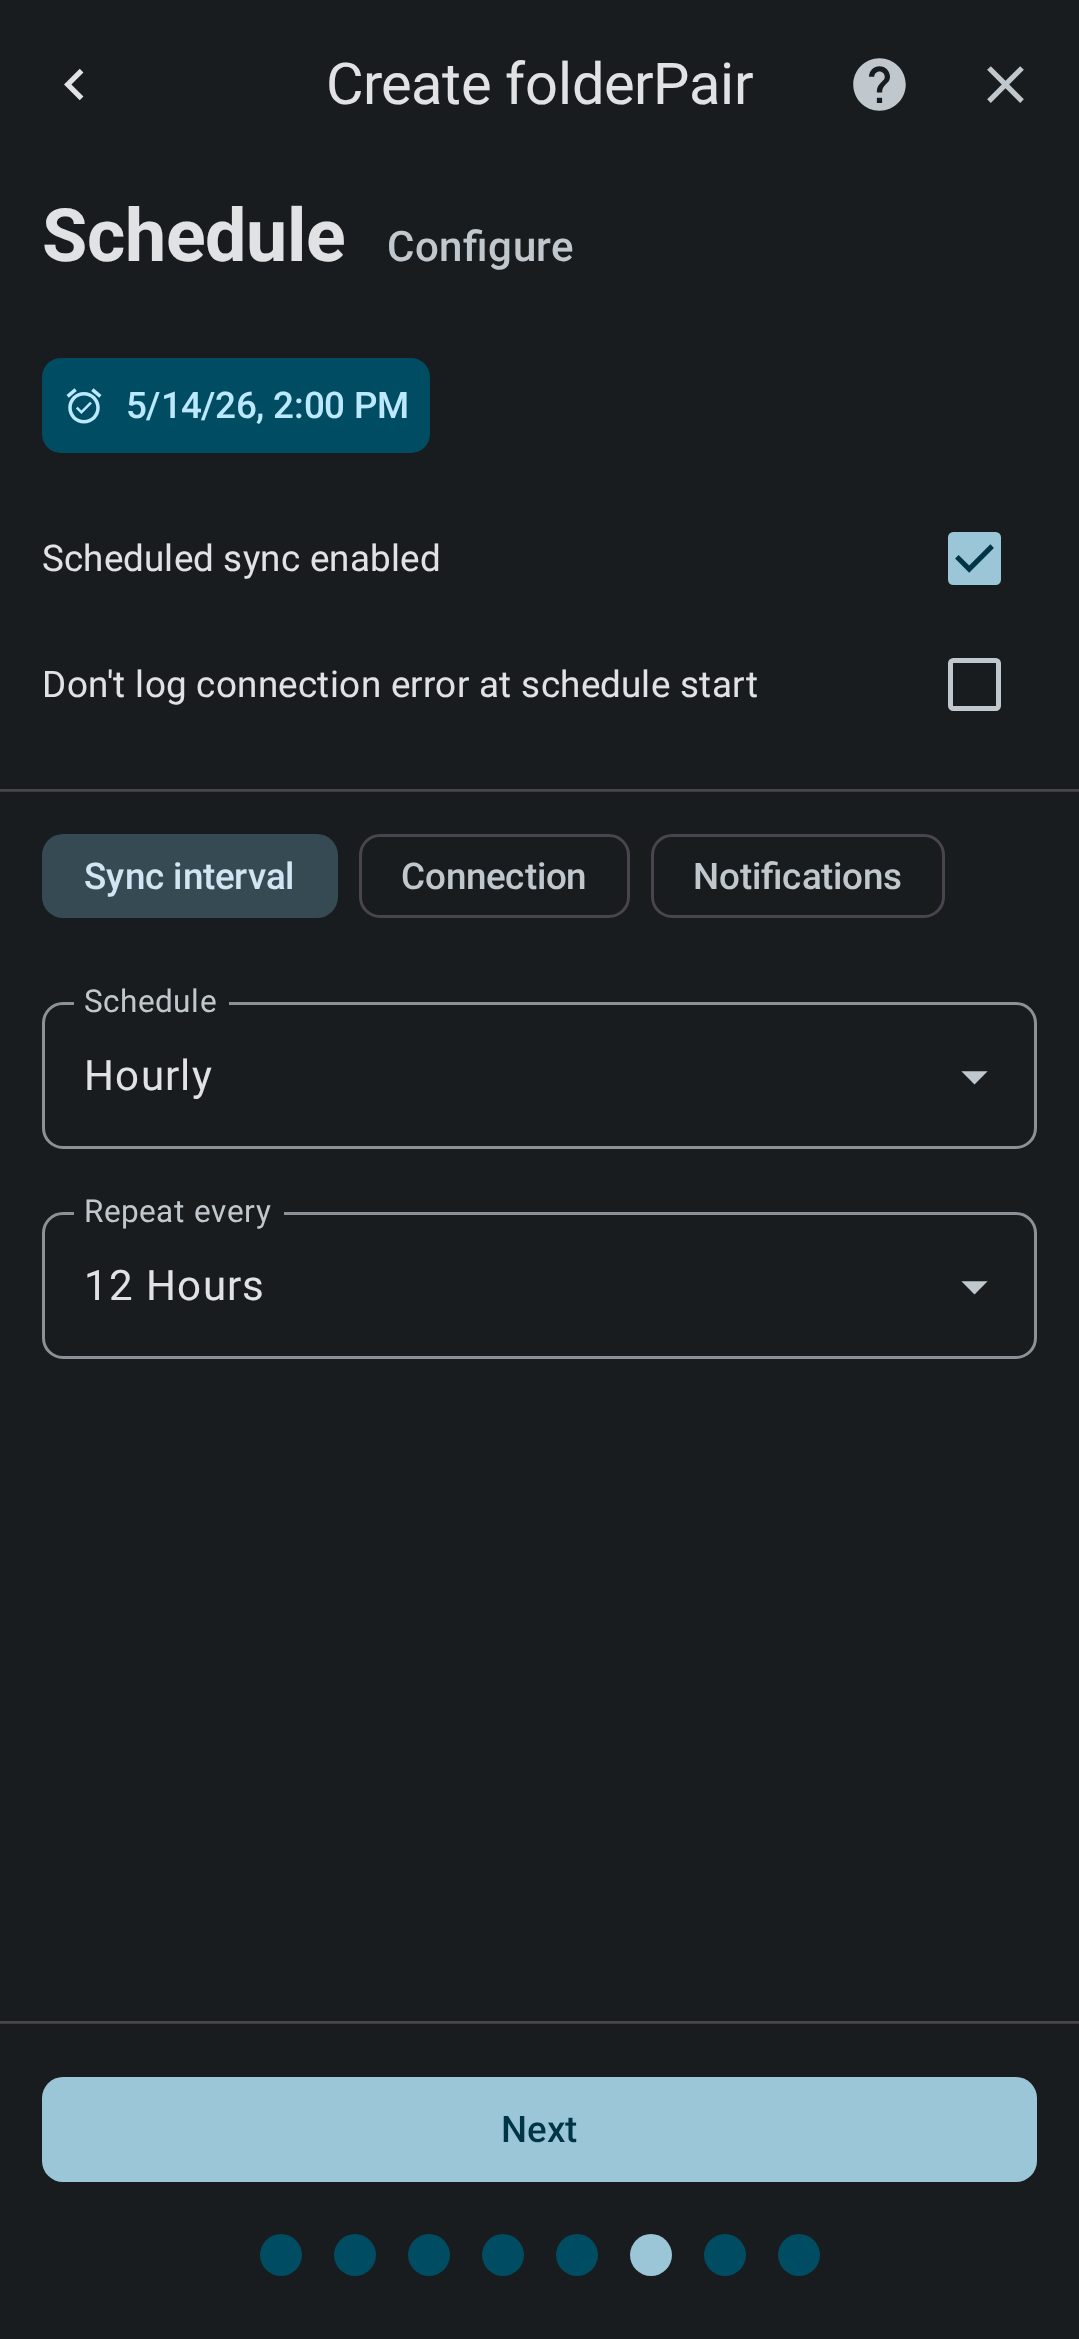
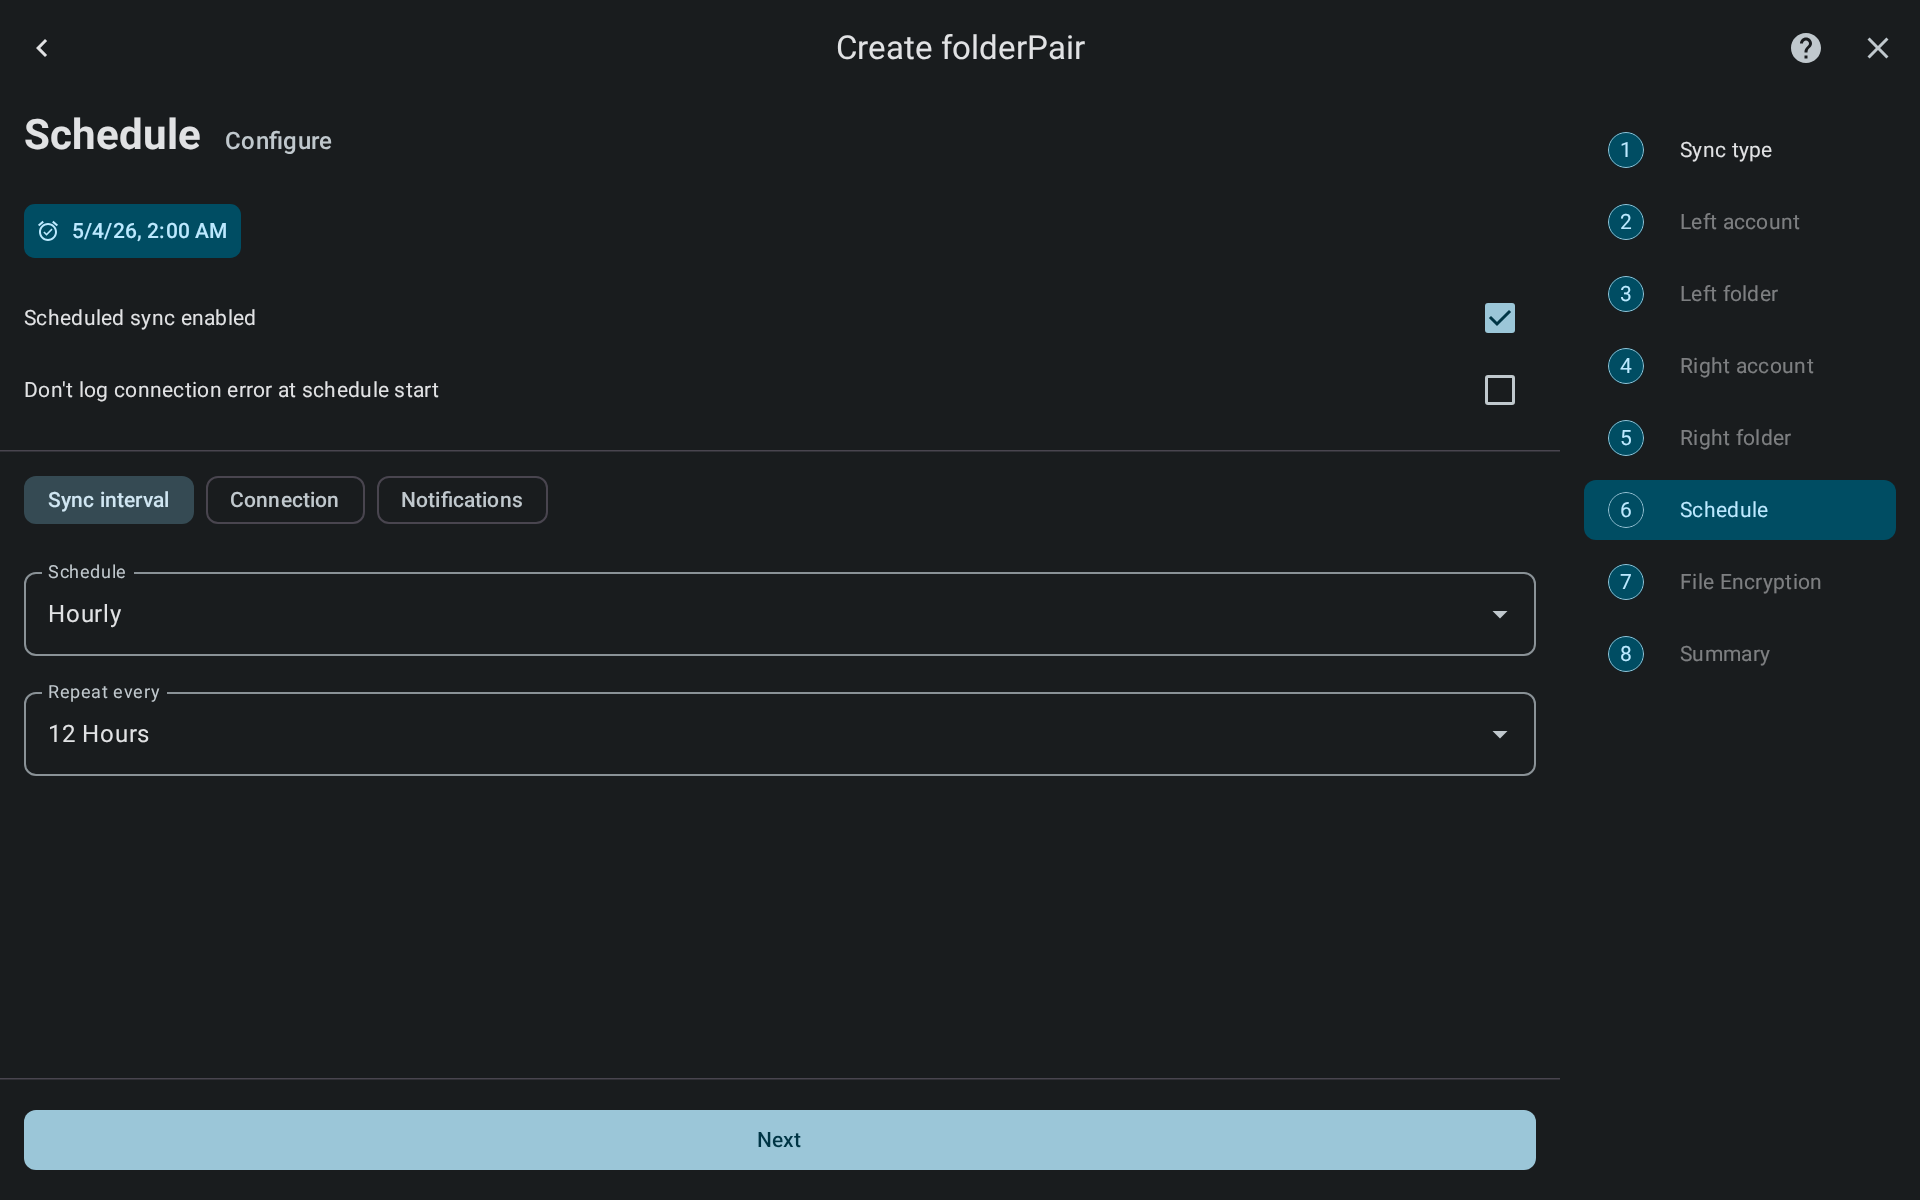
Set schedule
If you want to sync folderPair on a schedule you can configure this here. The default is to sync every 12 hours, but you can configure this anyway you want. You can also set desired connection properties (Android only) or configure what notifications should show.
After you have configured the schedule as desired, or disabled it if you dont need it and only want to sync manually, click Next
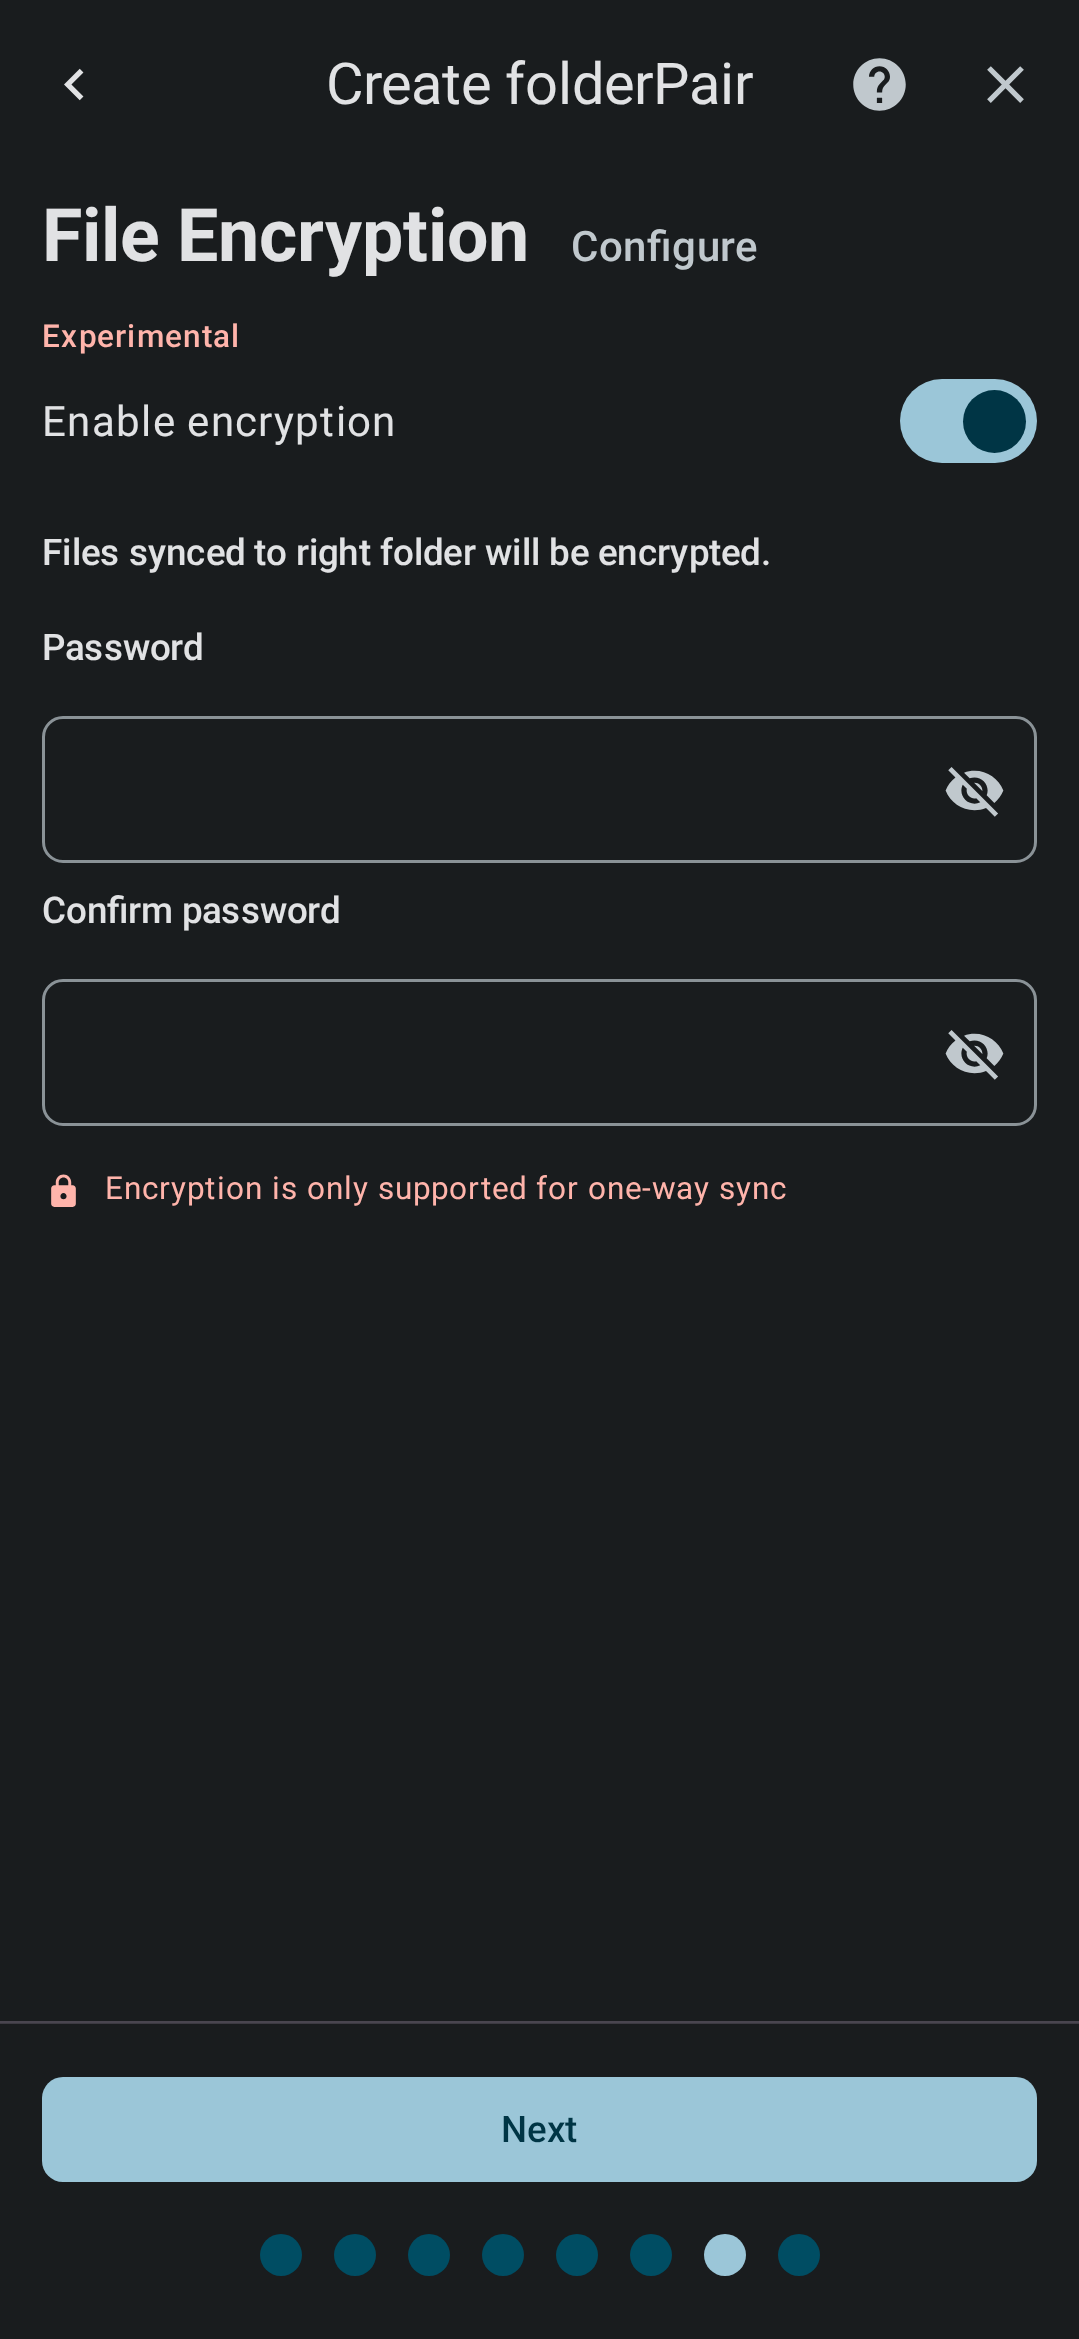
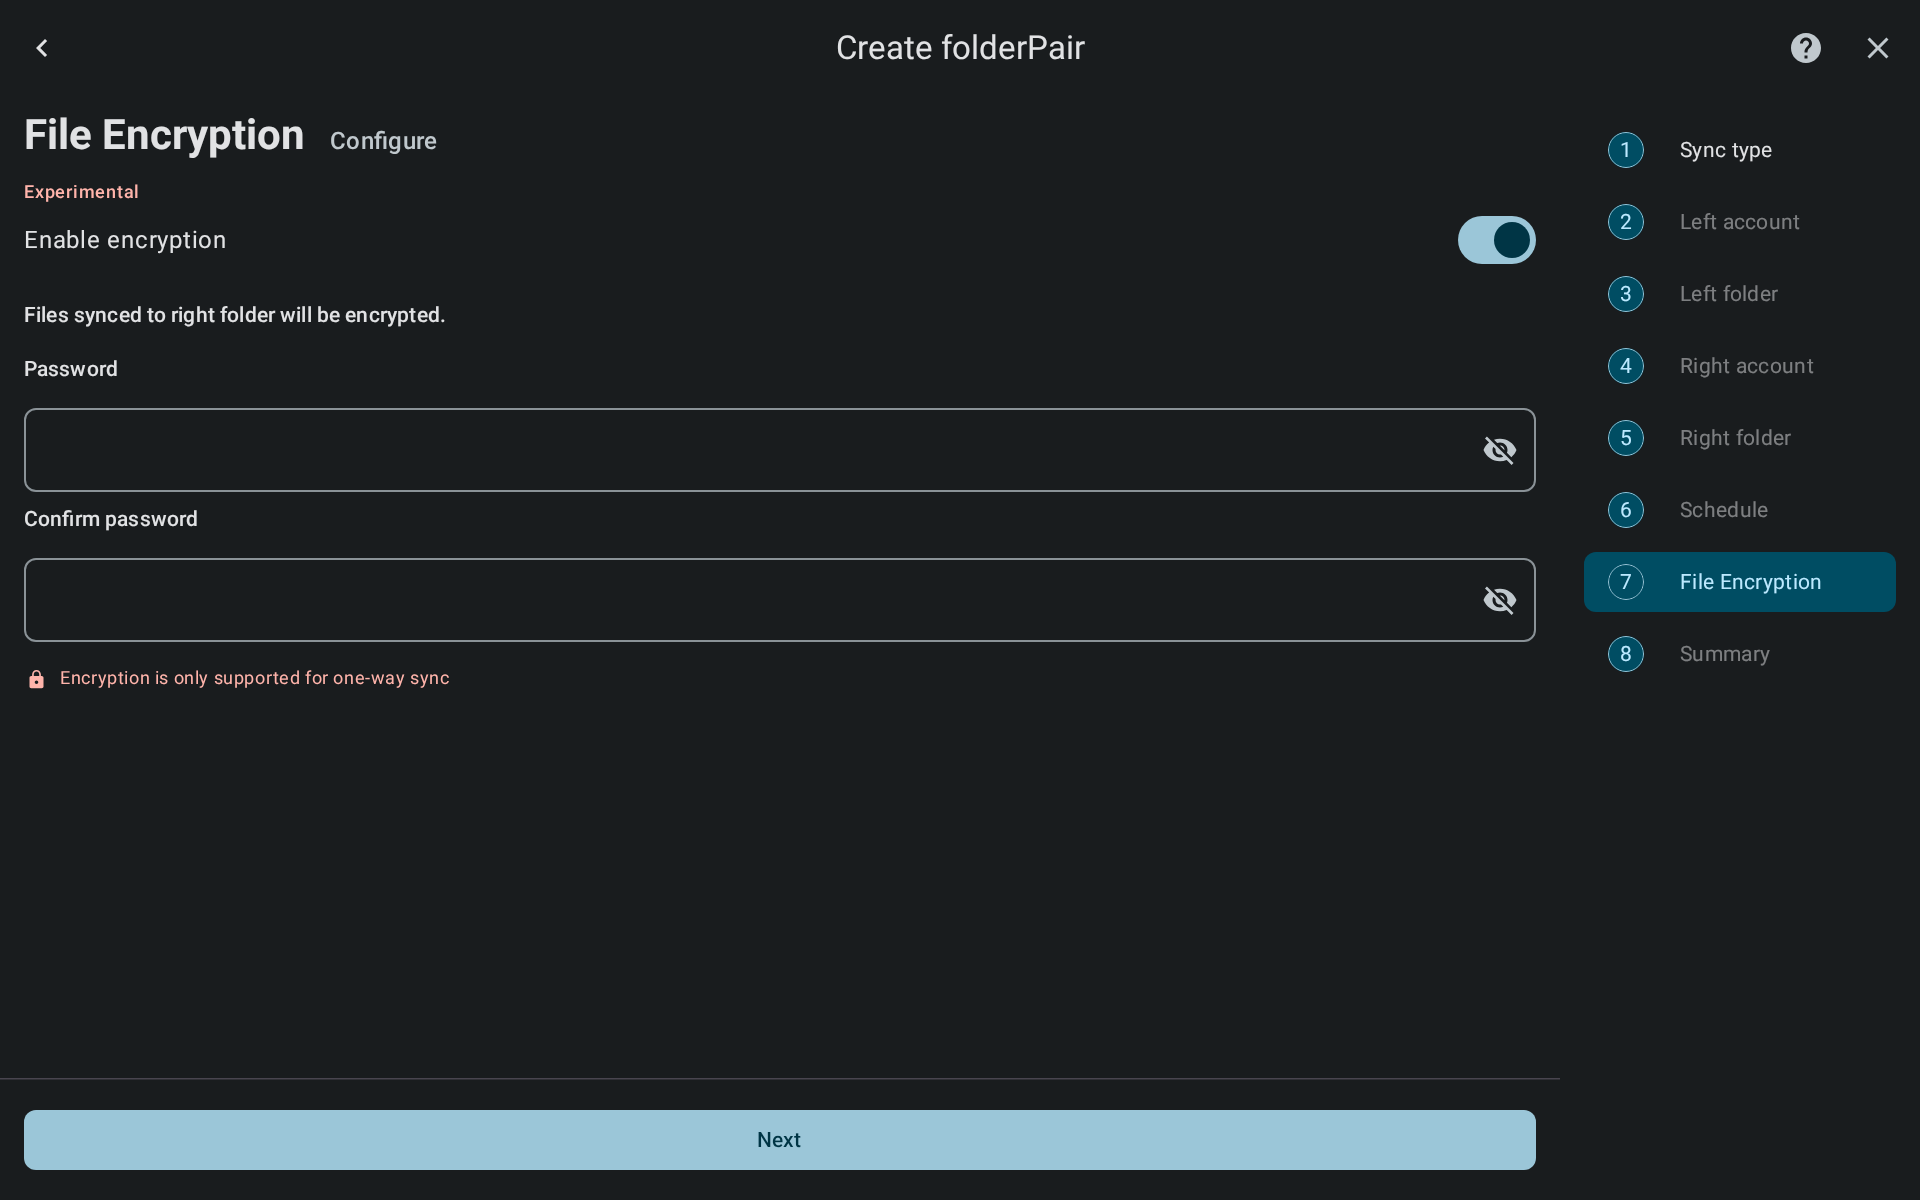
Encryption
If you have chosen one-way sync you can choose to enable encryption. Read more on how encryption works here. Encryption is not available for two-way sync.
If you choose to enable it, you must enter a password of minimum 8 characters. Remember your password, we can not help you recover it.
When configured as desired click Next
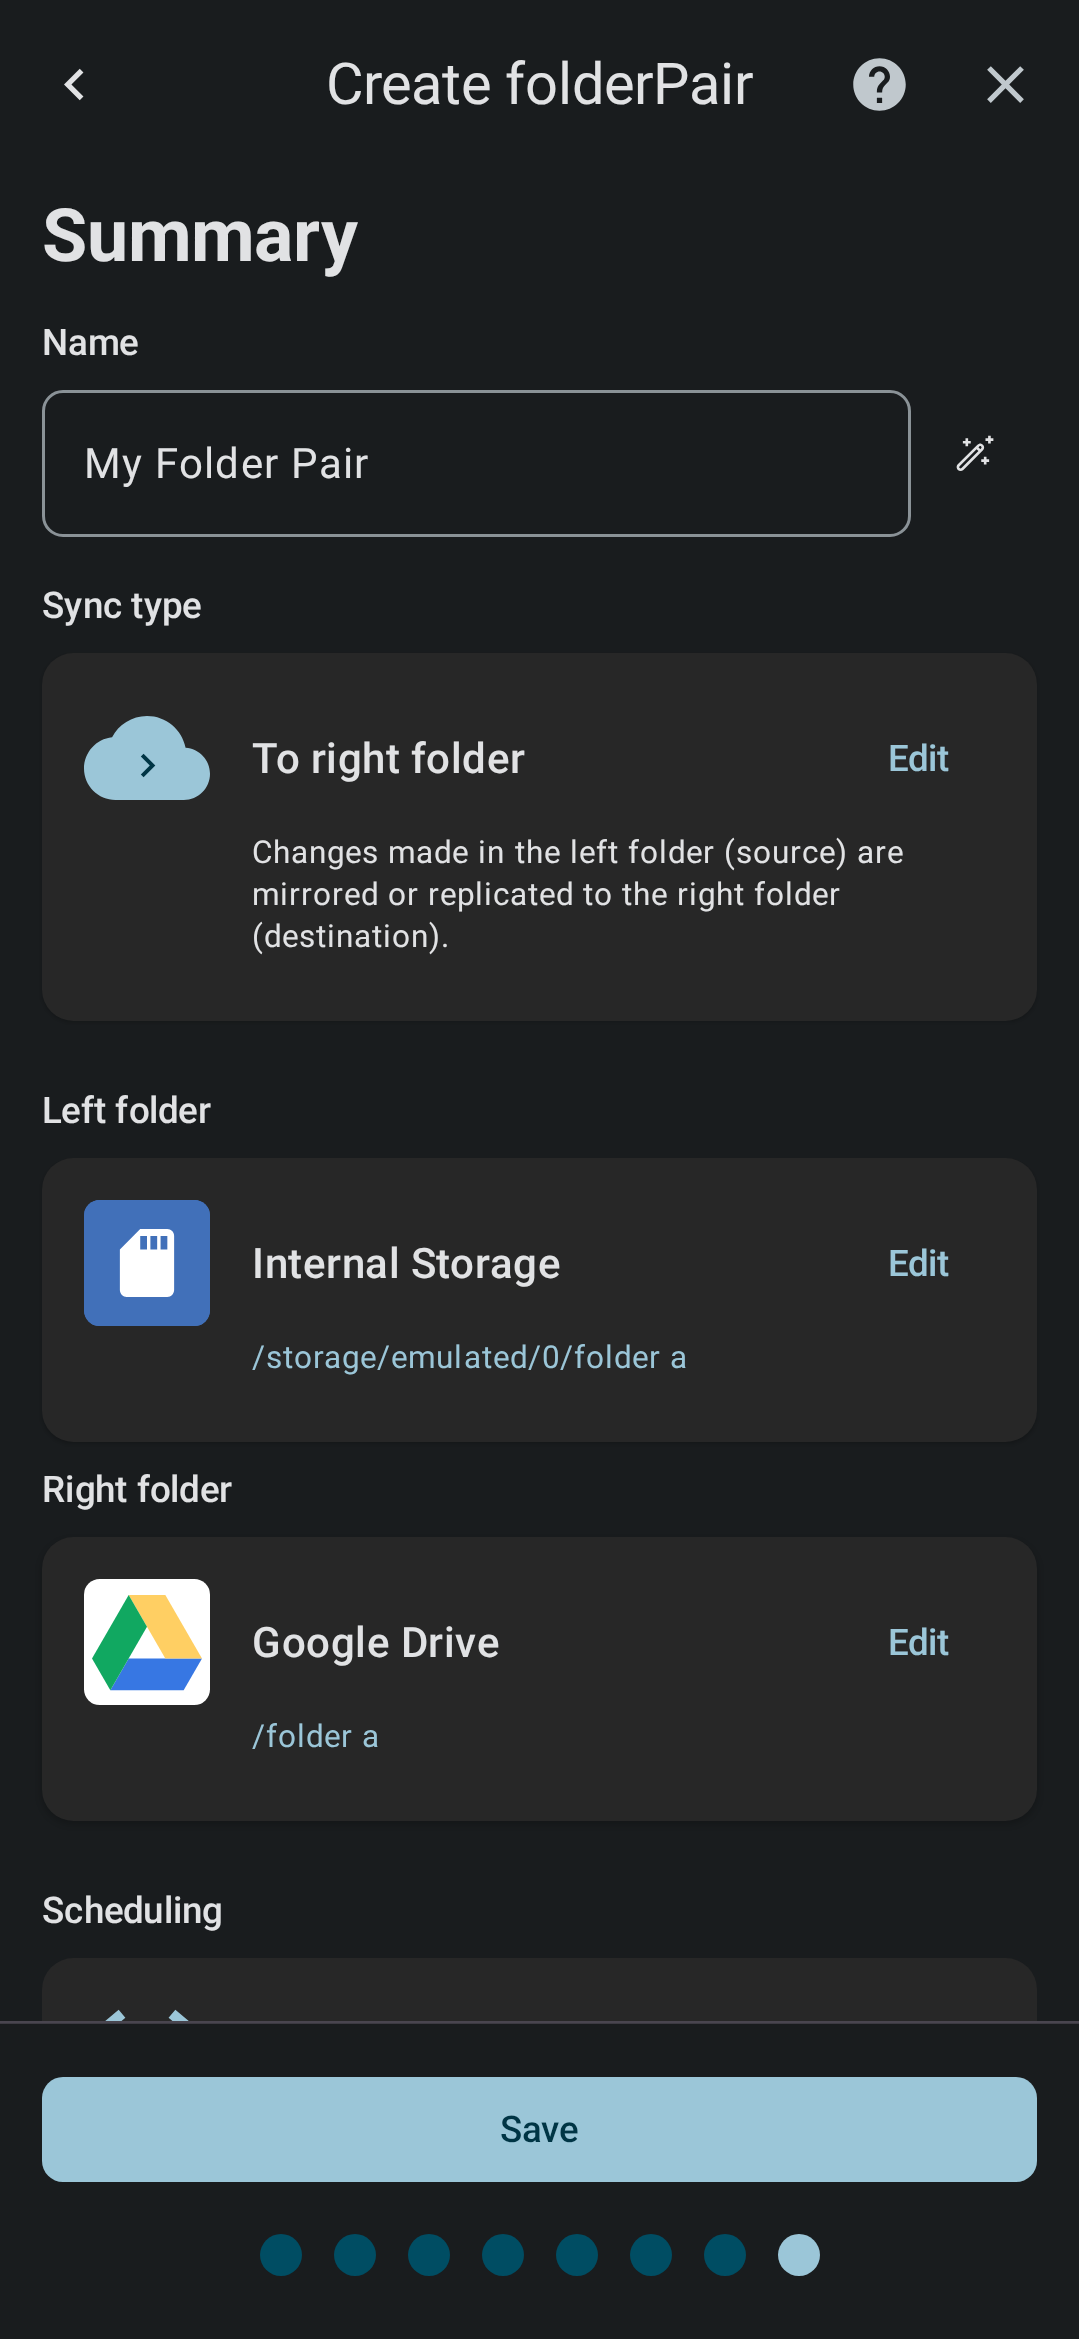
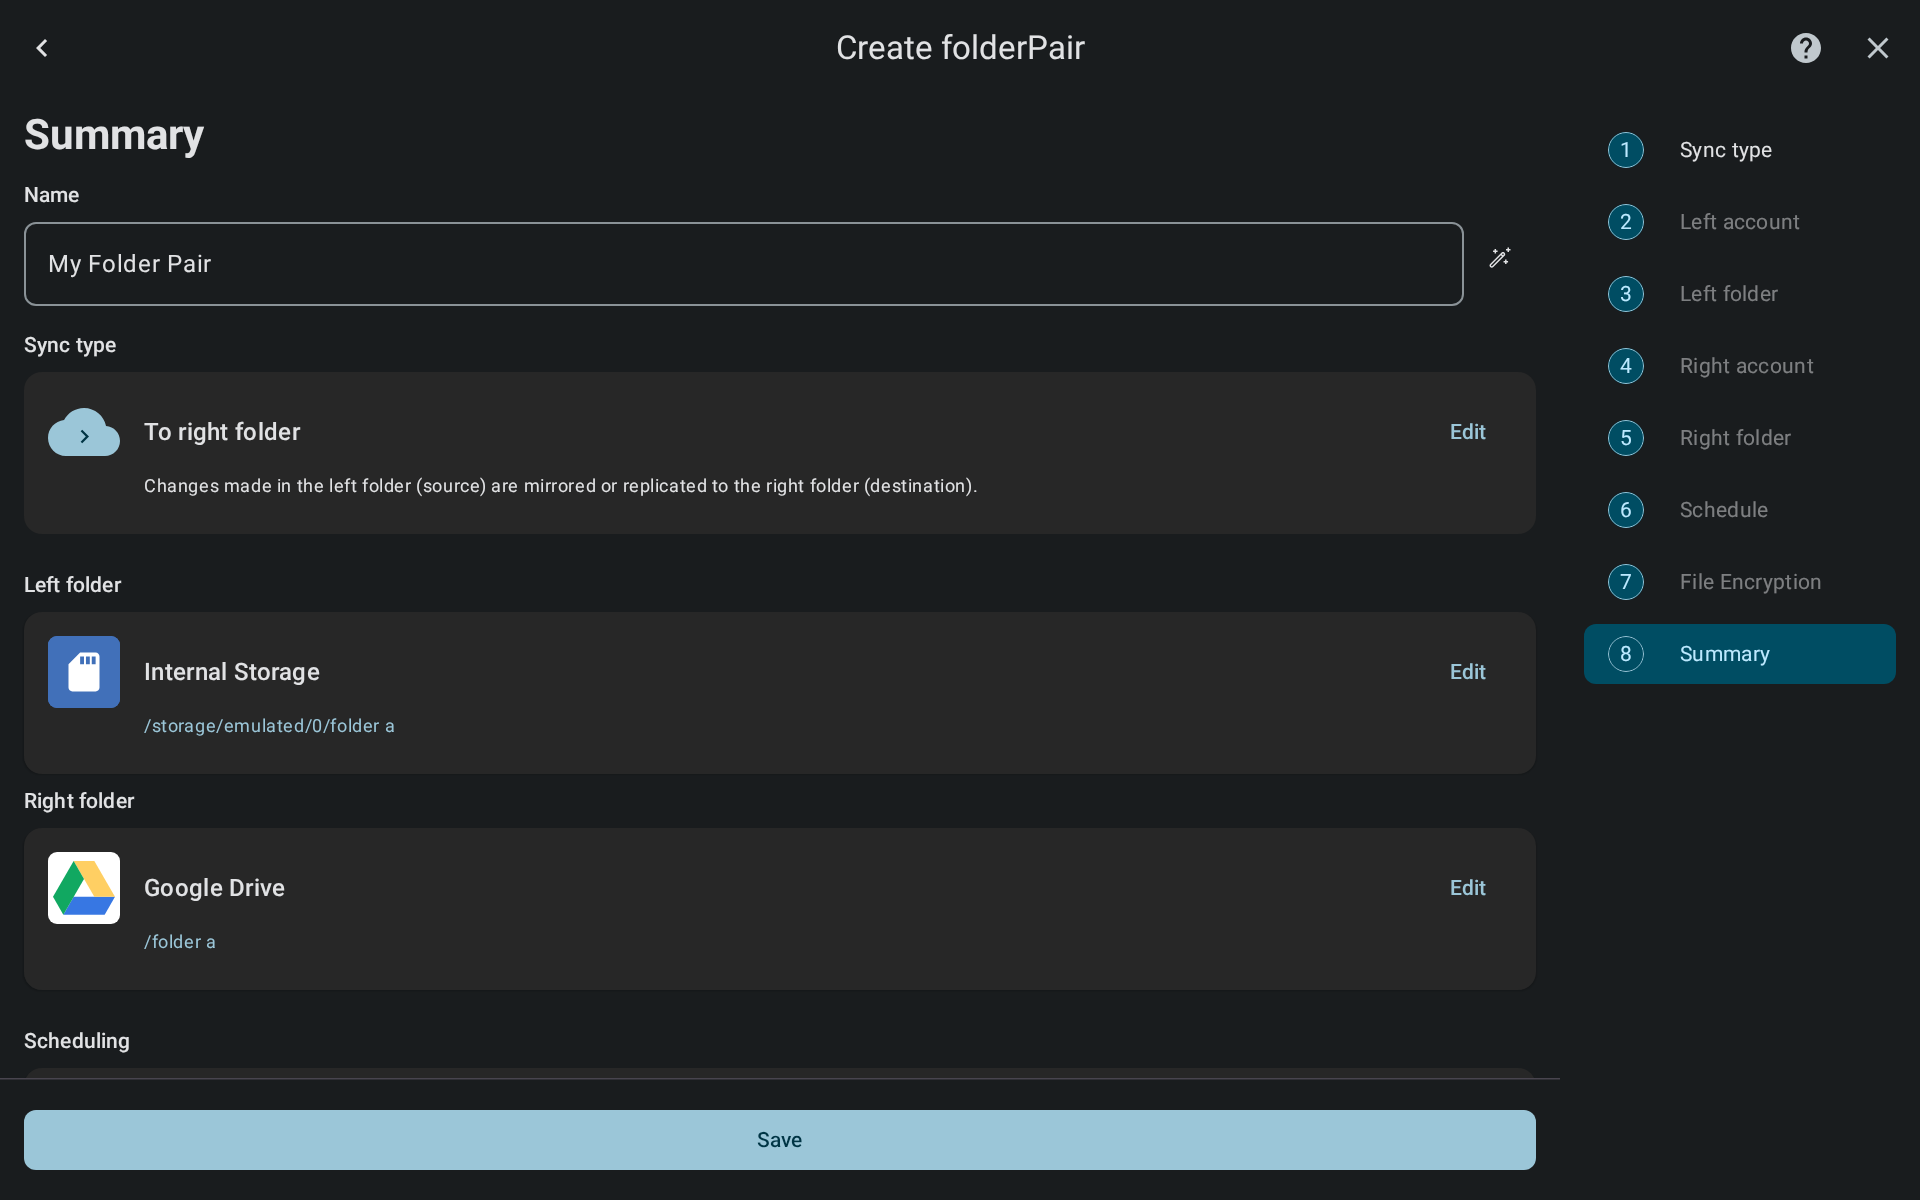
Summary
On the summary screen we can see all the configured folderPair settings and you can enter a name for the folderPair. FolderSync will suggest a name for you, but you can change it to anything you want.
When you are happy with the name and the configured properties click Save to save as new folderPair.
 `
`
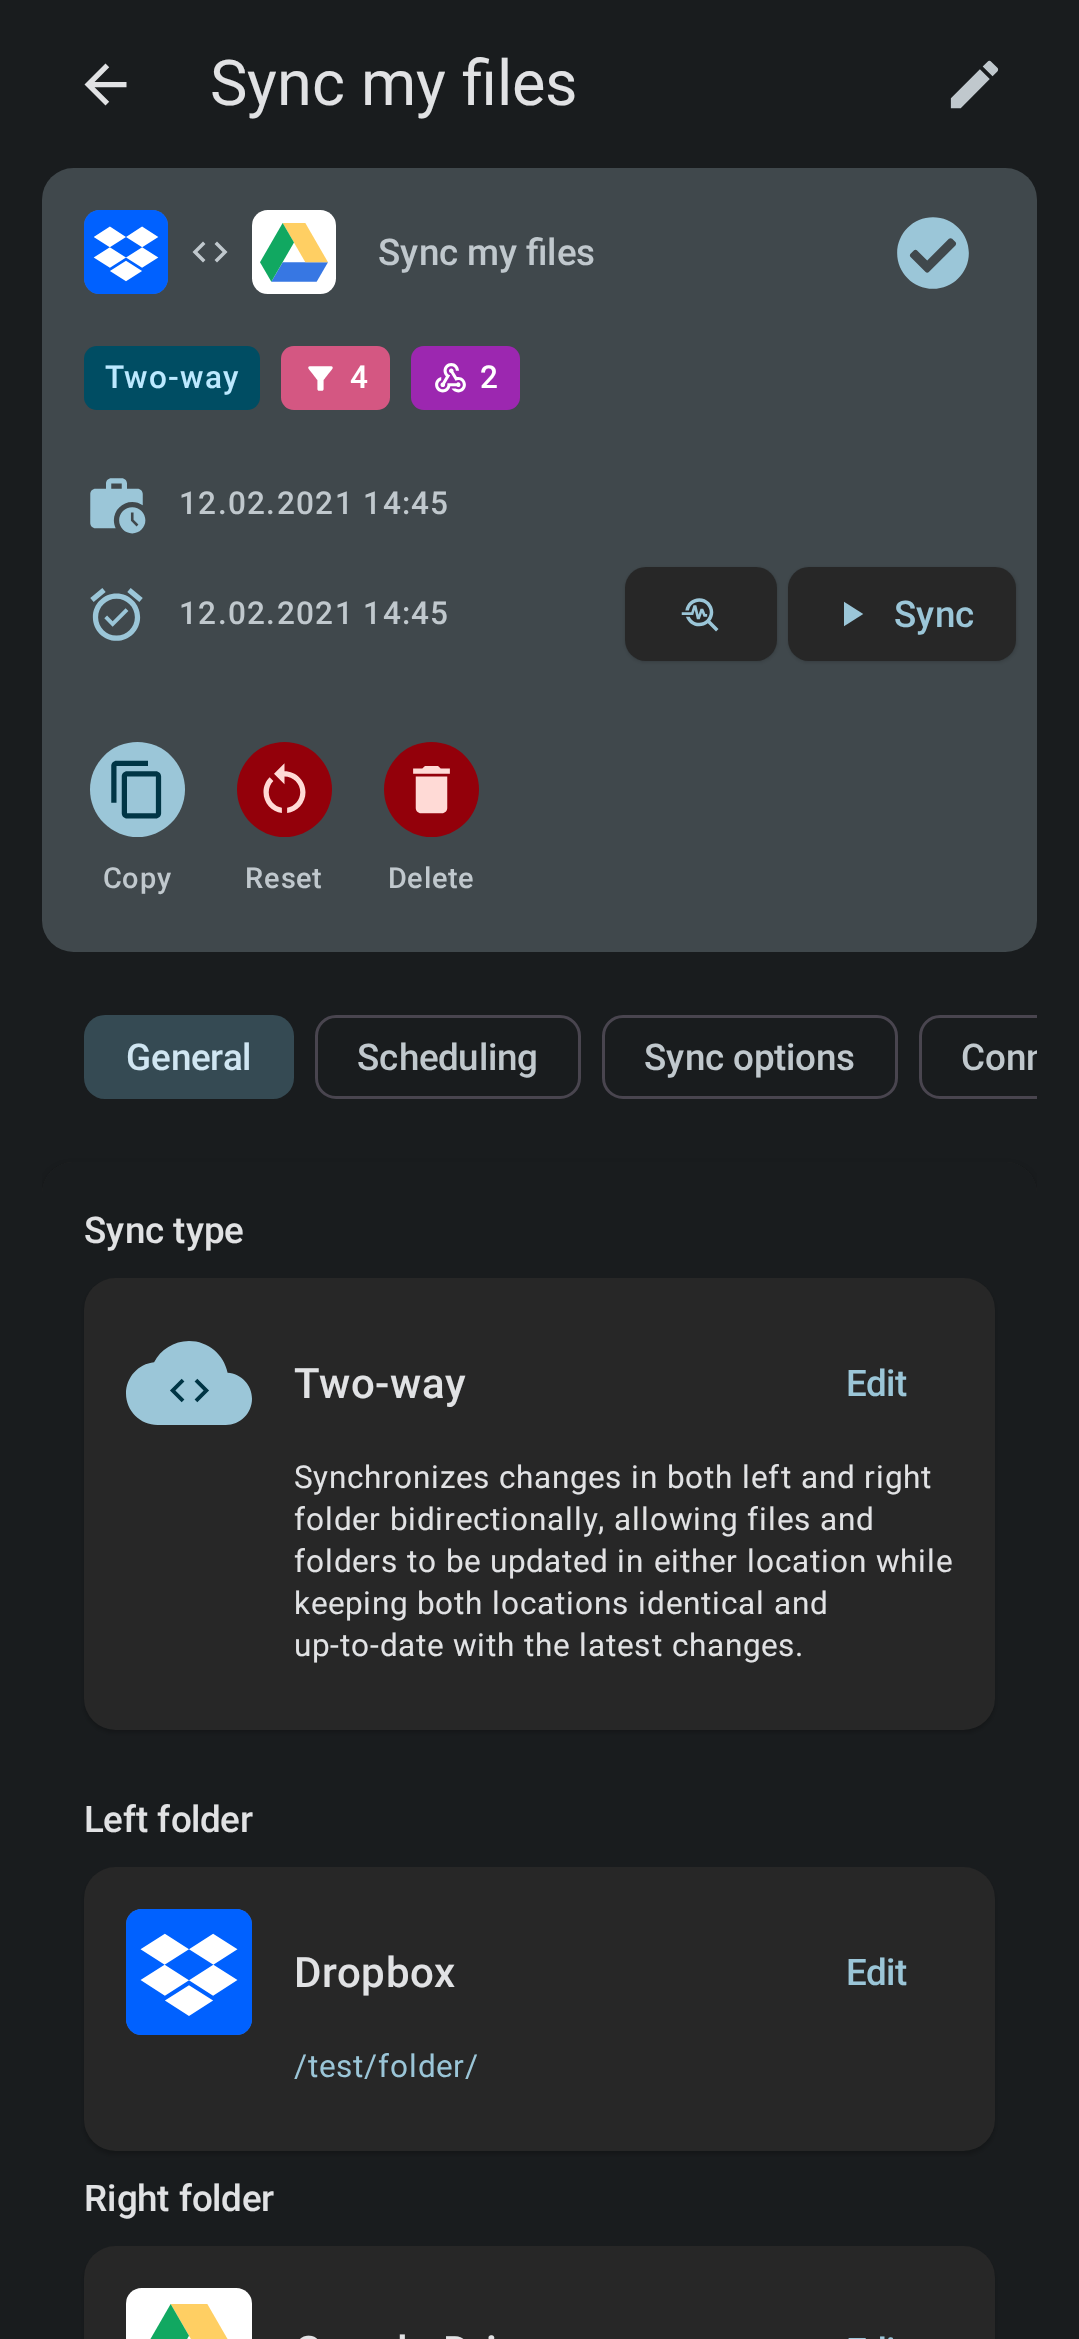
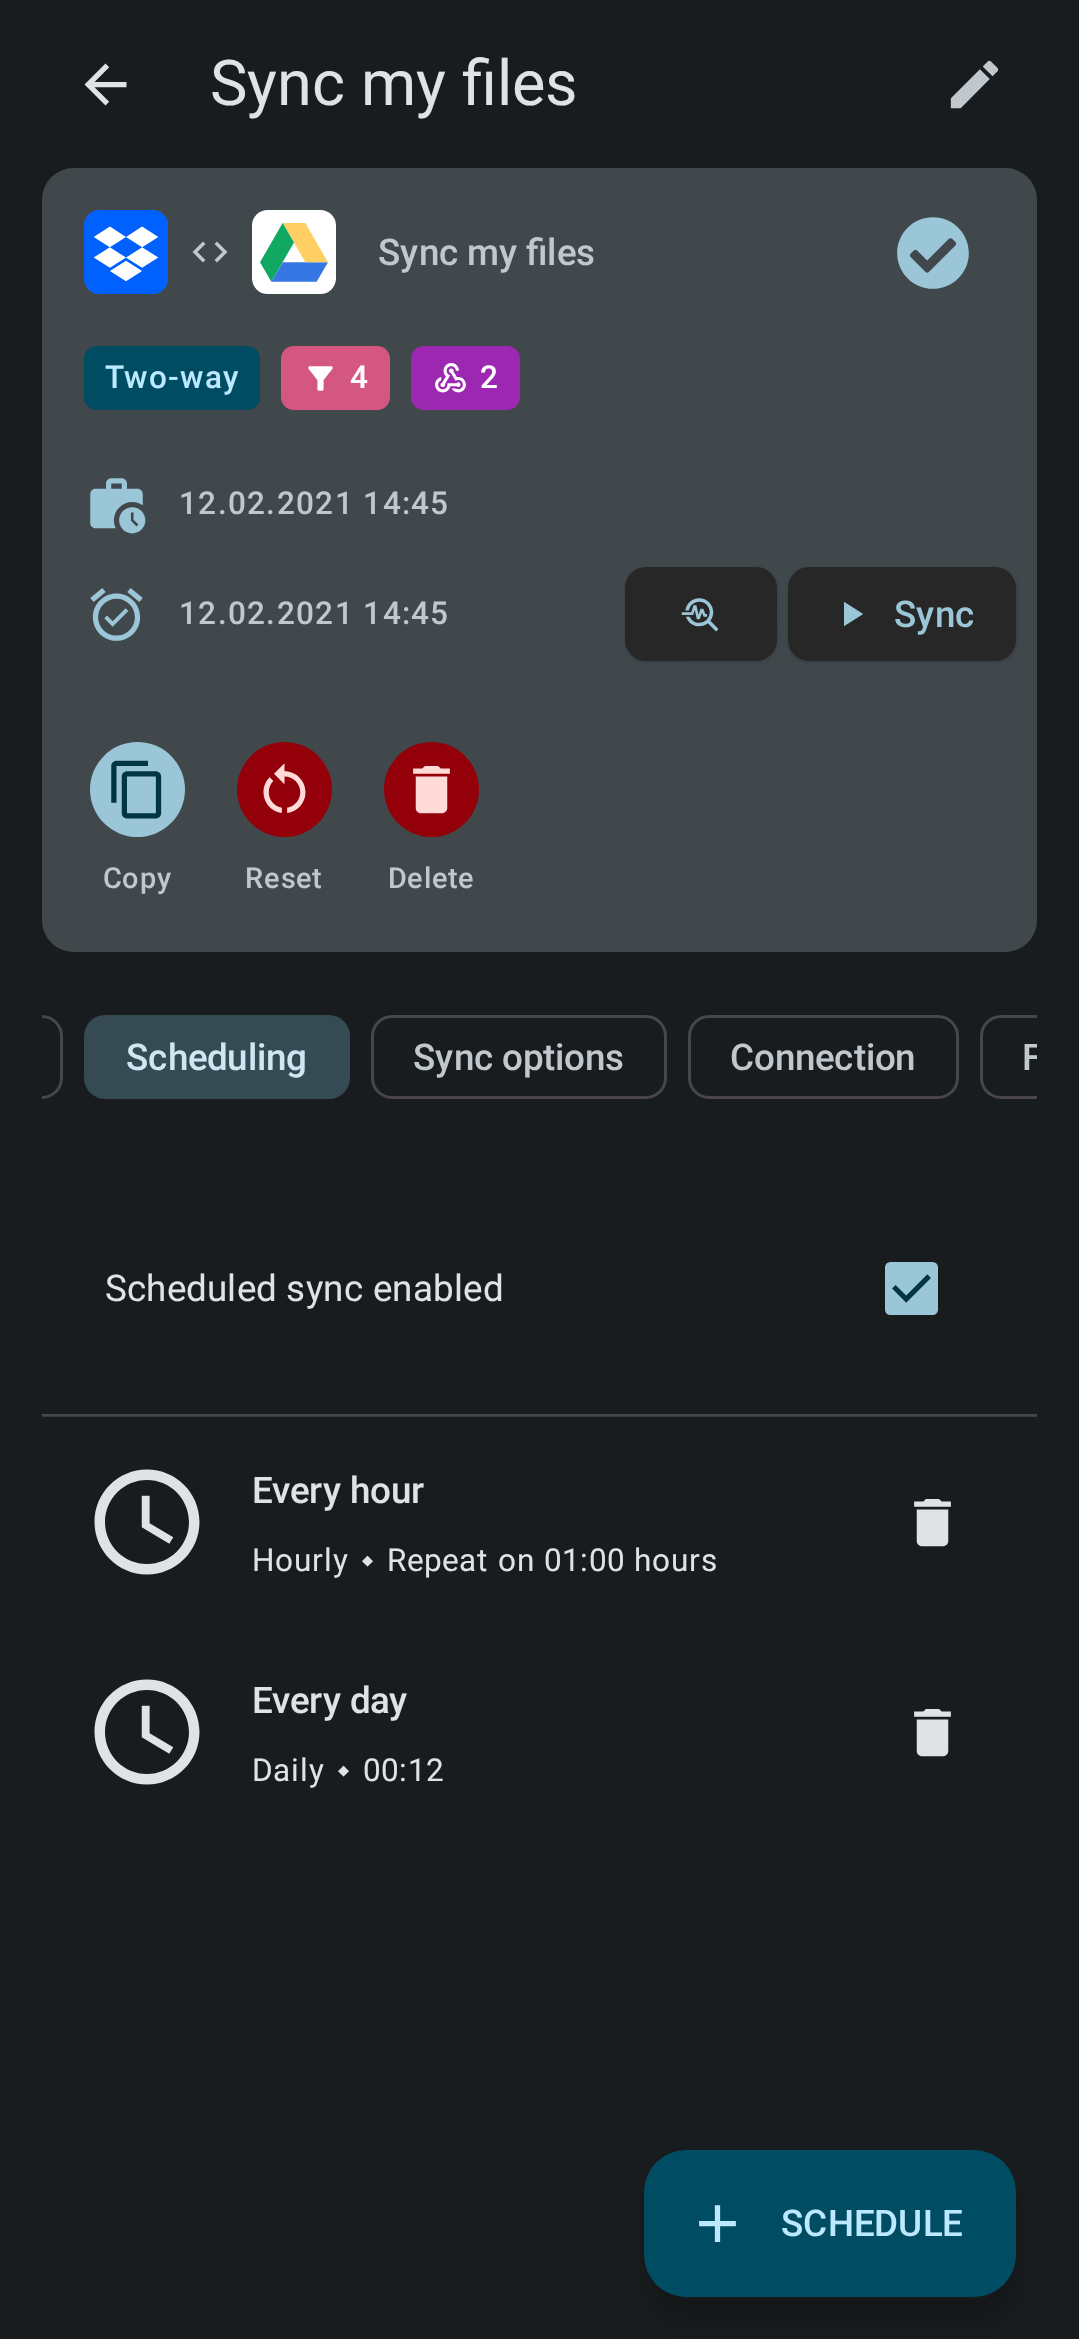
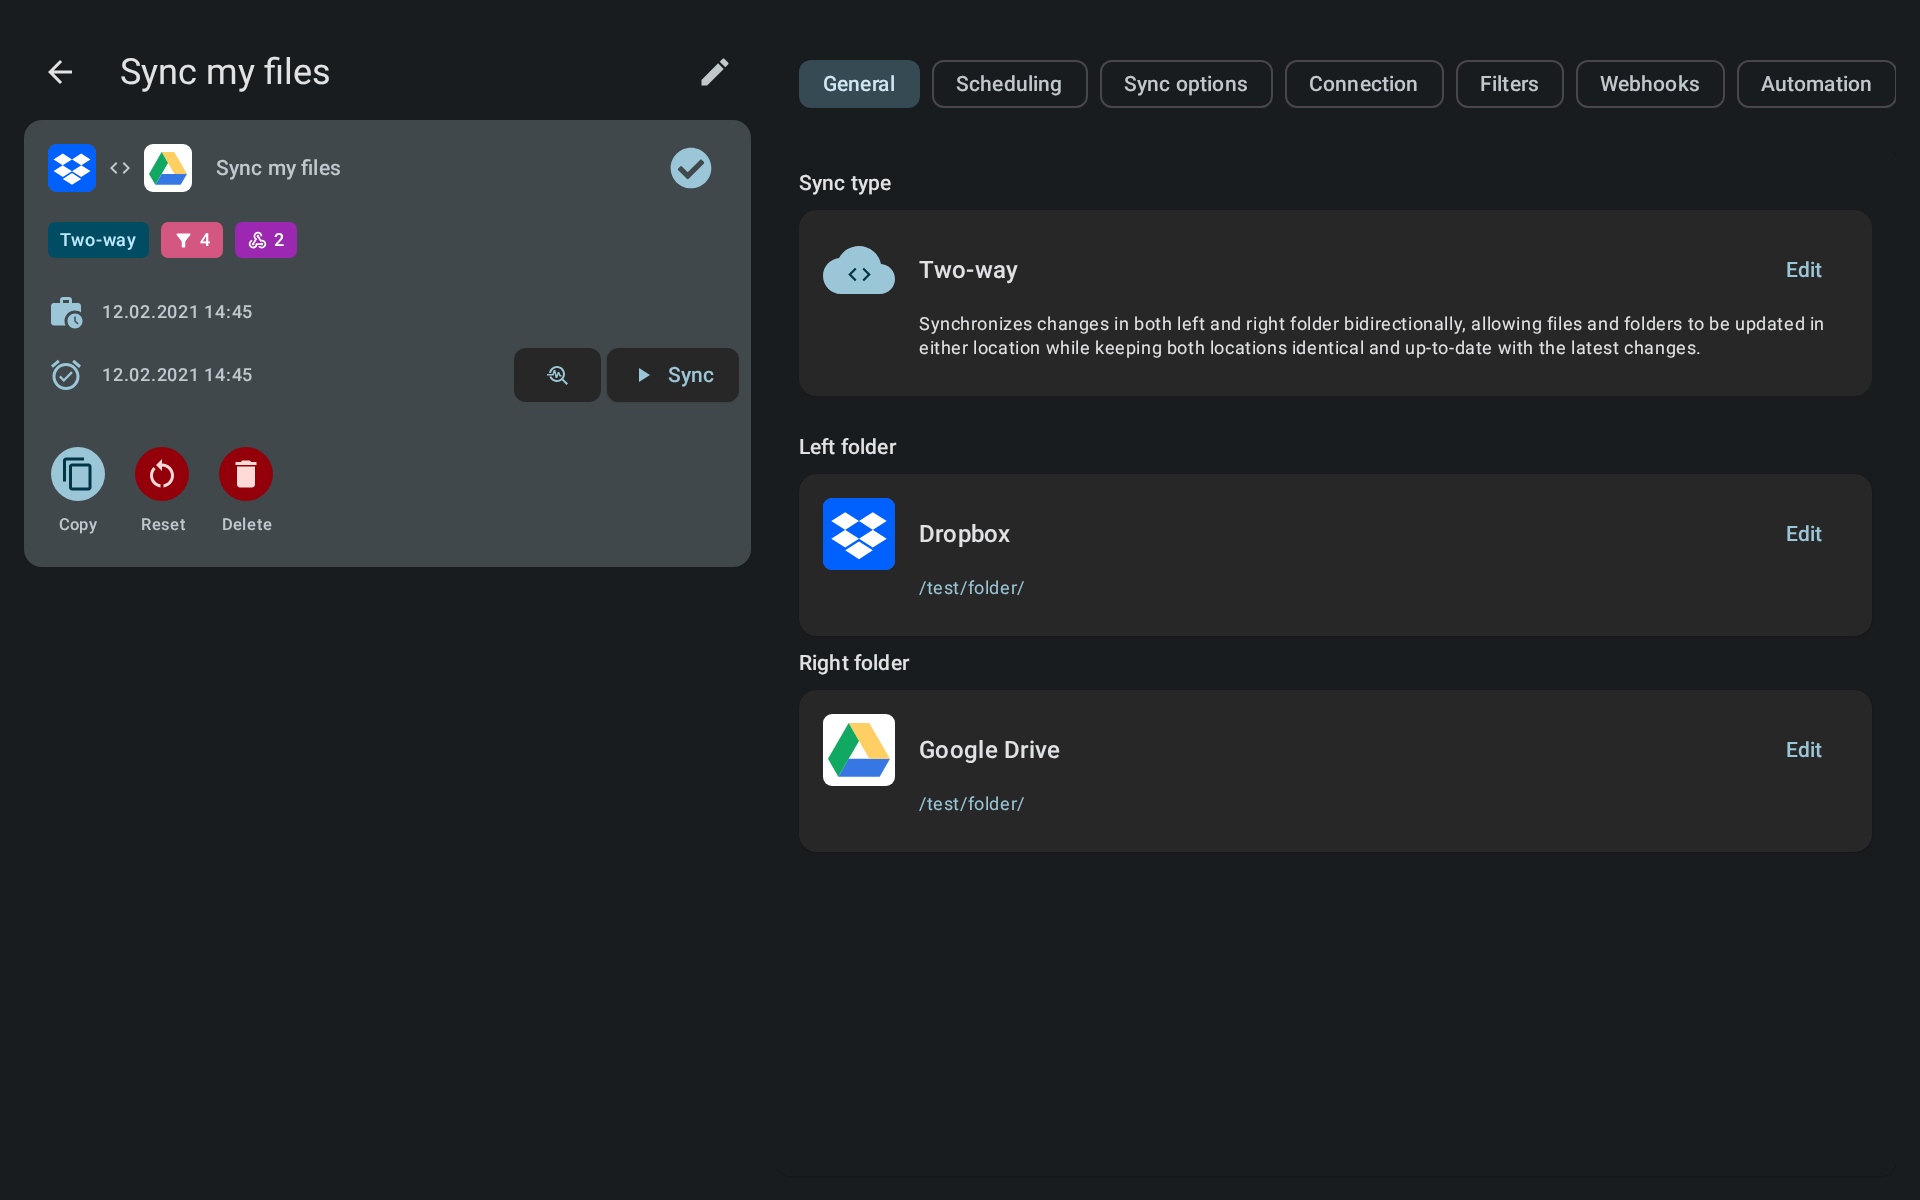
Configure folderPair
After having pressed the save button the FolderPair screen for your newly added sync will show. Here there are a lot of settings you can change, see the full guide for more info on these.
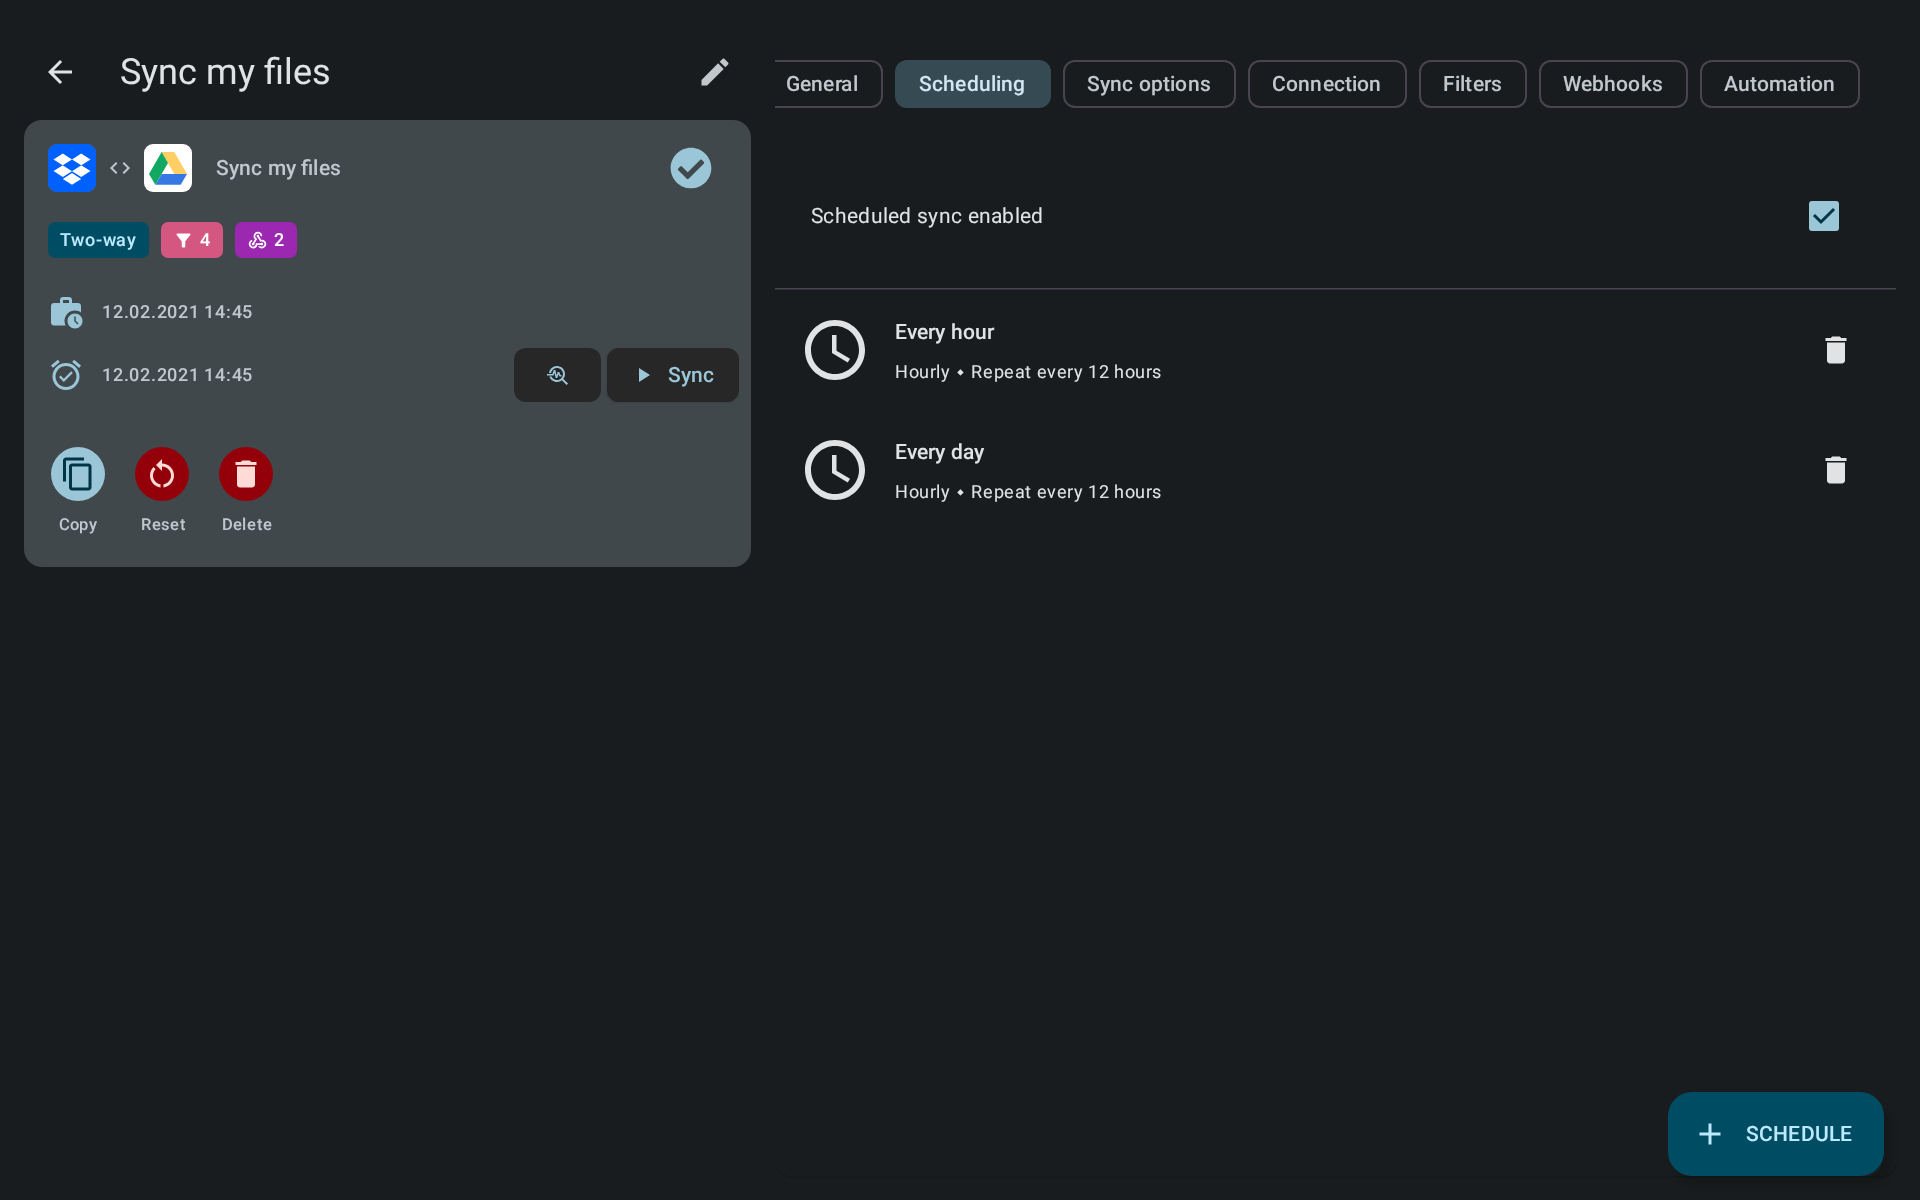
The only thing we want to do now is configure the folderPair to sync at specific times, so go the Scheduling tab and add a schedule for when you wan the folderPair to sync..
Syncing files
Now We want to run a manual sync of the files so tap [Sync] at the top right.
By default the folderPair will only be allowed to sync on WiFi, so you may be asked to allow the sync to use non-WiFi connection.
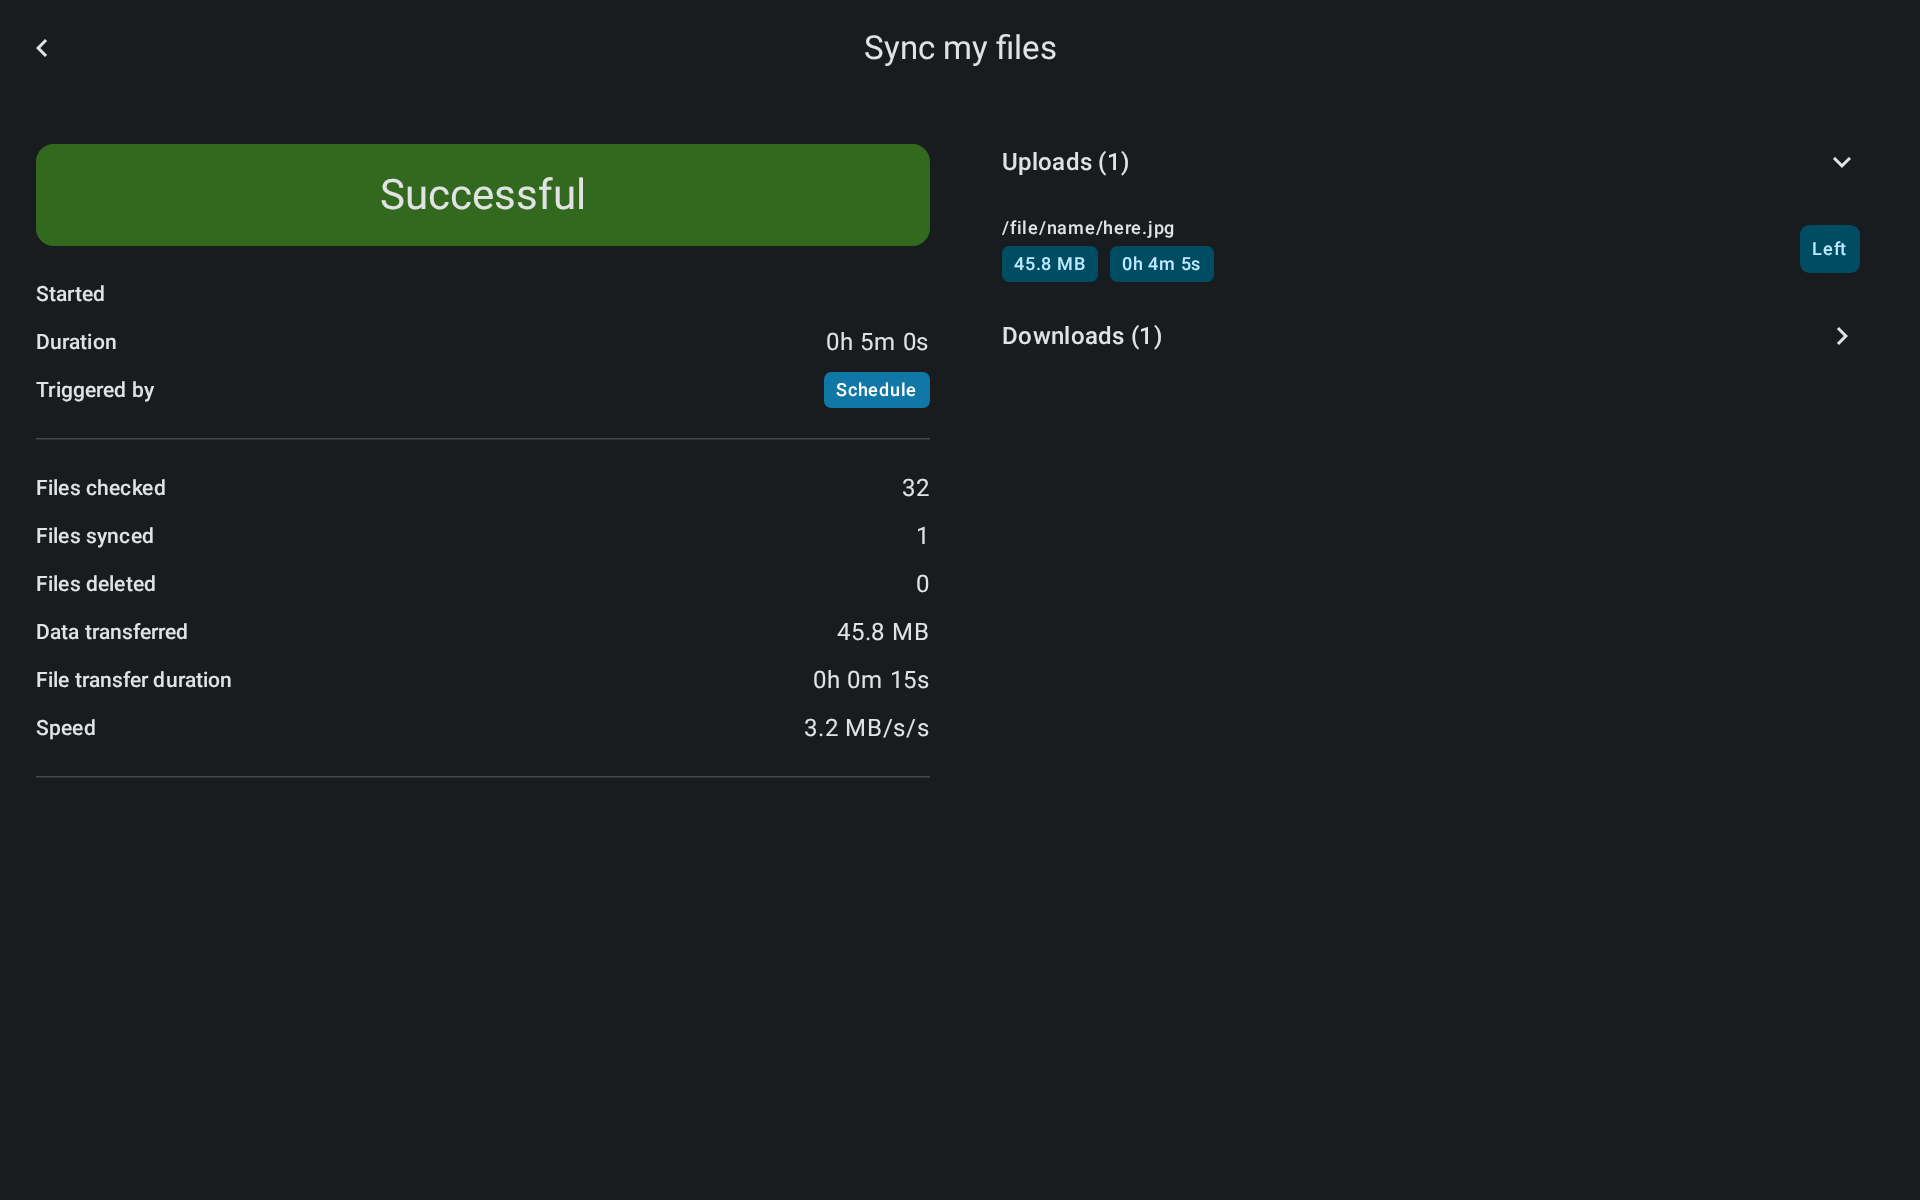
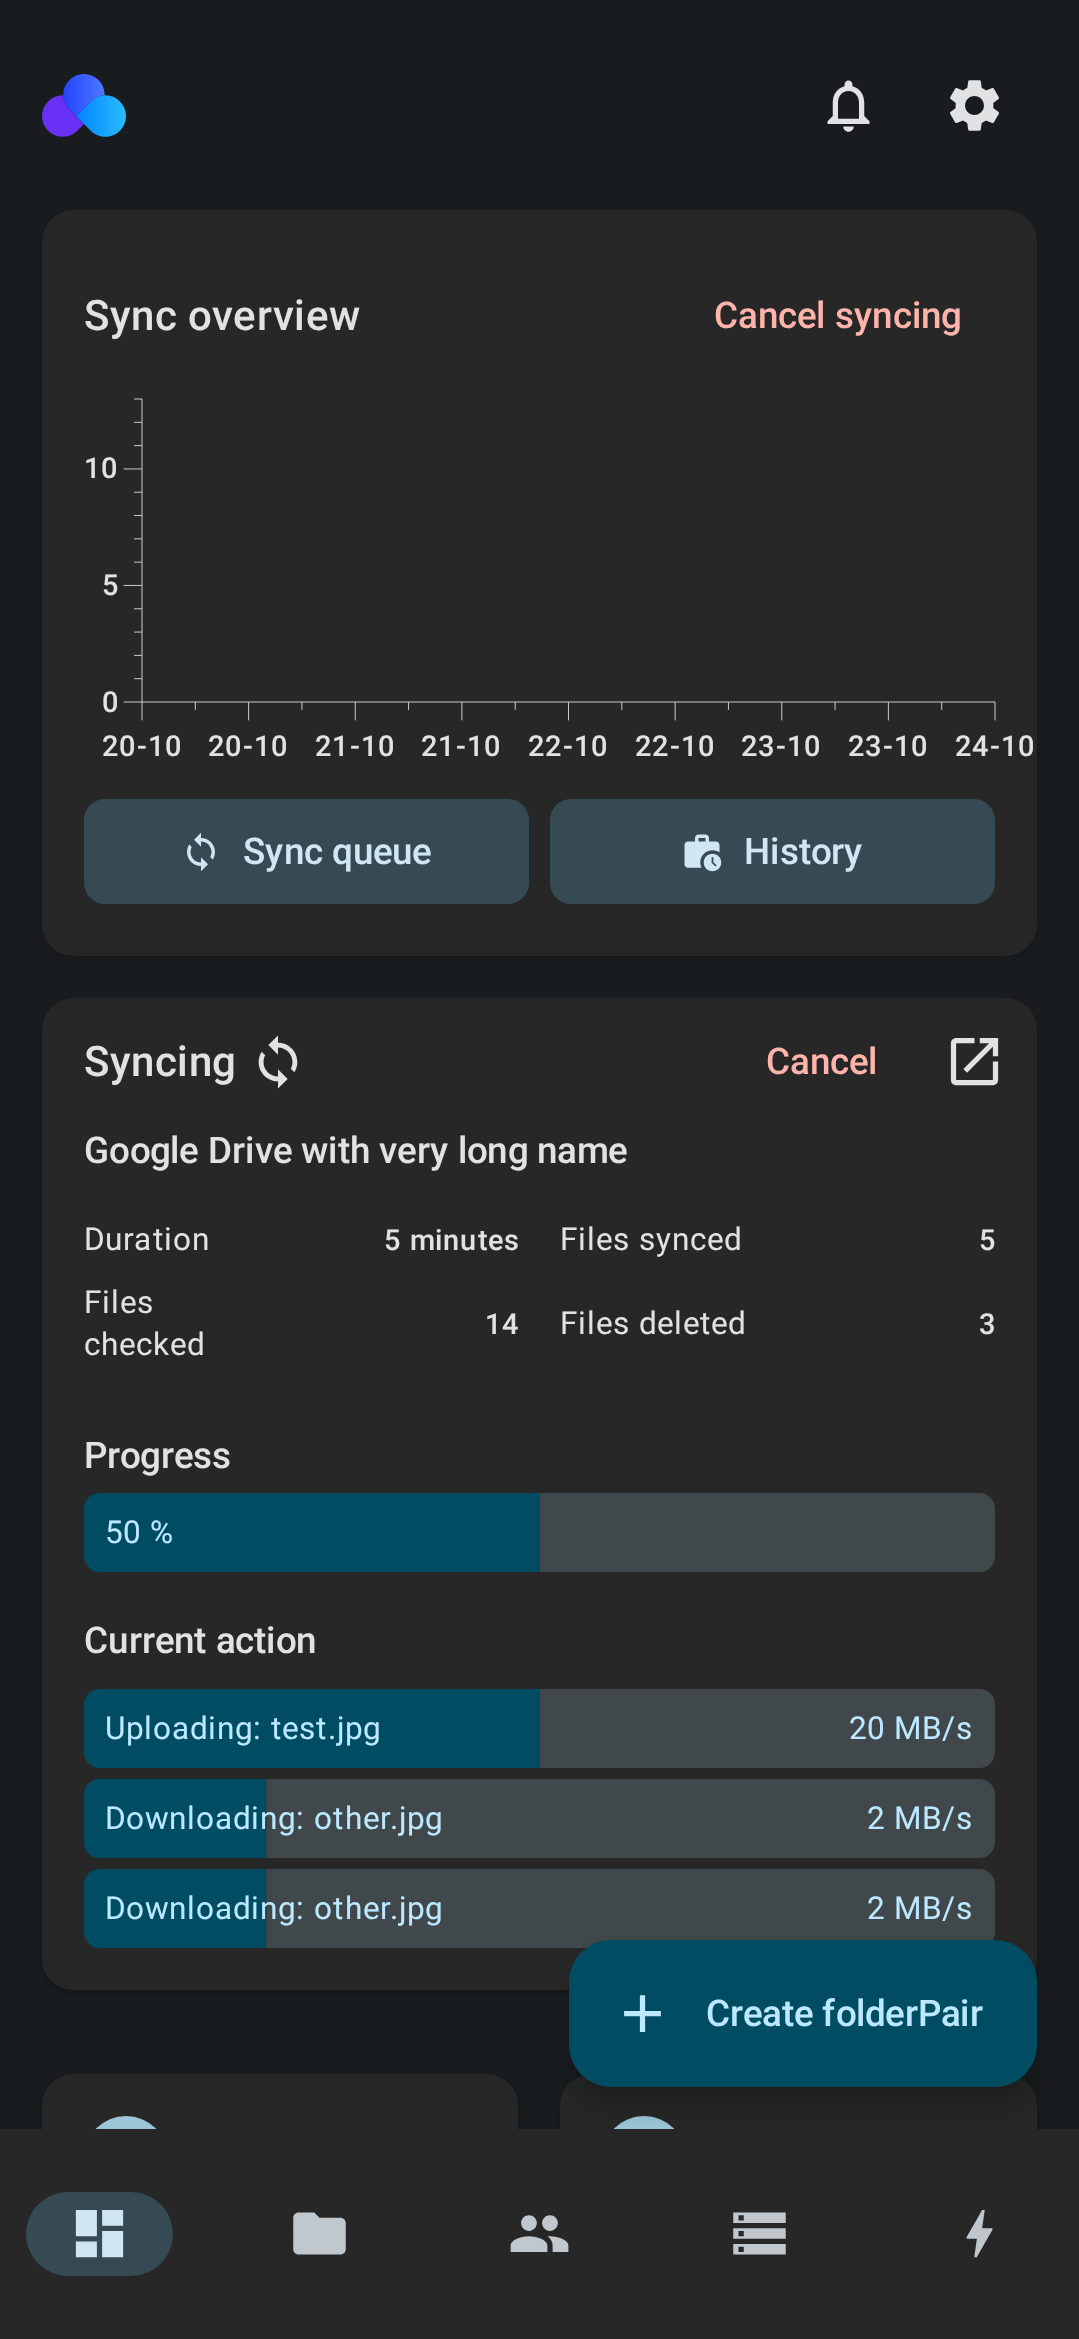
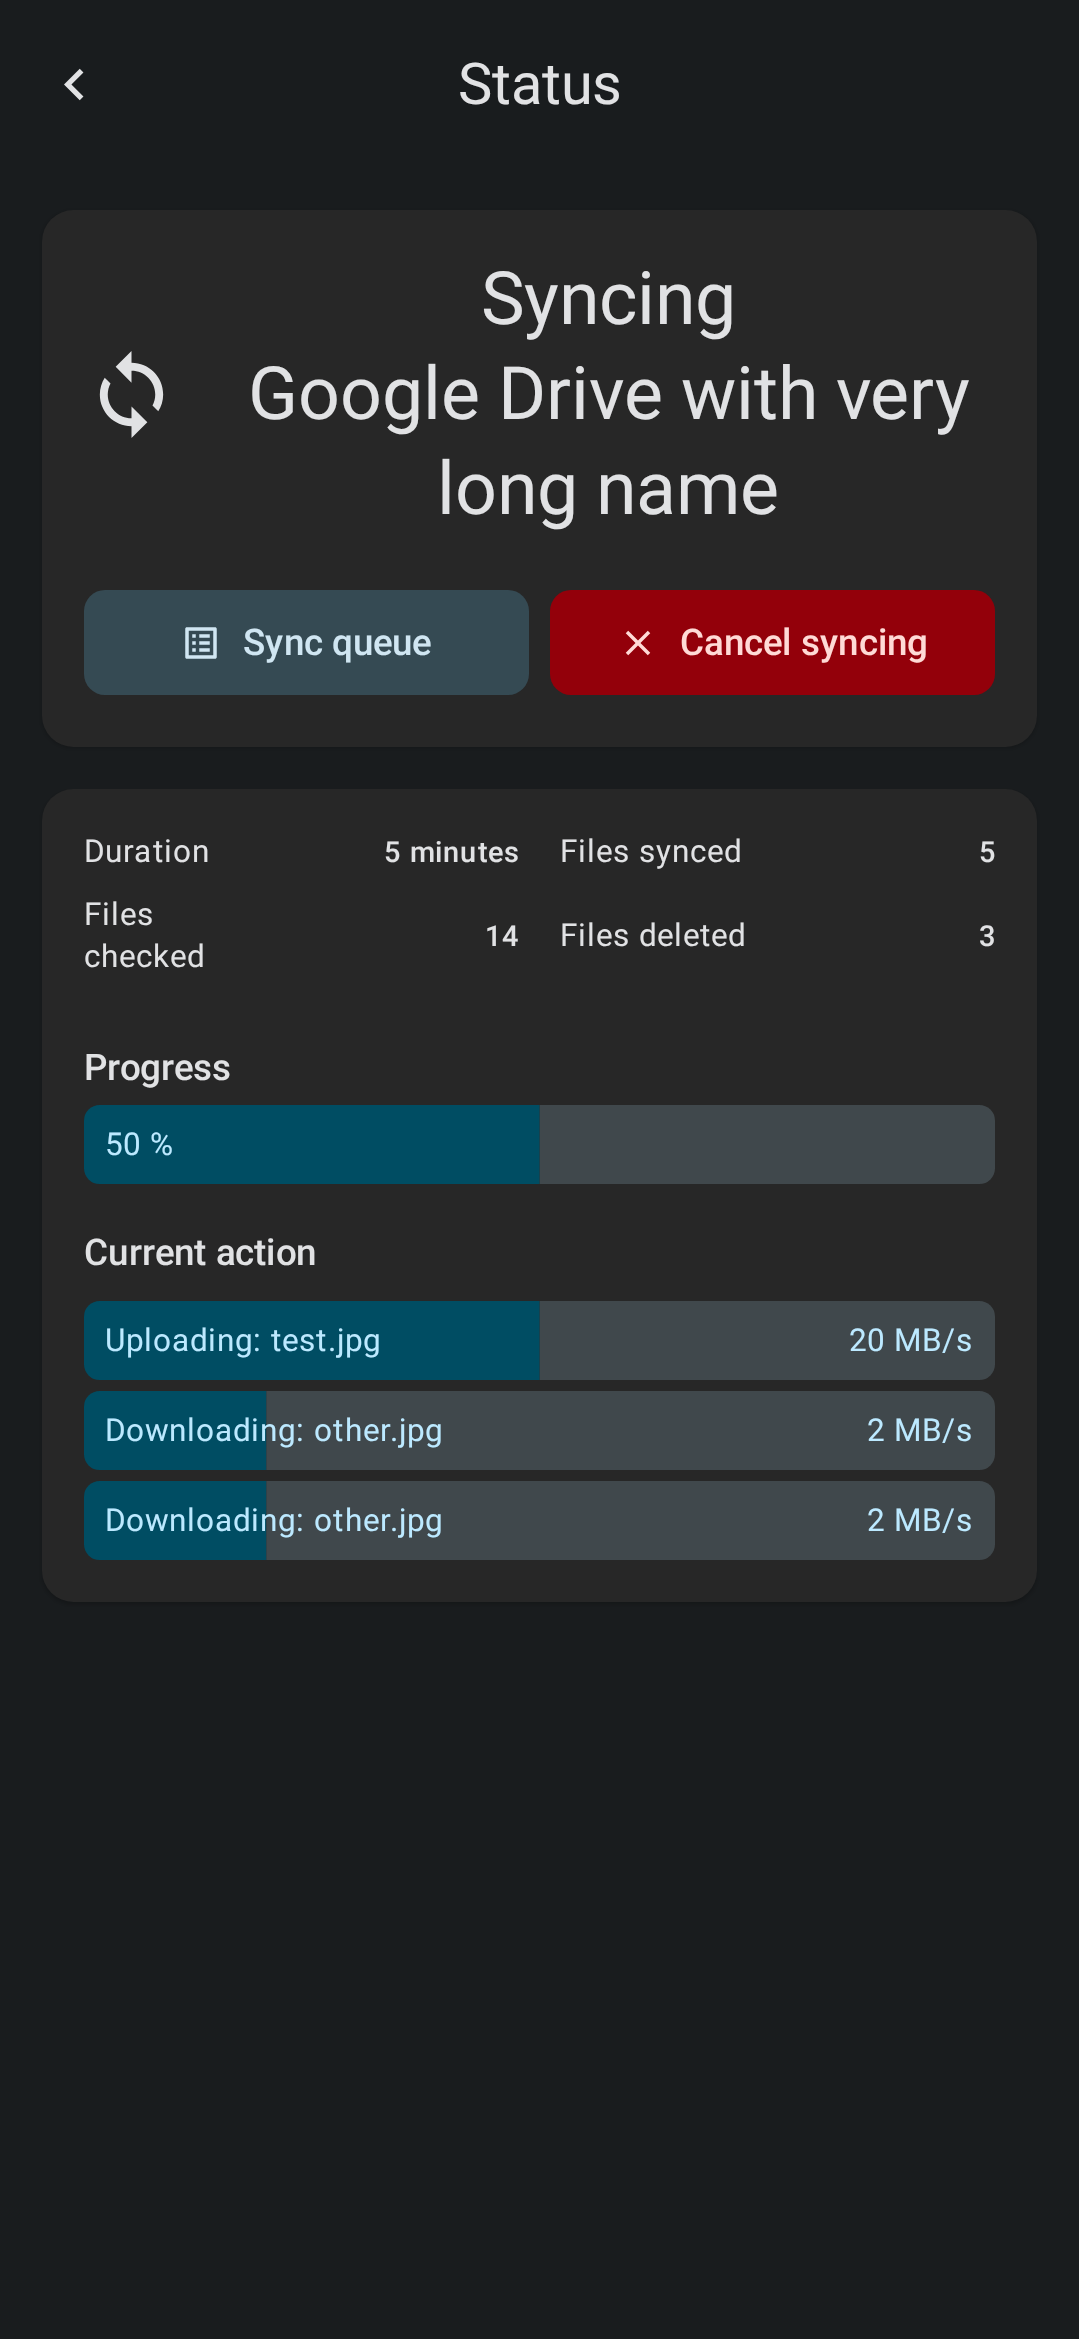
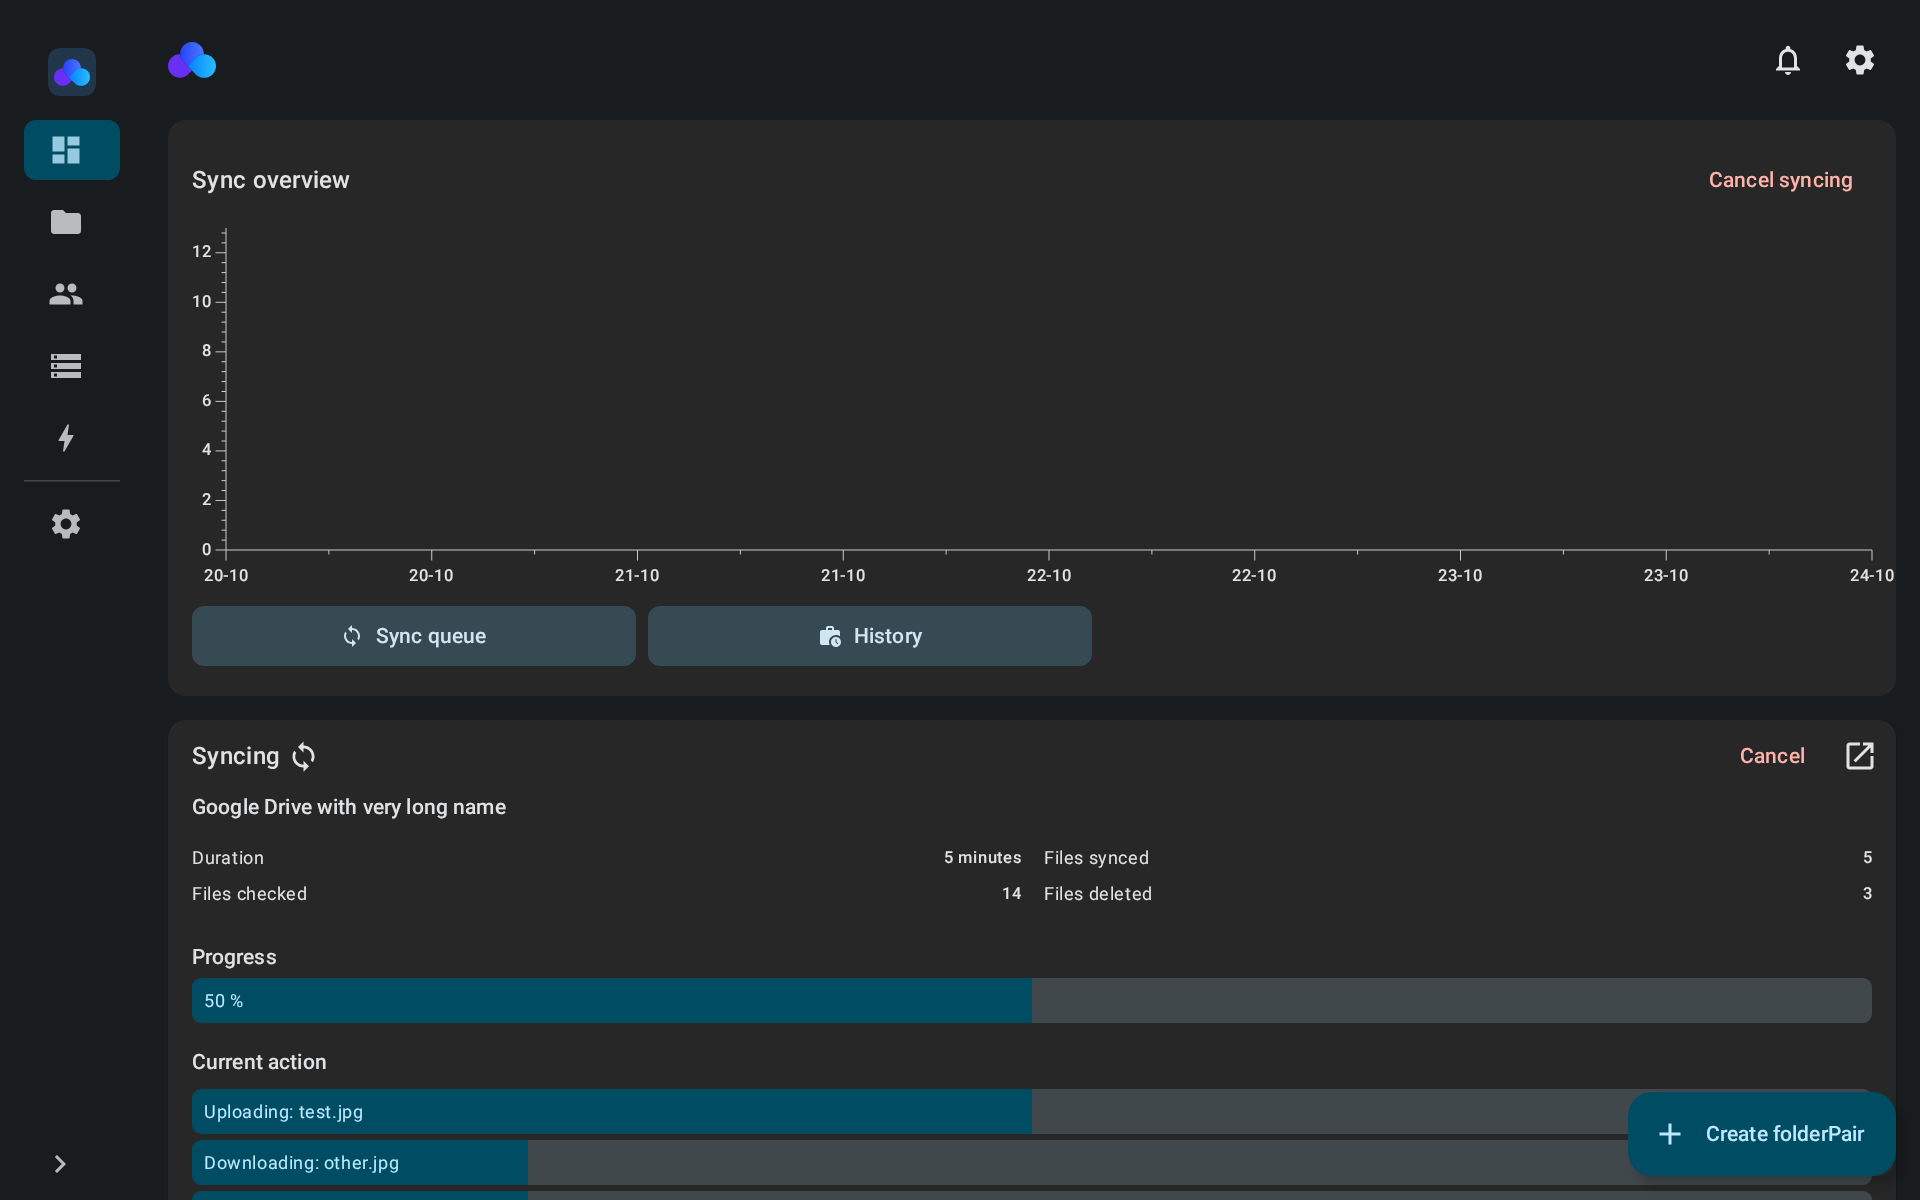
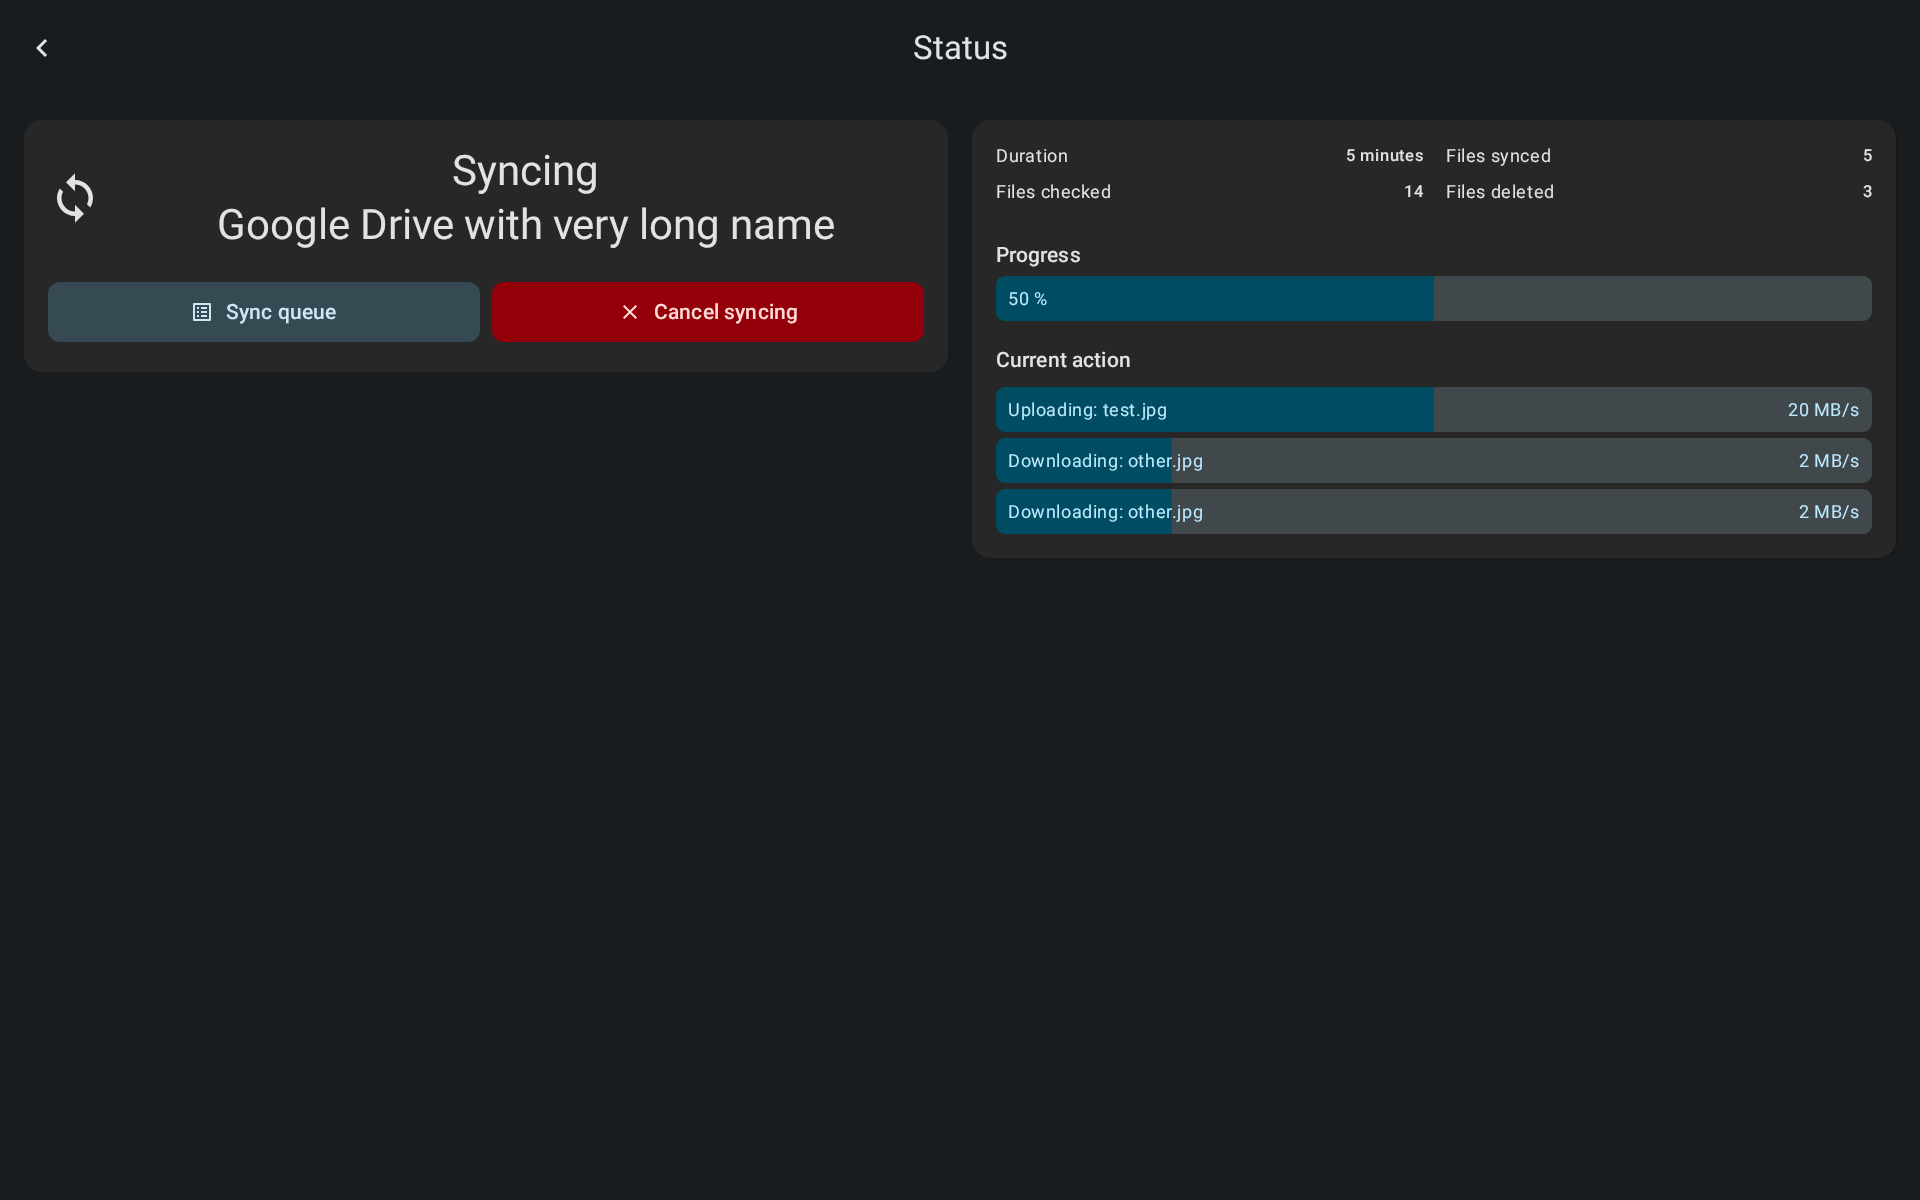
When the sync starts the button should then change state and show "Syncing" text. If you click it again it should show they Sync status screen. You can also see current sync status on the dashboard.
Here you can see what is currently happening during the sync. If you need to cancel the sync tap [Cancel syncing].
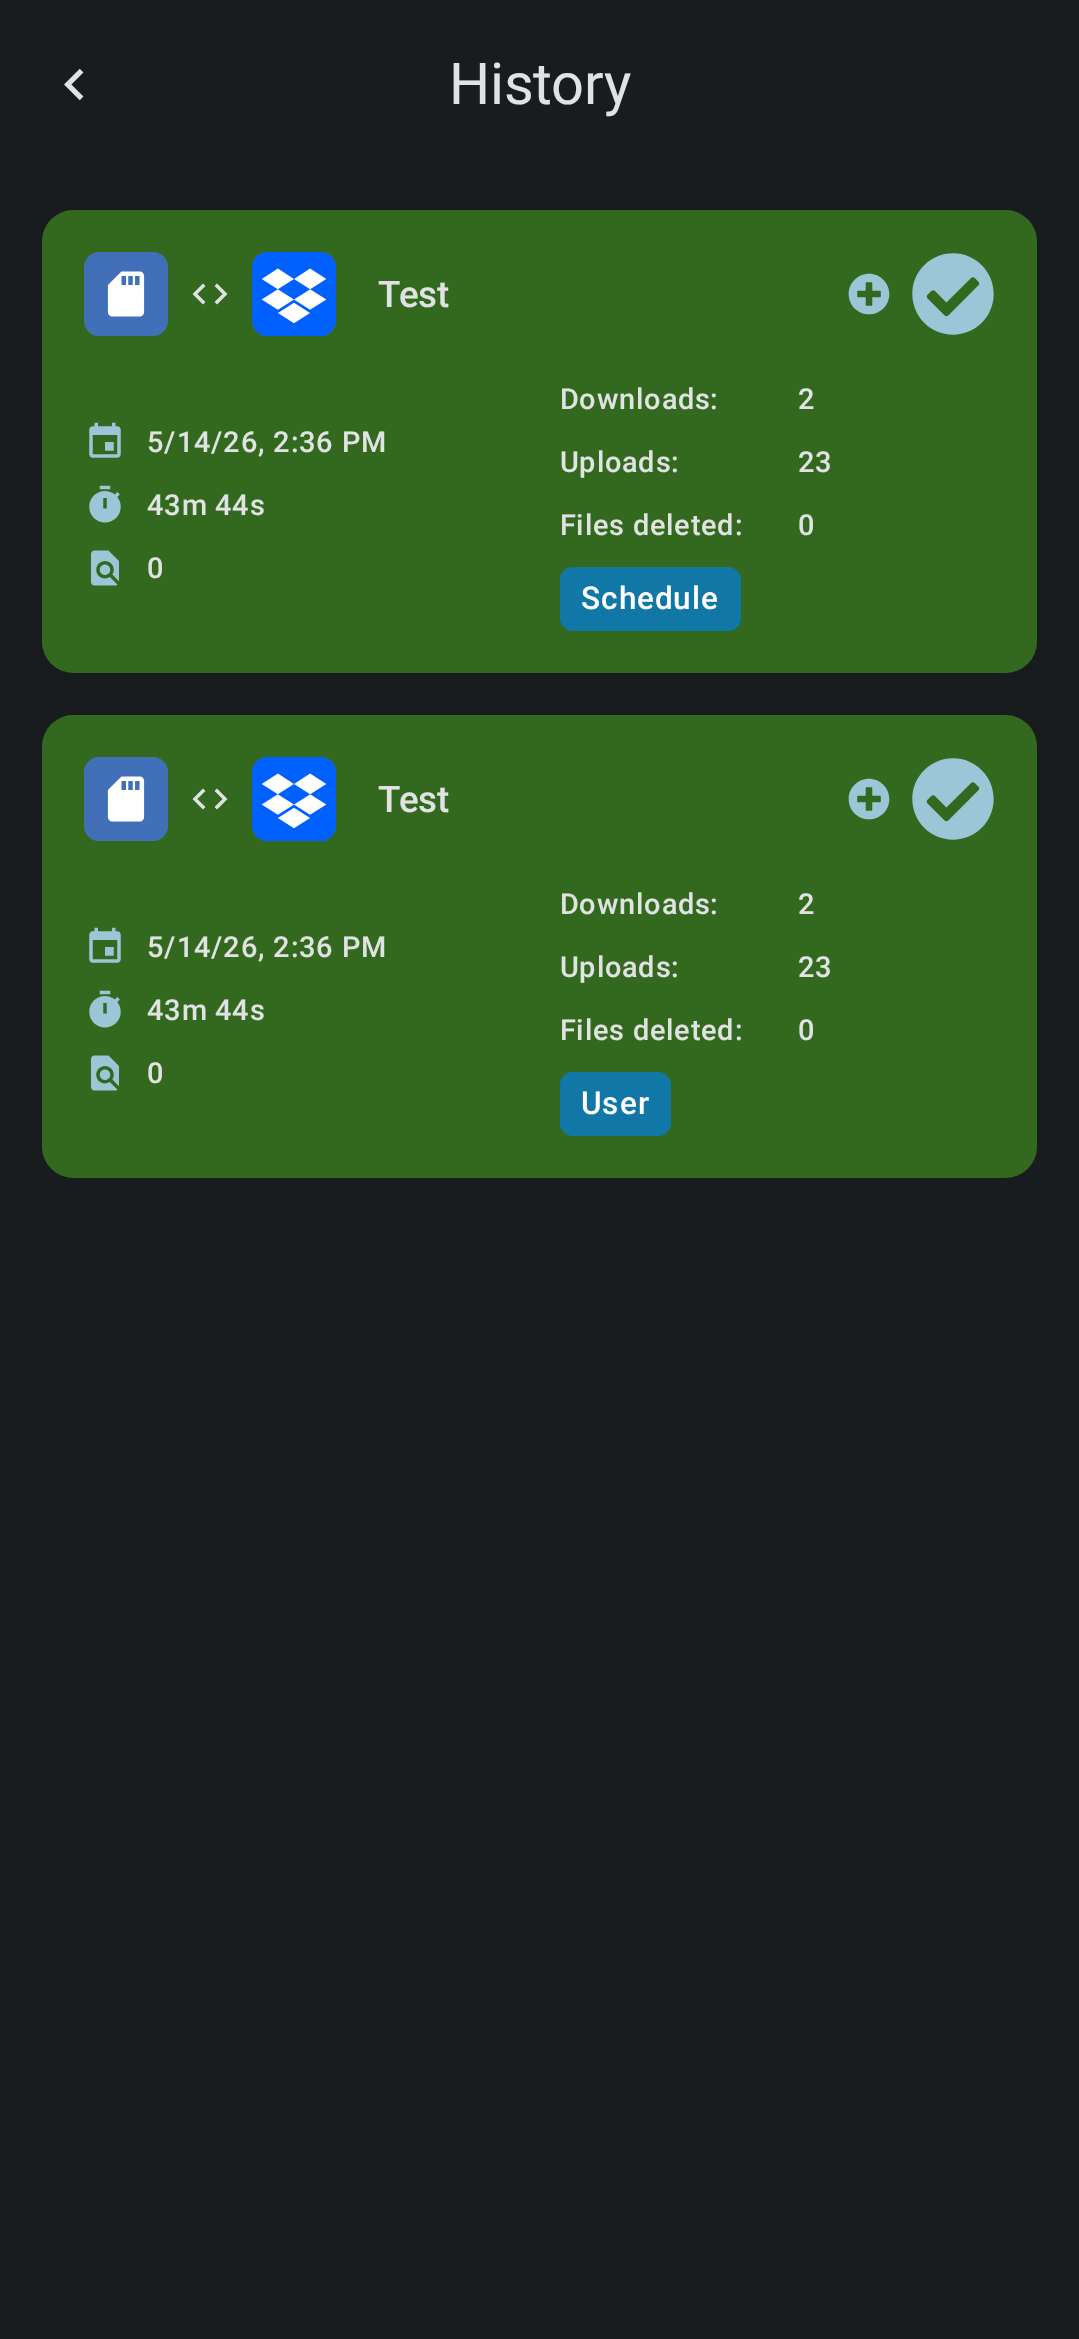
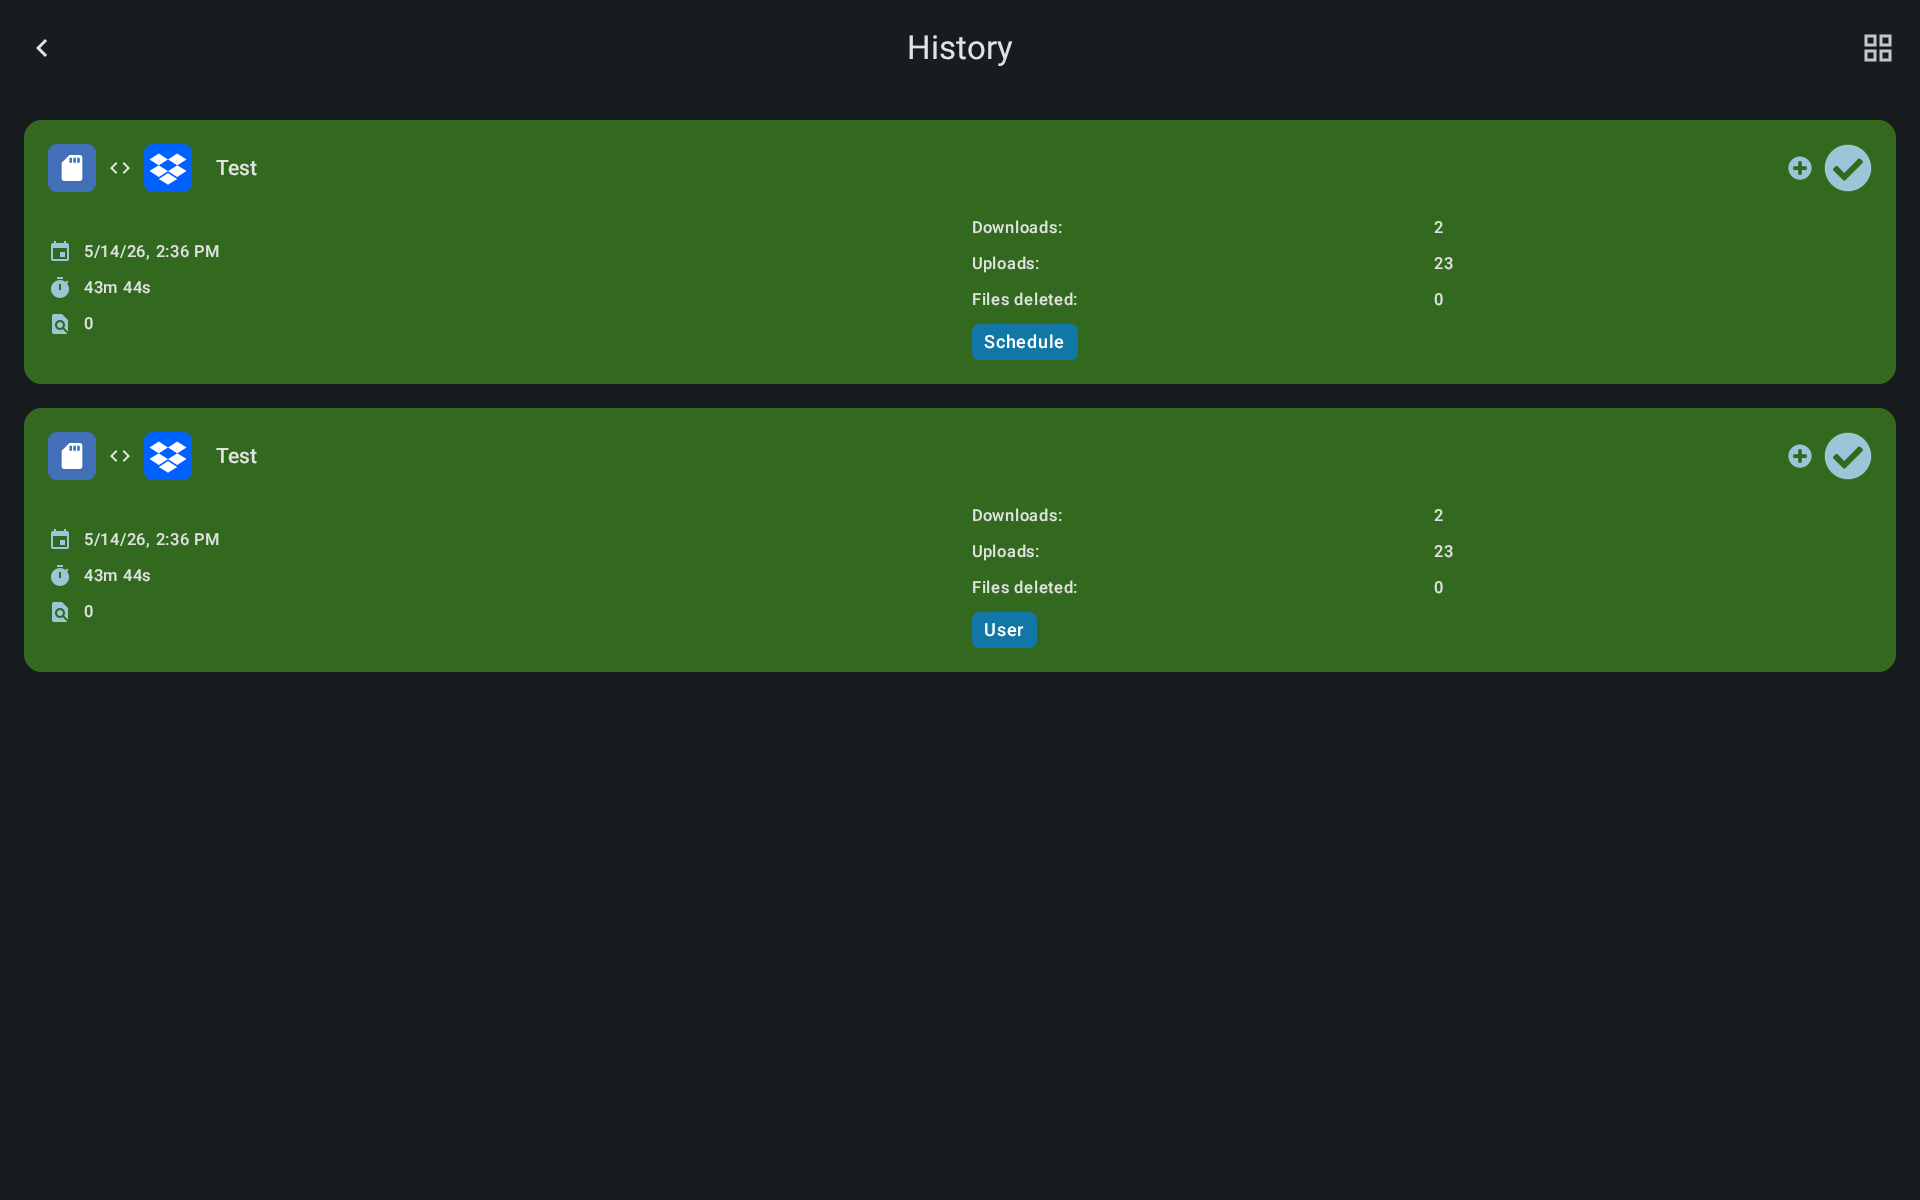
Sync result
If the sync completes without errors the folderPair will be displayed with a green background on the FolderPair list screen. You can click the history icon on the folderPair card to see detailed log for each sync.